For on-demand exporting, the formats that require mapping, such as Excel and CSV, Generic XML, BMECat, or Generic JSON, include the option to export referenced assets in a .ZIP file via the Export Manager wizard. For automatic exports based on events, an OIEP can be configured to listen for new, changed, and deleted assets. For automatic exports based on a static set of data, a Select Objects OIEP can be configured. All options are defined below.
Image Conversion Configurations can be used to save image conversion settings when the same image will be used in a modified way for different use cases, for example on a website or a printed catalog. Both the export manager and the event processor enable the use of Image Conversion Configurations. Additionally, automatic caching of converted images can be achieved via the Image Cache event processor. For more information, refer to the Image Conversion Configuration topic of the Digital Assets documentation and refer to Image Cache Processing Plugin Parameters and Triggers topic in the System Setup documentation.
Exporting a ZIP file using Export Manager
-
Complete the first three steps of the Export Manager wizard. If needed, the following topics provide details:
-
Launch the Export Manager wizard as described in Creating a Data Export.
-
In Export Manager - Select Configuration, create a new configuration.
-
In Export Manager - Select Objects, select the objects with referenced assets to export.
-
In Export Manager - Select Format, select Excel or CSV.
-
-
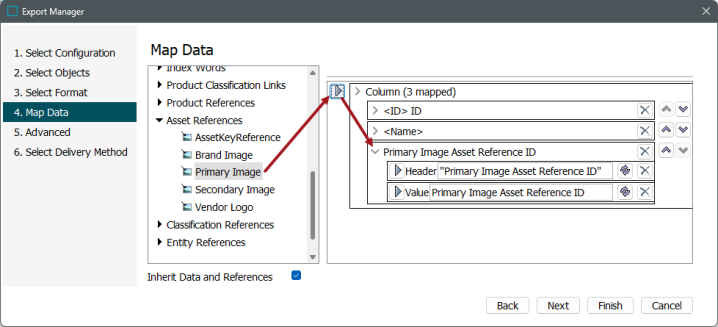
For the Map Data step, select the necessary data sources and move them to the right-hand column, including the asset reference.
-
For details about mapping data sources, refer to Outbound Map Data - Data Source.
-
For details on how to map referenced assets, refer to the Asset References - Data Source Outbound topic.
-
-
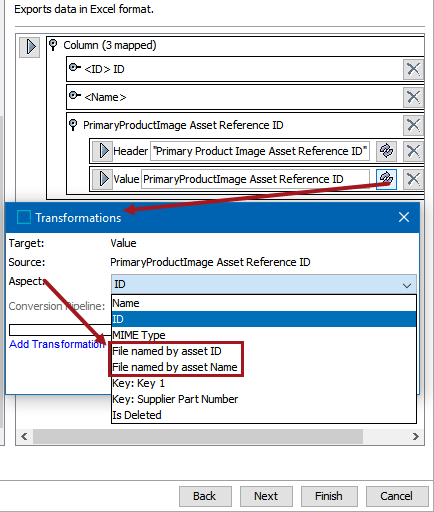
For the Asset Reference Value parameter, click the Transformation button and select the desired file name option for the asset files that will be included in the zipped export file.
-
File named by asset ID - uses the STEP ID as the asset file name for the exporting asset.
-
File named by asset Name - uses the STEP Name as the asset file name for the exporting asset.
-
-
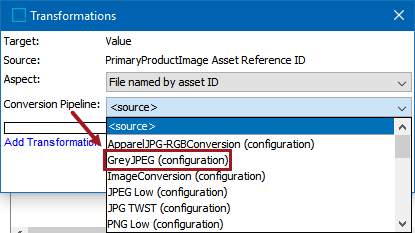
If needed, choose an image conversion configuration from the Conversion Pipeline field and click the Save button. The list displayed includes user created image conversion configurations in STEP. The Source option exports the original asset content, and no conversion is applied.
-
Complete the last two steps of the Export Manager wizard. If needed, the following topics provide details:
-
In Export Manager - Advanced, update parameters as required.
-
In Export Manager - Select Delivery Method, select the delivery method.
-
-
Click the Finish button to complete the configuration and choose the desired export option. For details, refer to the Running a Data Export topic.
The export file is displayed on the Background Process tab under the Export Manager Pipeline node. The number of assets, the time spent zipping the file, and the total size of the zipped file are listed in the Execution Report section, as shown below.
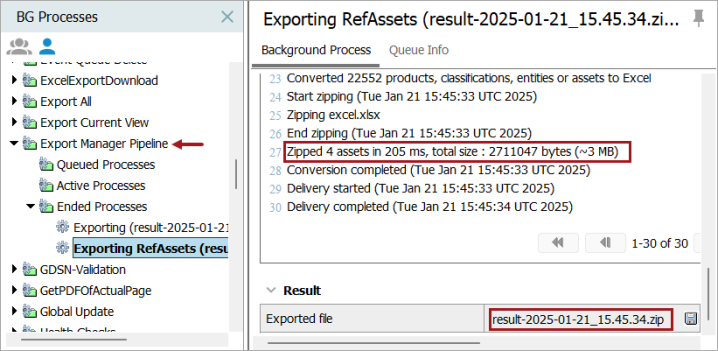
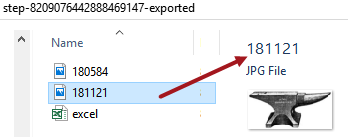
Viewing the zipped file shows the total assets reported in the Execution Report and reflects the selected image conversion configuration.
Exporting a ZIP file using Event-Based or Select Objects OIEP
Creating an OIEP that generates zipped referenced assets via formats that require mapping (Excel, CSV, Generic JSON, etc.) involves the same mapping setup as is defined above for Export Manager.
All steps required to create an OIEP are outlined in the 'Event-Based Outbound Integration Endpoint' section or the 'Select Objects Outbound Integration Endpoint' section of the Outbound Integration Endpoints topic.