The Export Manager wizard allows you to export data on demand and to create or modify an export configuration. The final step of the wizard allows you to save the export configuration. This is useful for frequently-used exports where the parameters and options are always, or nearly always, the same.
Export data using the Export Manager
-
Select the appropriate STEP context. All data is exported using the currently selected context and the current workspace, typically Main.
Note: When exporting products, refer to the Considerations for Exporting Products section below.
-
Use one of the following methods to launch the Export Manager wizard, noting that method of starting the wizard results in exporting different objects. Regardless of the method selected, the same wizard is launched.
-
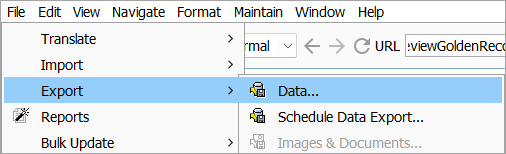
From the File Menu: Click the File menu > Export > Data.
The wizard opens in Step 1 and allows you to select an existing configuration or create a new one.
-
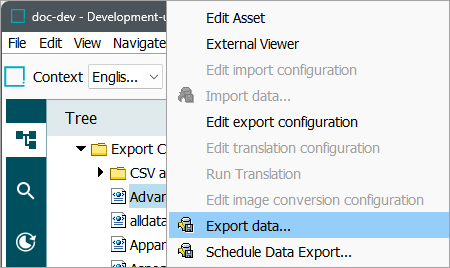
From an Export Configuration: On the Tree, select an export configuration, right-click, and then select Export Data.
The wizard opens in Step 2 with the configuration and objects included in the configuration already selected.
-
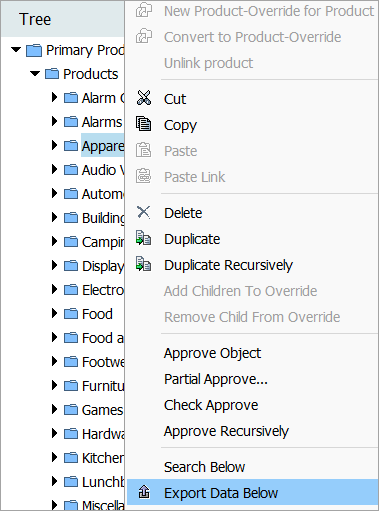
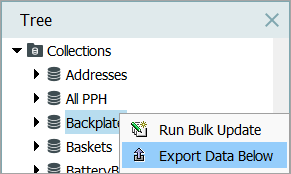
From an Object: On the Tree, select a classification, product group, publication, or entity, right-click, and then select Export Data Below.
The wizard opens in Step 2 with the objects below the selection displayed. This selection is non-inclusive, meaning that the selected object is not exported. For example, when selecting a product node in the primary product hierarchy, the selected node is not exported, but the children are exported. When selecting one or more individual products that have no children, only the selected products are output.
-
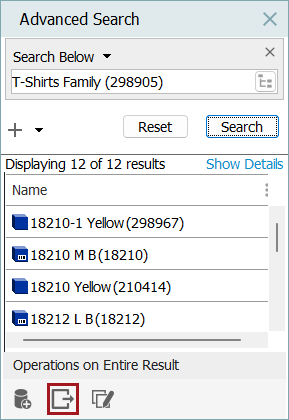
From an Advanced Search Operation: On the Advanced Search tab, perform a search with results displayed. In the Operations on Entire Result section, click the export button.
The wizard opens in Step 2 with 'Product selection made by search URL' displayed.
-
From a Collection: On the Tree, select a collection, right-click, and then select Export Data. All object in the collection are included in the export.
The wizard opens in Step 3 ready to choose a format.
-
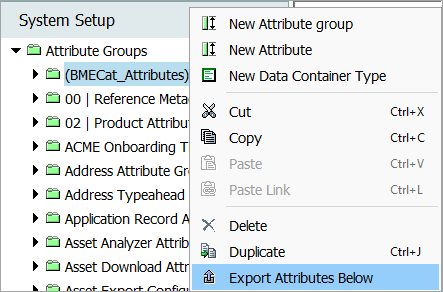
From an Attribute Group: On System Setup, select an attribute group, right-click and then select Export Attributes Below.
The wizard opens in Step 2 with the attributes below the selection displayed.
-
-
After selecting one of the above ways to export, the Export Manager wizard displays and can involve the following steps:

-
Export Manager - Select Configuration allows you to select a previously stored configuration or start a new export.
-
Export Manager - Select Objects allows you to select one or more hierarchy nodes or modify the nodes selected via a configuration.
-
Export Manager - Select Format allows you to select the file format in which the extracted information is delivered.
-
Export Manager - Map Data allows you to select which pieces of information are extracted per object exported.
-
Export Manager - Advanced allows you to specify if exported data should be converted to another output format.
-
Export Manager - Select Delivery Method allows you to specify how information is to be delivered.
-
Considerations for Exporting Products
When exporting products, it is common setup to first review exactly the products and attributes that you want to extract. It is important to choose the exported attributes carefully since there is no distinction in the output between a missing (or blank) attribute value and a value that is empty because the attribute is not valid for a product. Including invalid attributes in an export results in output with blank attribute data and in many cases, the cause of the missing data is not apparent. The Include Empty Values export only includes valid and linked attributes to prevent orphans and filter out invalid attributes when selecting attribute groups versus individual attributes to export.
Determine the following information about your required export enables you to accurately set the wizard parameters:
-
If the attributes you want to extract are global, and for example, relevant for nearly all products, you can select products from disparate product lines, since the attributes would be valid for all those products.
-
If the product lines you want to extract do not have common attributes, it can be useful to extract multiple files with separate sets of attributes.
-
If your goal is to create a spreadsheet that manufacturers can return to you with missing data, extract the product lines, including the manufacturer’s name as an attribute, and then split the extracted file into separate files for each manufacturer. In this way, the attributes are valid for the products in each file.
-
If you know the attributes you want to extract before you launch the Export Manager wizard, it is easier to select the appropriate attributes on the Data Map step.
-
If you want valid, empty data to be included in the export when exporting via Advanced STEPXML, CSV, Excel, or STEPXML, this can be accomplished via the 'Include Empty Fields' option in the Export Manager wizard.
After completing the wizard steps, save the configuration so you can modify it during testing. Initially, use a small group of products to test your export settings. Refine the wizard parameters to resolve any issues and save the updated configuration.