The Export Images and Documents wizard allows you to export assets on demand. To export data, use the Export Manager as defined in the Export Manager topic in the Data Exchange documentation.
This wizard allows the user to set the export location where assets should be downloaded, specify the name of the asset, include an image conversion or pipeline for format conversion, and have an overview of the export.
Create an Images and Documents Export
- Select the appropriate STEP context.
- Use one of the following methods to launch the wizard:
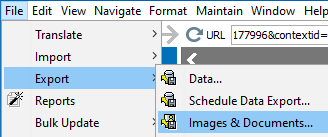
- On the Tree, select an asset or a classification folder that contains assets to be exported, click the File menu > Export > Images & Documents.
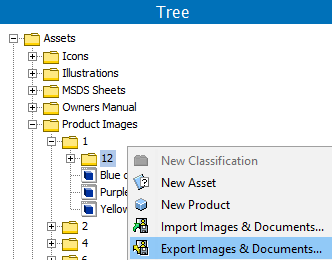
- On the Tree, select a classification folder that contains assets to be exported, or select an individual asset, right-click, and then click Export Images and Documents.
- The Export Images and Documents wizard displays and can involve the following steps:
Note: The 'Export Images & Documents' option will not be enabled until a folder is selected.
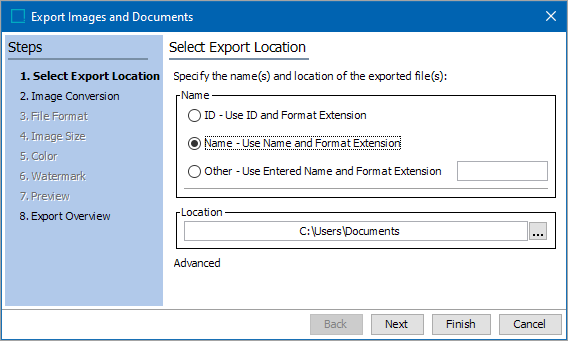
- Select Export Location determines the location where assets will be downloaded. In the same window, the name of downloaded assets can be defined.
- Image Conversion allows you to select a predefined image conversion configuration, script, or pipeline, or specify a custom setup to convert the format, size, and/or color settings of the exported images.
- File Format allows you to specify the file format of the images exported. This option is available only if applying a custom image conversion.
- Image Size allows you to specify the size of the images exported. This option is available only if applying a custom image conversion.
- Color allows you to specify the color definition of the images exported. This option is available only if applying a custom image conversion.
- Watermark allows you to add a watermark to the exported images. This option is available only if applying a custom image conversion.
- Preview allows you to preview a specified image in your computer's default asset viewer to ensure that the image looks correct when the color definition is changed, a watermark is applied, when a predefined image conversion pipeline is used, or when a predefined script is used. This option is available only if applying a custom image conversion.
- Export Overview provides an overview of selected the export settings, which displays name, output name and size of the image, and allows you to start the export.
Additional Information
- Exporting only documents skips three steps and moves directly to the final wizard step.
- If selecting a Classification folder with both images and non-image assets in it, the wizard steps relate only to the images. Also, only the assets directly linked to the selected folder will be exported. If the Classification folder has no assets directly linked, nothing will be exported.
- No parameters can be set for exporting non-image assets.
- The Export Asset component does not export subfolders or contents of subfolders.
- The system does not build subfolder hierarchies on output.