This functionality is used by a Match and Merge solution. For more information, refer to the topic Match and Merge and the topic Configuring Match and Merge.
The Unmerge Wizard Screen uses built-in logic to unmerge matched golden records. For information on unmerge and the required configuration, refer to the topic Match and Merge Traceability.
Regardless of the way the unmerge is started, unmerging records is managed via the Unmerge wizard. Unmerging is only available for object types that are included in the 'Golden Record Object Types' parameter on the ‘Matching - Merge Golden Record’ component model.
-
Ad hoc unmerging is intended for users who are knowledgeable about the data and want to start the unmerge wizard. This is defined in the topic Unmerging Golden Records.
-
Workflow-based unmerging is intended to add a level of control to the unmerge process by initiating a merged record into the initial state of the unmerge workflow where a knowledgeable user can decide to continue or exit the unmerge process. This is defined in the topic Creating an Unmerge Golden Record Clerical Review Workflow.
Prerequisites
It is expected that anyone configuring the Unmerge Wizard Screen component is familiar with the Web UI designer as basic concepts for working with the designer are not covered in this section. In addition, the user must have appropriate privileges to access the designer. Additional information can be found in the topic Designer Access of the Web User Interfaces documentation.
Configuration
Use the following steps to create and configure the Unmerge Wizard.
-
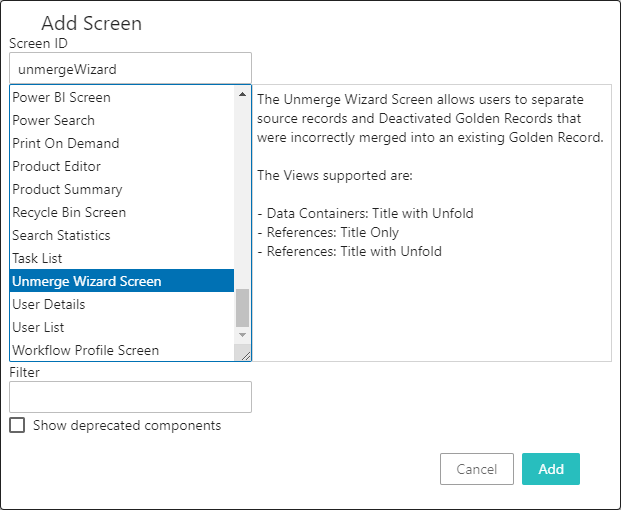
Create a new 'Unmerge Wizard Screen' as defined in the 'Creating a New Screen' section of the topic Design Mode Basics of the Web User Interfaces documentation.
-
On the Unmerge Wizard Screen configure the following parameters.
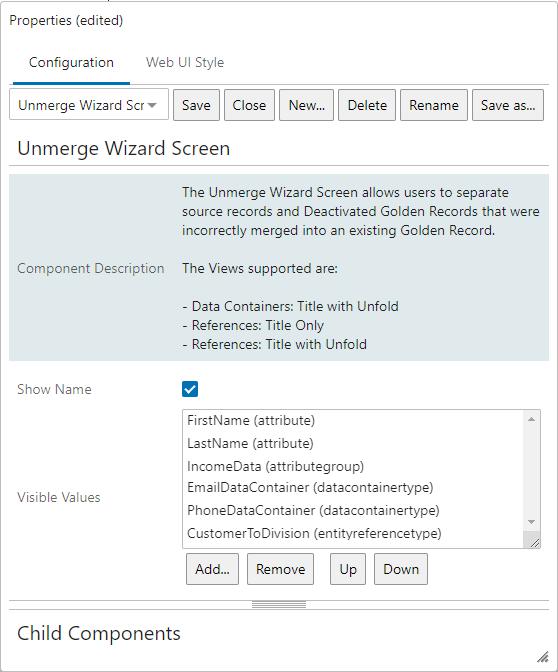
- For the Show Name parameter, when checked the 'Name' of the node displays.
- For the Visible Values parameter, add the elements to be displayed on the Unmerge Wizard Screen when unmerging. Click the 'Add...' button and select the desired elements from the list below.
Note: All valid data types, even those not visible, are part of the unmerge operation.
-
Attributes - displays the selected attributes.
-
Attribute Groups - displays the selected attribute group including attributes in nested attribute groups. Data containers and references that are part of the attribute groups are not supported by this selection and must be configured separately.
-
Data Containers - displays all attributes and references valid for the selected data container as configured in the [MAIN] -> [Global Representation List].
-
References - displays all attributes valid for the reference valid for the selected data container as configured in the [MAIN] -> [Global Representation List].
The order of the Visible Values determines the ordering in the screen. To change the order, select an entry and click the 'Up' or 'Down' button.
-
Click Save
-
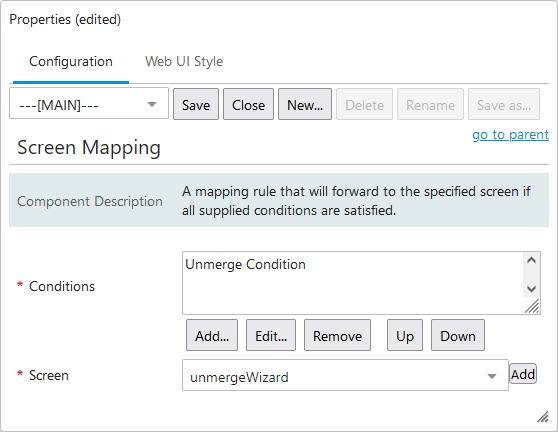
Add the screen mapping as defined in the topic Mappings of the Web User Interfaces documentation.
- Navigate to the ---MAIN--- properties, on the Mappings parameter click the Add button.
- For the Conditions parameter, add the 'Unmerge Condition' and the appropriate golden record object type condition.
- For the Screen parameter, select your Unmerge Wizard Screen.
- Click the Add button.

-
Click Save.
-
If data stewards use an unmerge workflow, add an unmerge button on the entity details screen(s). For more information, refer to the topic Creating an Unmerge Golden Record Clerical Review Workflow.
- Navigate to the entity details screen.
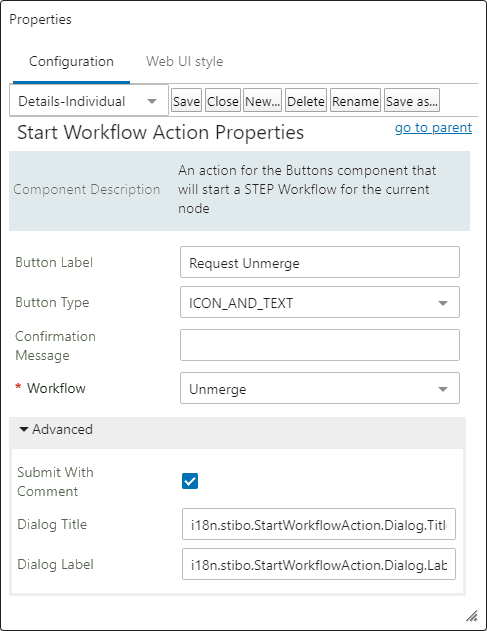
- For the Button Label parameter, add descriptive text such as 'Request Unmerge' as shown below.
- For the Workflow parameter, select the unmerge workflow.
- In the Advanced section, on the Submit with Comment parameter, when checked, users can provide information from workflow states to aid in unmerging. The comment enters the workflow as a process note and is displayed on the unmerge screen along with other process notes.
-
Click Save.
-
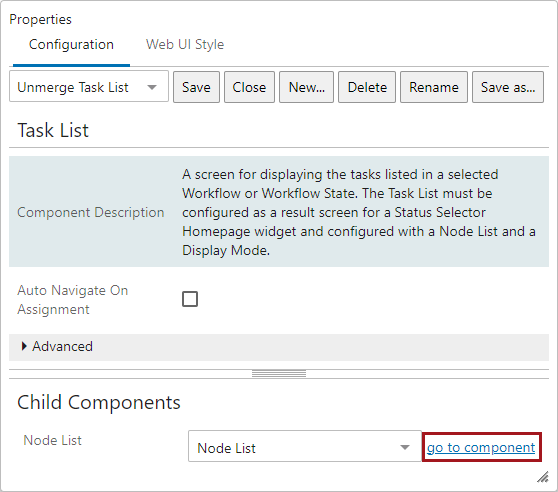
If data stewards use an unmerge workflow, add an unmerge button and/or edit button on the task list screen(s). For more information, refer to the topic Creating an Unmerge Golden Record Clerical Review Workflow. Unmerge can also be performed without a workflow using an ‘Unmerge Action’ button on a node details screen.
-
On the Task List screen, click the 'go to the component' link on the Node List child component. Steps for creating a new screen are outlined in the 'Creating a New Screen' section of the topic Design Mode Basics in the Web User Interfaces documentation.
-
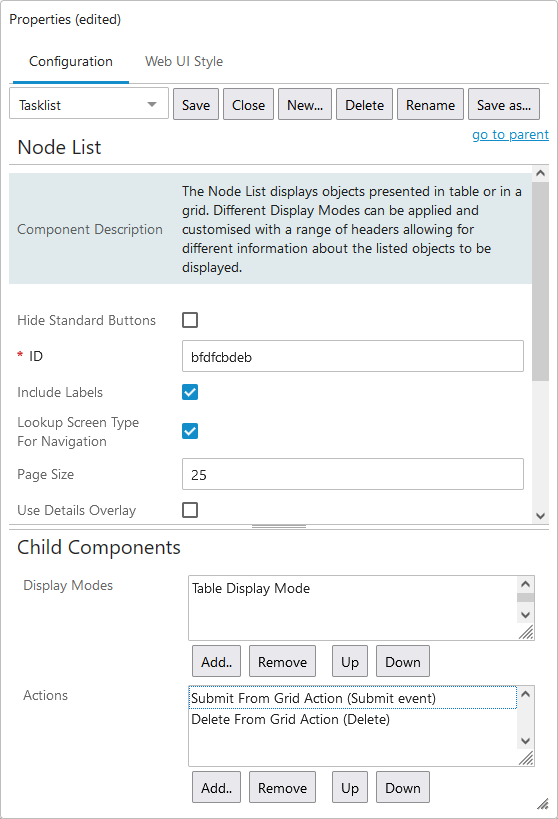
In the Node List properties Child Components section, on the Display Mode parameter, click Add, select Table Display Mode, and include the attributes to be shown in the Task List.
-
In the 'Actions' field, add the following:
-
Submit From Grid Action - moves an entity to the next step in the workflow.
-
Delete From Grid Action - takes an entity out of the workflow.
-
Click Save.
-
Add screen mapping as defined in the Mappings topic in the Web User Interfaces documentation.
- Navigate to the ---MAIN--- properties, on the Mappings parameter click the Add button.
- For the Conditions parameter, add the unmerge Flow and State.
- For the Screen parameter, select your Unmerge Wizard Screen.
- Click the Add button.
-
Click Save.
-
If data stewards use an unmerge workflow, add the unmerge workflow to homepage widget. For more information, refer to the topic Creating an Unmerge Golden Record Clerical Review Workflow. Unmerge can also be performed without a workflow using an ‘Unmerge Action’ button on a node details screen.
-
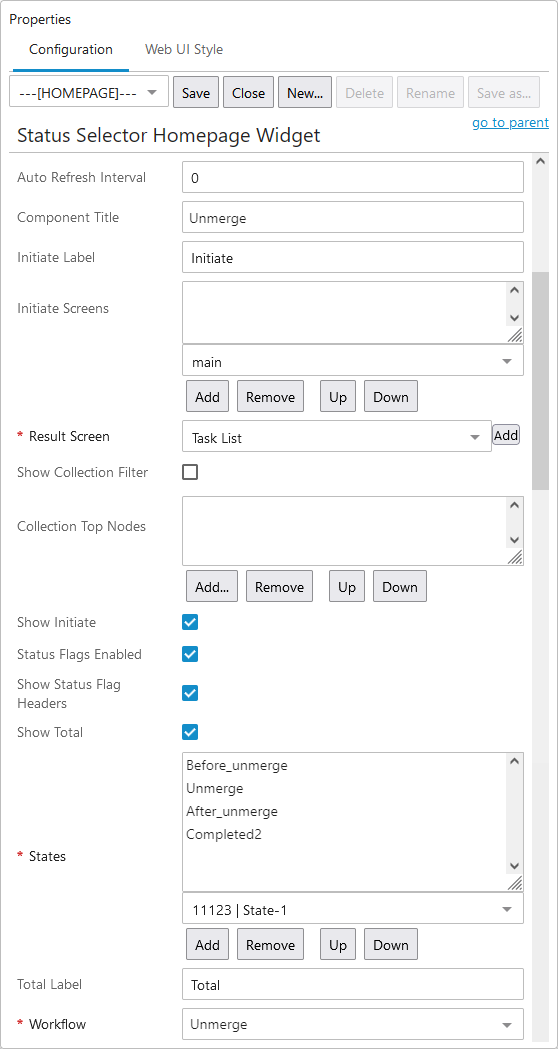
Add a Status Selector Homepage Widget as defined in the Homepage Widgets of the Web User Interfaces documentation.
-
Set the following parameters on the Status Selector Homepage Widget Properties as shown below:
-
Result Screen - add the Unmerge Tasklist as created in this topic.
-
States - add the states as configured in the unmerge workflow.
-
Workflow - select the created unmerge workflow.
-
Click Save and Close.