Web UI users can import Data files into STEP using a File Loading Widget. If Easy Setup actions for the ECLASS Advanced solution have been completed as described in Run Easy Setup of ECLASS Advanced Industry Standard topic of the ECLASS Quick Start Guide, then the 'Data Importer' File Loading Widget will automatically be added to the Web UI Homepage as shown in the examples below. Otherwise, the steps below can be used to complete configuration. This topic describes how to configure a File Loading Widget so that users can drag and drop ECLASS Advanced Data files onto a File Loading Widget on a Web UI Homepage.
Prerequisites
Before configuring the Web UI portion of this solution, an IIEP for an ECLASS Advanced Data Importer must be configured within the workbench. For more information, refer to Configuring an IIEP for ECLASS Advanced Data Imports topic.
It is expected that anyone configuring the ECLASS Advanced Data Import solution within a Web UI be familiar with the Web UI Designer, as basic concepts for working with the designer are not covered in this section. In addition, the user must have appropriate privileges to access the designer. For more information, refer to Designer Access topic within the Web User Interfaces section of the STEP Online Help.
Additionally, it is helpful to know how to add a widget to a Web UI Homepage. Details on how to do this can be found inAdding Widgets to a Homepage topic in the Getting Started documentation.
Configuration
Each screenshot example within this section provides recommended values for the parameters in ECLASS Advanced Data Importer.
-
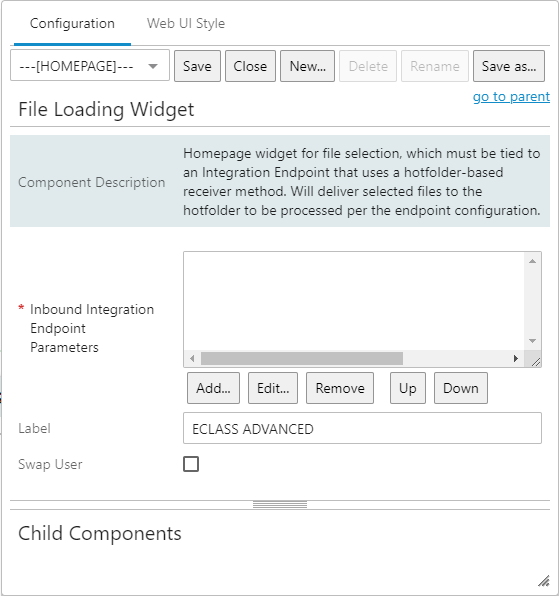
In the designer, select an existing File Loading Widget to be used, or add a new File Loading Widget to the Homepage Widget Grid component. For more information, refer to File Loading Widgettopic within the Web User Interfaces section of the STEP Online Help.
-
Go to the Inbound Integration Endpoint Parameters field, click the Add button, and the Inbound Integration Endpoint Parameter Properties dialog will display.
-
Click the dropdown for the Inbound Integration Endpoint parameter, and select ECLASS ADVANCED Data Importer (the IIEP created for ECLASS Advanced Data imports).

Note: If the desired IIEP does not display in the dropdown, then it can be created using the steps described in Configuring an IIEP for ECLASS Advanced Data Imports topic.
-
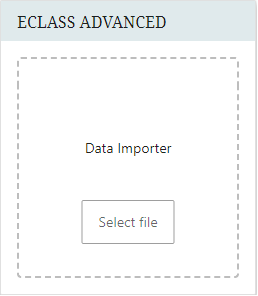
Optionally, provide a label to be displayed within the drop zone of the widget.
In the example below, a File Loading Widget labeled as 'ECLASS ADVANCED' is displayed above its configurations.
-
Click the Save and Close buttons to save the changes and close the designer.