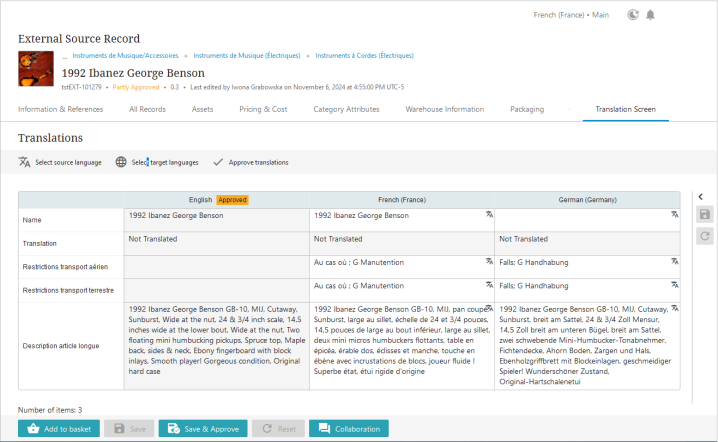
The Translation Screen enables users to review and manage translations on an object-by-object basis through a tabular view of language-dependent attribute data in context-linked languages and the approved workspace.
Prerequisites
It is expected that anyone configuring the Translation Screen is familiar with the Web UI designer as basic concepts for working with the designer are not covered in this section. In addition, the user must have appropriate privileges to access the designer. Additional information can be found in the Designer Access topic.
Adding and Configuring a Translation Screen
To configure a Translation Screen, follow the steps described below.
-
Create a new 'Translation Screen.' Steps for creating a new screen are outlined in the Creating a New Screen section of the Design Mode Basics topic.
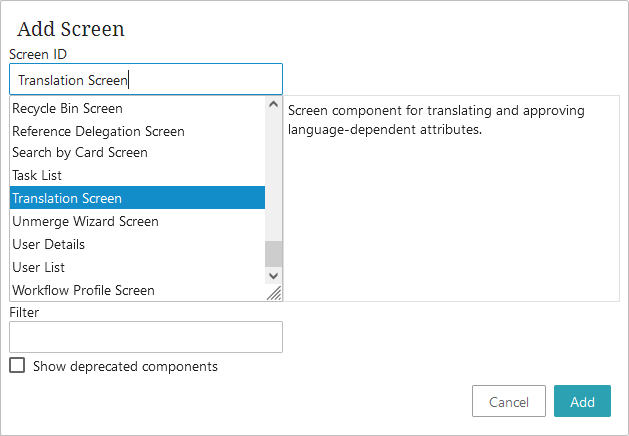
Select 'Translation Screen' as the screen type.
-
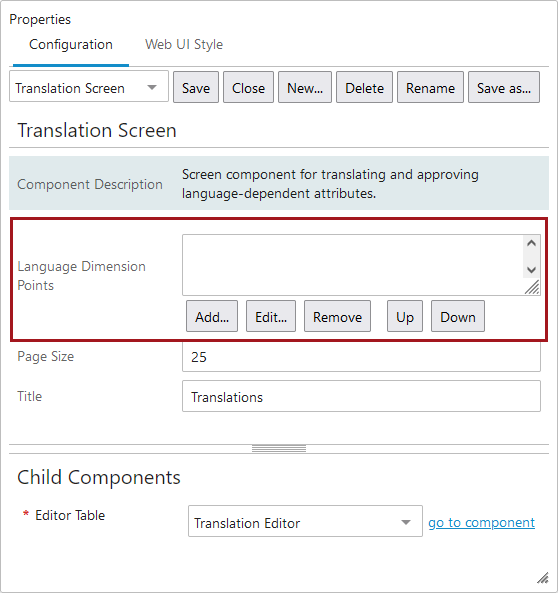
The 'Language Dimension Points' field allows the admin to determine which dimension points should be available for the user to choose from when selecting a source language. The options that display in this field are all available language dimension points.
-
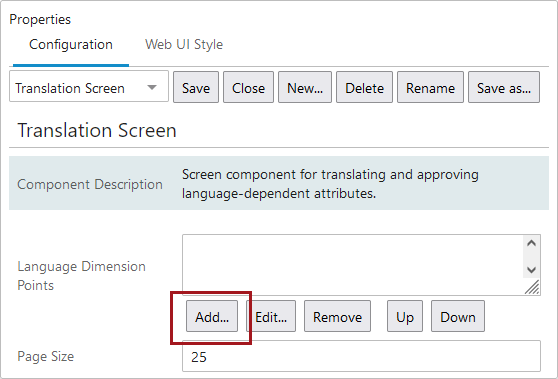
To add a language dimension point, click the 'Add' button directly below the field.
-
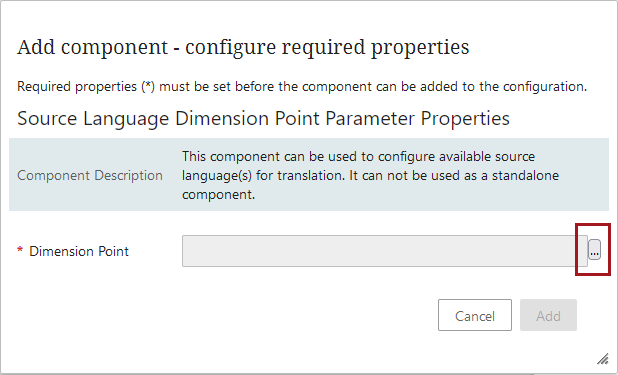
In the 'Add component' window that displays, click the ellipsis button (
 ) to the right of the 'Dimension Point' field.
-
In the 'Select Node(s)' dialog that displays, click the arrow to the left of 'Language Root' to expand the options, and then select which languages should be available for the user to select as the source language when viewing and approving translations for objects.
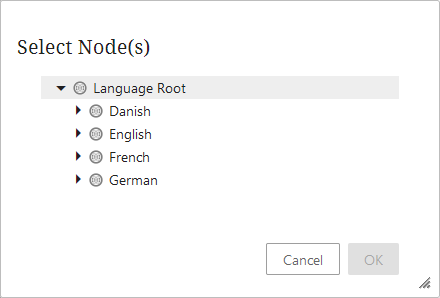
Click 'OK' to select, and then 'Add' to finish. Add as many languages as required.
If no language dimension points are selected for this field, all existing STEP languages will be available to the user to choose from as a source language.
-
For the field 'Page Size,' a default value of '25' is entered by default. This value represents the number of language-dependent attributes that can display in the Translation Screen table.
-
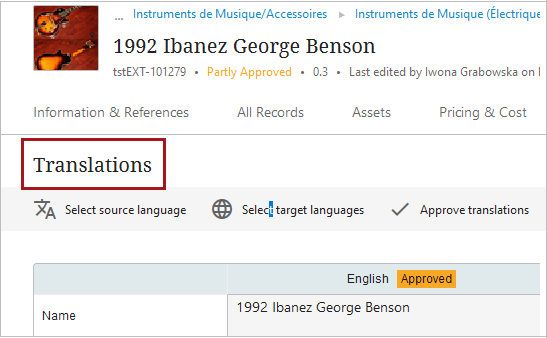
In the 'Title' field, enter the text value to be displayed at the top of the Translation Screen, as displayed in the screenshot below:
-
In the 'Child Components' section of the Translation Screen designer, configure the 'Translation Editor.' In the mandatory 'Editor Table' field, 'Translation Editor' is the default (and only) available value. Click 'go to component.'

-
In the 'Headers' field, click 'Add' to open the 'Add Component' dialog.
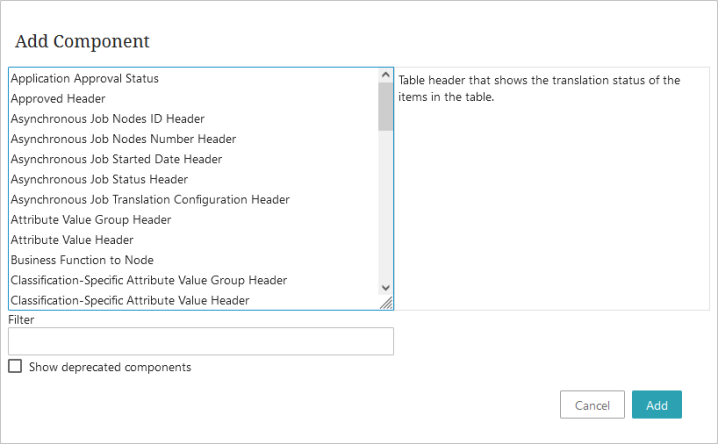
Consider including standard table headers (i.e., ID Header, Name Header, etc.), but be sure also to include the Translation Header as this component displays the translation status of the relevant object in the specific context-linked language.
-
For the Group Options section, accessible by clicking the section heading, users can set the following options:
-
Groups Initially Open - When checked, any configured attribute groups display in the table as open by default.
-
Show Empty Group Headers - When checked, configured attribute group headers are visible even if the attribute groups are empty.
-
Show Group Headers - When checked, a header for any configured attribute groups is visible.
-
-
For the Advanced section, accessible by clicking the section heading, users can set the following options:
-
Display Mode Height - The value entered in this field determines the height, in pixels, of the top half of the screen where the items are displayed.
-
Show only Valid Attributes - If enabled, only the attributes that are valid for the selected product are displayed. If disabled, which is the default setting, all attributes are displayed, irrespective of the validity for the selected product, which is defined / added in the Headers option.
-
Dimensions - The sizing of elements within the Translation Screen table is determined by configuring the ‘Compare Display Mode Component’ component, accessible via the Dimensions field. In pixels, add the relevant dimensional values in the fields listed and described below to configure the table.
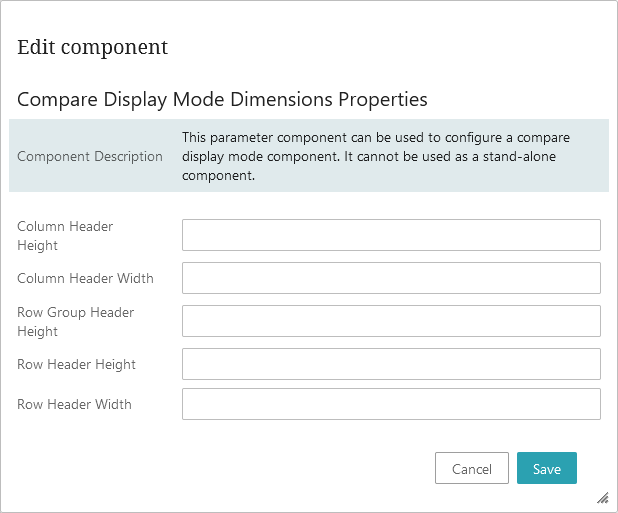
- Column Header Height: Determines the height of the column header.
- Column Header Width: Determines the width of the column header.
- Row Group Header Height: Determines the height of the grouping row headers.
- Row Header Height: Determines the height of the row header.
- Row Header Width: Determines the width of the row header.
-
Using the Translation Screen
The Translation Screen provides users with translation data of individual objects. It enables users to:
-
view translation-related data for an object in a single table
-
proofread and revise translated object data
-
approve translations
Select source language
To view translation information related to the selected object, first select a source language, which is the language from which the translation originates. To select the source language, click the 'Select source language' button in the toolbar above the table.

Users must select a source language that is different from the language linked to the context being viewed. For instance, if a user wants to select 'English' as the source language, they cannot do so from the English language-linked context. To do so, the user must either select a different language-linked context or select a different source language.
To select a source language from the 'Select Source language' dialog, click anywhere in the 'Source language' field, and a dropdown menu showing the available source languages will display.
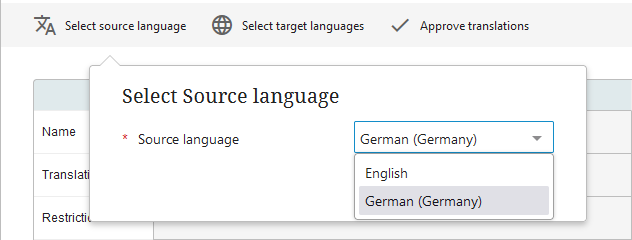
Select the desired source language, and click 'Select.'
Select target languages
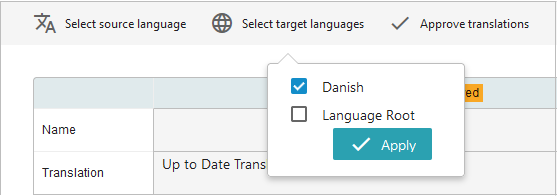
To determine which context-linked target languages will display as columns in the table, click the 'Select target languages' button in the toolbar above the table.

From the modal, select target languages by clicking the checkbox beside the available language. Check the box for all languages that should display.
Approve translations
The Translation Screen enables users to review, edit, and approve translated object data.
When all translated object data in a context-linked language column is correct, click the 'Approve translation' button in the toolbar above the table.

In the 'Approve Translations' dialog, select the translations to be approved by clicking the checkbox beside each relevant translation. Click 'Approve.'
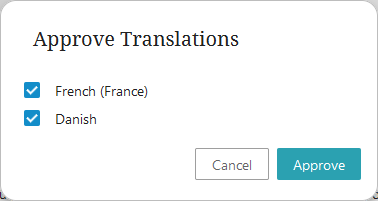
This approves the translated object data for the selected target languages in the dialog. When a target language is selected for translation approval, all attribute values for attributes with a language dependency on the object are approved.
To determine whether data in a cell is approved or not, look for this icon in the far right-hand side of the cell:

When the user hovers their cursor over the icon, informational text displays that reads, "Value needs review / or approval". Data in cells that do not feature this icon are already approved or are not language-dependent.
Additional considerations
To configure and use the Translation Screen in a way best suited to user requirements, there are additional considerations to keep in mind.
-- It is recommended that when configuring the Translation Screen, all attributes with a language dependency are configured for display. This is so that when viewing the translated content in the table, all relevant information is visible and can be reviewed and approved. Any attributes that contain translated content but are not configured for display in this table will be approved when the target language is selected for approval.
-- The Translation Screen displays attributes with only a country dependency as read-only. The Translation Screen does not support display of attributes that have two dimension dependencies. These kinds of attributes can potentially be displayed in unexpected ways.
-- Users tasked with reviewing and approving content on the Translation Screen must have the appropriate privileges. For more information on setting privileges, refer to the Privilege Rules topic.
For additional information on the translation process in STEP, including asynchronous translation, refer to the Translations topic.