This guide covers how to generate a Manual Excel Translation Export, which is the translation export method best used when users need to send a very limited amount of content to a vendor for translation, or when exporting Setup Objects into an Excel file when XML is not a suitable option.
In most cases, creating an Excel translation file through the structured translation process (File > Translate > Data Objects) is the correct method when an Excel translation export file is required. The Manual Excel Translation Export method is best used in a limited number of use cases.
Manual Excel Translation Export is a translation method best suited for instances when:
- there is an extremely limited amount of content to translate
- the translator does not have access to either STEP or a third-party translation tool
- the objects to be translated are setup objects (attribute names, LOVs, and units)
Note: For index words, attribute groups, LOV groups, and unit groups, users creating Excel files using the Manual Excel Translation Export will need to select, one-by-one, all objects to be included in the export file because selecting the Recursive option will not bring in all child objects for these objects.
Often, the Manual Excel Translation Export process is used in coordination with the translation vendor to correct an error or process a late addition. Because this translation method represents the most straightforward way to export a limited number of objects into a single target language, it is considered a good route to efficiently handle small issues that arise following shipment of a larger translation file.
Exporting an Excel File Manually for Translation
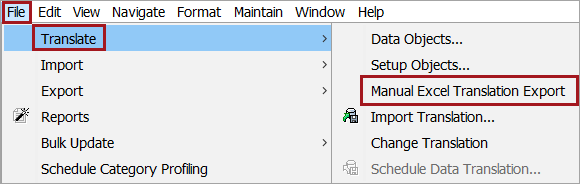
To create a Manual Excel Translation Export, open the File menu, point to Translate, and then click Manual Excel Translation Export.
The Excel Translation Export wizard displays.
Step 1 - Select Objects
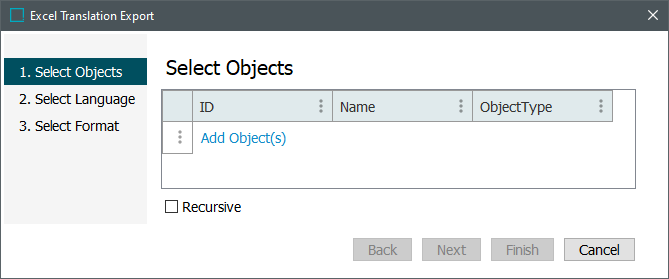
In the Select Objects step, the user may select which objects should be included in the Excel translation file being generated.
If an object has already been selected when initiating the Excel Translation Export, that object will appear pre-populated as one of the objects in this list. If the object is included in error, be sure to remove it by right-clicking the object and then selecting Remove Object from the list of options that appear.
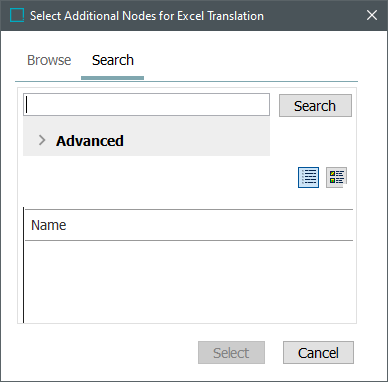
- Click the blue-shaded Add Object(s) text and then, in the Select Additional Nodes for Excel Translation window that displays, use either the Browse or Search functions to locate and select the objects you want to translate.
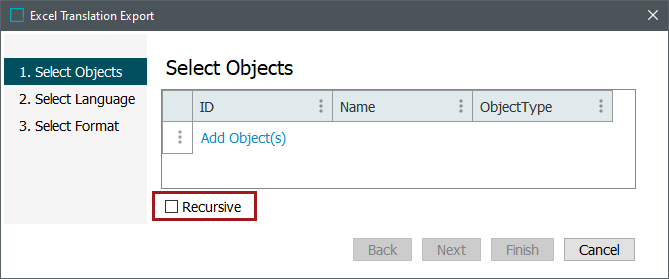
- Additionally, be sure to add a check to the checkbox beside Recursive if all objects that are 'children' to the selected 'parent' object should also be included in the Excel translation export.
Step 2 - Select Language
The Manual Excel Translation Export allows for one language to be targeted for each export file produced. The Select Language step allows the user to choose either a source language or a target language as the language they export the Excel to translate into.
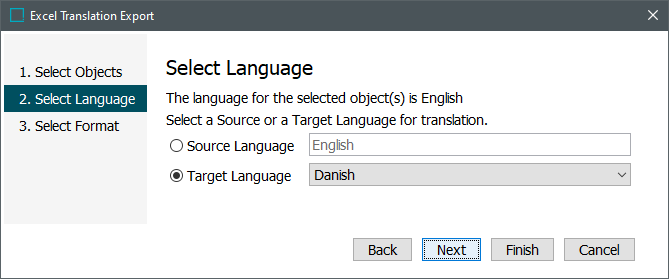
The first line of text in this window ('The language for the...') informs the user what the source language for the selected object is. This is determined entirely by what context STEP is set to at that moment. In most cases, the source language will be correctly set based on the context, and only the target language will need to be chosen.
However, if the user decides to select Source Language and then select a language different from the context language, the language appearing in the Target Language field will revert from whatever it is set on to the context-driven source language. As an example, if the context is set to English, but a user changes the source via the Source Language field to French, the Target Language value will automatically change to English. In effect, it is not possible to set both the source and target to a language that is not set by the context.
Step 3 - Select Format
In the final step in the Manual Excel Translation Export, the user selects which kind of Excel document the data should be exported into.
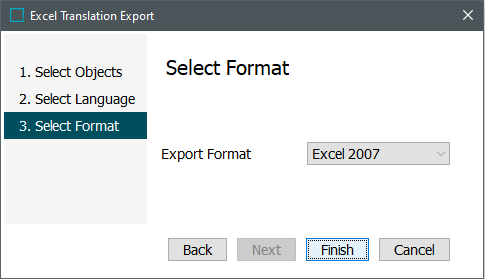
By default, the Export Format selected is Excel 2007.
Then click Finish.
A Save window will appear prompting the user to select the location where the Excel document should be saved. When you have selected the destination location and clicked Save, the export completes, and the exported Excel document will be available.
The Excel file you exported will look something like this:
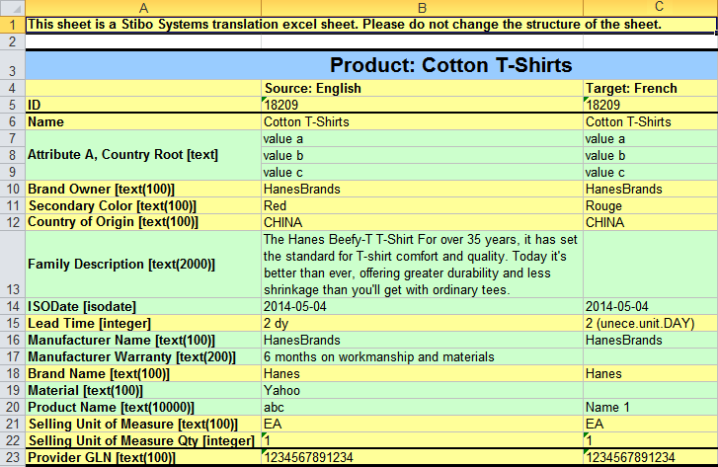
The translation work can be done directly in the Excel file and then imported back into STEP.
Important: Special characters like the greater-than and less-than symbols (> and <, respectively), double and single quotes, or the double prime (to denote lengths measured in inches), must be mapped in STEP prior to exporting an Excel file using this method. If this is not done, the file will error on import.
For more information on manually translating content in an Excel file, refer to the Manually Translating XML and Excel Files topic. For information related to importing translation Excel files, refer to the Importing Translation Excel Files topic.