The Remove Rows/Columns transformation enables you to remove specified rows and/or columns from the table, whether or not they are empty. For example, when you want to remove an unused row or column from the table, then this transformation can be used.
Prerequisites
The instructions in this topic assume that you have already added the transformation to your table by following the instructions in the Add a Transformation to a Table or Table Type subsection of the Table Transformations topic here.
Example
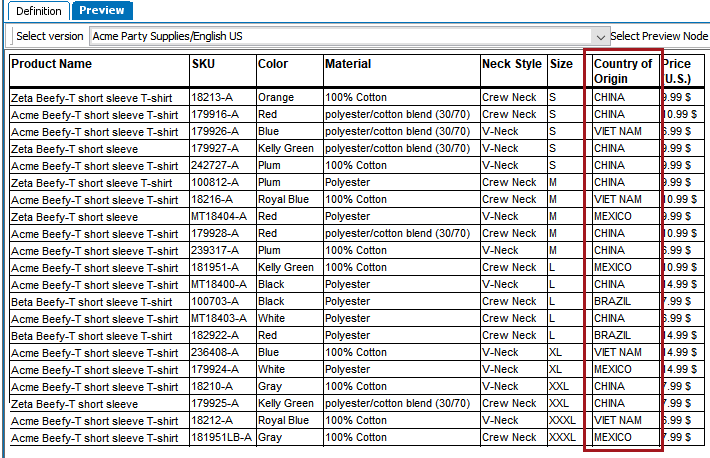
Before
Before the transformation is applied, the 'Country of Origin' column is present.
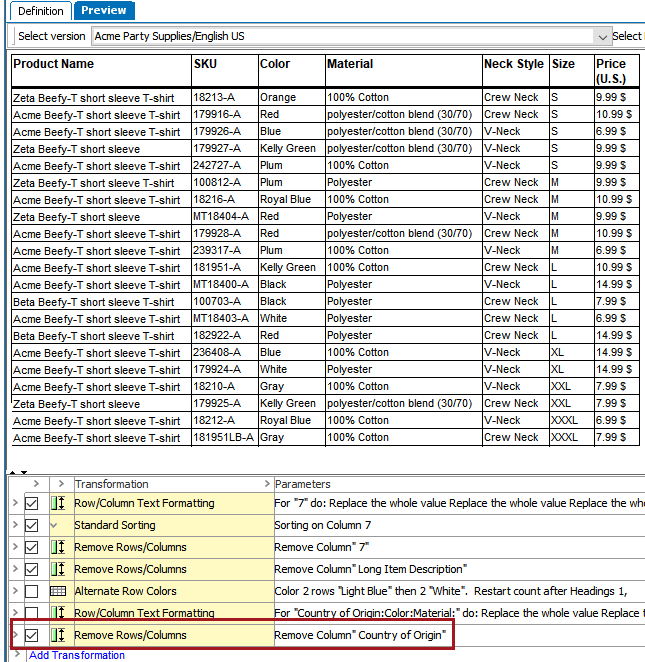
After
After applying the transformation, the 'Country of Origin' column is gone.
Refer to the Sorting Transformation topic here for a more complex example which incorporates both a sorting transformation and a row removal transformation.
Steps
- After adding the transformation, under Parameters, click the ellipsis button (
 ). The Remove Rows/Columns dialog displays.
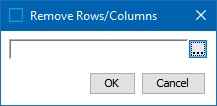
- Click the ellipsis button () to launch the Select Row/Column dialog.
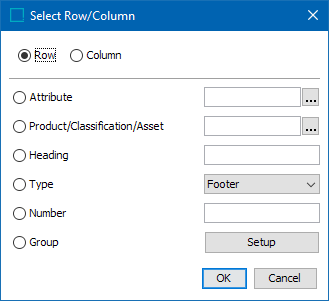
- Select Attribute to apply the transformation to the row or column that contains the specified attribute. Click the ellipsis button () to search or browse for the relevant attribute.
- Select Product/Classification/Asset to apply the transformation to the row or column that contains the specified object. Click the ellipsis button () to search or browse for the relevant object.
- Select Heading to identify the row or column by typing the header text of the relevant row or column.
- Select Type to choose a specific row or column type from the dropdown list.
- Select Number to identify the row or column by entering the sequence number. For example, to apply the transformation to the third column, type 3.
- Select Group to apply the transformation to a group of rows / columns and/or a range of row / columns, then click the Setup button.
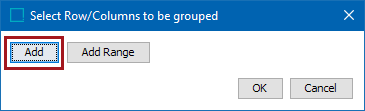
- Click Add in the Select Row/Columns to be grouped dialog to add rows or columns to the group individually.
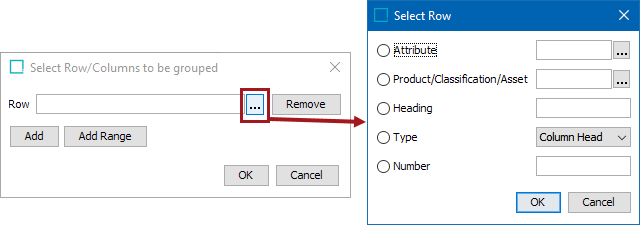
After clicking Add, either a Row or Column field displays, depending on whether you are selecting a row or column. Click the ellipsis button () to launch another Select Row/Column dialog. This is identical to the previous 'Select Row/Column' dialog, except without the Group option. Click OK after making your selection.
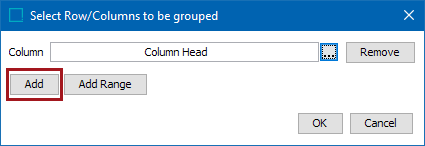
Click Add again on the 'Select Row/Columns to be grouped' dialog to repeat the previous steps and add more columns to the group. Click OK when done.
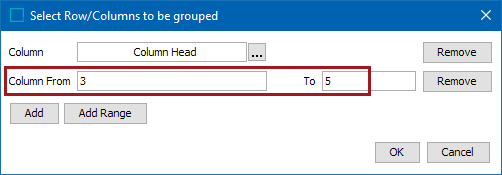
- To add a Range of columns to the group, click Add Range.
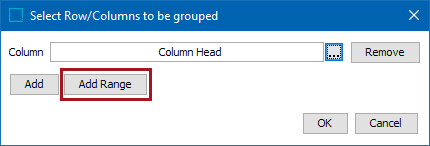
Enter the starting and ending column numbers in the Column From and To fields, then click OK when done. To enter a range that will contain the remainder of the table if rows or columns are added later, enter a large number in the 'To' field such as 5999. Note that these fields can only contain integer values.
- Click OK.