This section contains information about installing the Print Publisher via the InDesign plugin, on your local computer and logging on to STEP from within InDesign. This topic assumes the following:
- You have Adobe InDesign installed on your computer
- You have been assigned a STEP user name and password
- A publication containing at least one publication version has already been created in your STEP system. A publication version is required to define the workspace and context in which you will be working. For more information about creating a publication version, refer to the Publication Versions topic in the Publication Hierarchy section of this guide
Installing the InDesign Plugin
To log onto STEP from within InDesign, you must first install the InDesign plugin that is associated with the STEP system that you are trying to access.
Note: It is strongly recommended that InDesign is closed while you install the plugin. If InDesign is open when you install the plugin, you will need to close and reopen InDesign before the plugin can be registered.
Once the plugin is successfully installed, a STEP menu option displays across the top of the InDesign interface. If you do not have this option, then the plugin installation was unsuccessful.

The following instructions are written for the Windows platform, but the overall process of downloading and installing the plugin is equivalent for Mac users.
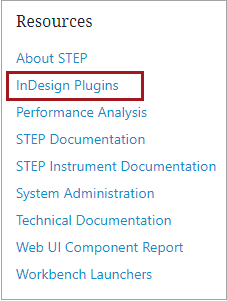
- In your browser, navigate to the Start Page for your STEP system and locate the InDesign Plugins link under Resources.
- Click on the link to display the supported plugins for your STEP system. The selection of plugins may be different depending on the release version and/or patch level of your system.
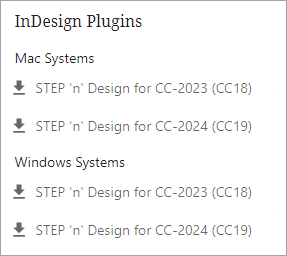
- Select the plugin that matches the version and platform of InDesign that you are running. For Windows users, the plugin is contained within a .ZIP file. For Mac users, the plugin is contained within a .dmg file. The file should download automatically, though the file may download differently depending on your browser settings.
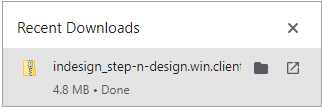
- Locate the .ZIP file in its download location (such as your Downloads folder or other default download location), then move it into your Adobe InDesign Plug-Ins folder. For Windows platforms, the file path format is as follows: ('Adobe InDesign CC 2024' will be replaced with the specific version of InDesign that you are using.)
C:\Program Files\Adobe\Adobe InDesign CC 2025\Plug-Ins
- Unzip the file directly into the Plug-Ins folder. Optionally, you can create your own folder within the Plug-Ins folder to store the InDesign plugin (for example, 'STEPplugins'), but this is not required.
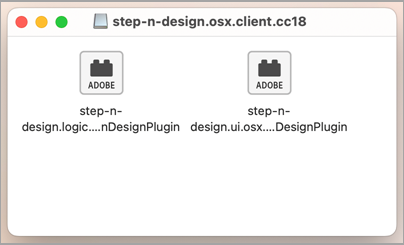
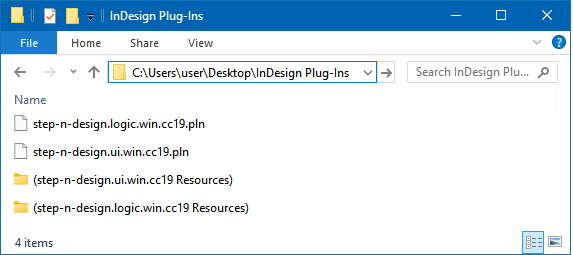
- The contents of the unzipped file will look as follows. Nothing should be deleted from this folder once unzipped.
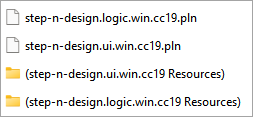
For Mac systems, only the two plugin files will be available; the resources folders will not be present.
- After installing the plugin in the Plug-Ins folder, open your InDesign client to complete the installation process and log onto STEP.
Logging on to STEP from InDesign
After installing the plugin and opening InDesign, you will have the ability to connect to STEP from InDesign.
- When InDesign opens, a Connect to DB dialog box displays.
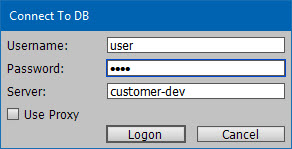
- In the Username field, type your user name.
- In the Password field, type your password.
- In the Server field, type the name of the server (STEP database) you want to connect to.
- If you need to connect to STEP through a proxy server, check Use Proxy. Once the Use Proxy box is checked, the fields that are required to connect to the proxy server are displayed (Server, Port, Username, and Password).
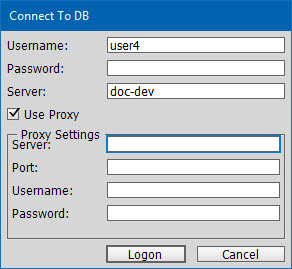
Note: If using http://, by default the system will connect using a port number. If SSL is enabled and you are using https://, then the system will connect using a different port number for the same server. For more information, contact Stibo Systems support staff.
- Click Logon.
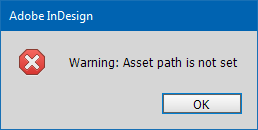
- For a first-time log in, a dialog displays with Warning: Asset path is not set. The error message will display every time you log in until an asset path is specified in the STEP > Preferences menu. Click OK to continue.
For information on setting an asset path and disabling this warning, refer to the Linking to an Asset Location topic
- After clicking OK, the Change Version dialog displays. A version must be selected in order to define the workspace and context to be used.
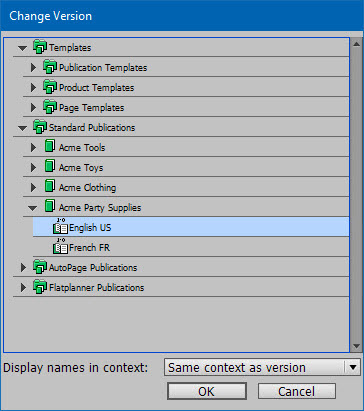
- Navigate to the relevant publication, then click the black arrow to the left of the publication icon to display the available versions for the publication.
- Select a version, then click OK.
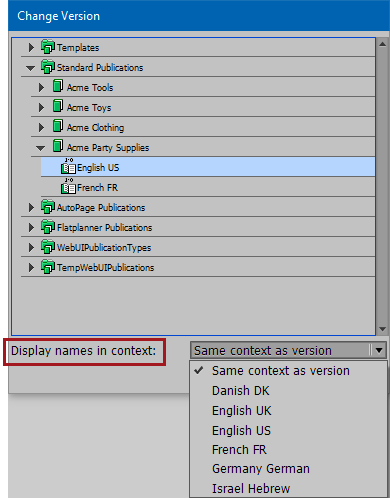
- To use a different display language than that of your publication version for object names and attribute names in the STEP panels, choose a context from the Display names in context option before clicking OK. This option allows you to choose a different display context so you can, for example, view all product and attribute names in English if you are working with a French publication. For more information on this option, refer to the Description of the InDesign Interface topic
Reinstalling the InDesign Plugin After System Patches and Upgrades
The InDesign plugin must be reinstalled every time your STEP system is upgraded and/or every time a patch is applied to your system that impacts the InDesign component. In these instances, the InDesign plugin in your Plug-Ins folder must be deleted and a brand-new plugin must be downloaded again and installed from the Start Page of your STEP system.
If the build level of your InDesign plugin does not match the build level of your STEP system, you will receive a warning such as the below after you connect to your STEP server from InDesign:
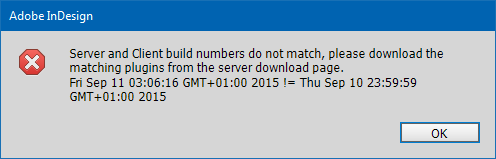
Though you will still be connected to STEP after clicking 'OK,' it is not recommended to work with a mismatched plugin. For example, there might have been bugs in the system that were fixed with a patch. If your InDesign client is running an older build of the plugin that was released before the patch, your system may not function properly.
Alternate Plugin Locations
In some instances, IT standards and procedures for data safety may prohibit users from accessing the 'Program Files' folder which contains the 'Plug-Ins' folder. Due to this, users cannot reinstall the InDesign plugins with each subsequent update of Print Publisher. To alleviate that issue, a workaround exists in InDesign to allow users to designate an accessible folder location for the plugins. This workaround includes the following:
- Creation of an alternate plugins folder accessible by users
- Creation of a text file containing the file location of this alternate plugins folder, which tells InDesign where to look for the new plugins folder
- Storage of InDesign plugins in this alternate plugins folder
Alternate Plugins Folder Text File
After creating the alternate plugins folder, create a text file named 'PlugInConfig.txt' which contains the file path to the new plugin location. Inside the file, the following information will be included. (The file paths below are example paths.)
Windows-based systems
=Path
"C:\InDesign\Plugins"
=MorePluginConfiguration
=Exclude
OSX-based systems
=Path
"Disk:directory:InDesign\Plugins"
=MorePluginConfiguration
=Exclude
Next, based on the related InDesign version, the PlugInConfig.txt will need to be located in one of the following locations.
| InDesign Version | Windows File Location | OSX File Location |
|---|---|---|
| CC 2025 | C:\Users\'user'\AppData\Roaming\Adobe\InDesign\Version 20.0\en_US | ~/Library/Preferences/Adobe InDesign/20.0/en_US |
| CC 2024 | C:\Users\'user'\AppData\Roaming\Adobe\InDesign\Version 19.0\en_US | ~/Library/Preferences/Adobe InDesign/19.0/en_US |
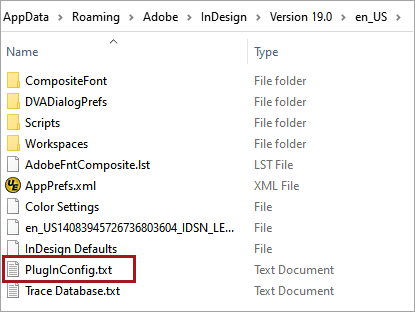
On a Windows machine running CC2025, the correct location for the PlugInConfig.txt text file is pictured below:
Relocation of Plugins
To proceed with this method, relocate the two resource folders and the two plugin files from the 'usual' Plug-Ins folder into the alternate Plug-Ins folder. The below example shows the plugins as stored in a folder named 'InDesign Plug-Ins' on a Windows desktop:
InDesign will load and read the additional plugin location, and no additional configurations are needed. When Print Publisher is upgraded, users can download and unzip the plugins into this alternate folder and completely bypass the Plug-Ins folder located inside Program Files.