When inspecting pages in the Page Inspector, markers provide information about the products mounted to the page. Click Markers to view the list of available markers that can be placed onto the mounted objects. The following options are available:
- Show Borders
- Show Measures
- Show Oversets
- Show Layout source
- Show Update Needed

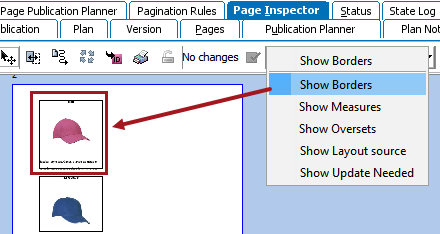
Show Borders
Places a black frame around each object to show the borders of a product presentation.
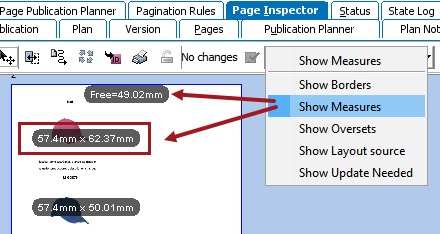
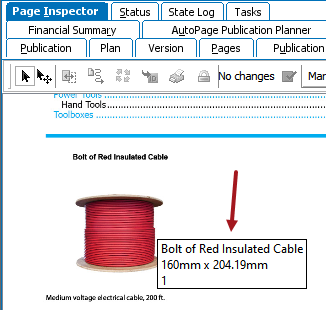
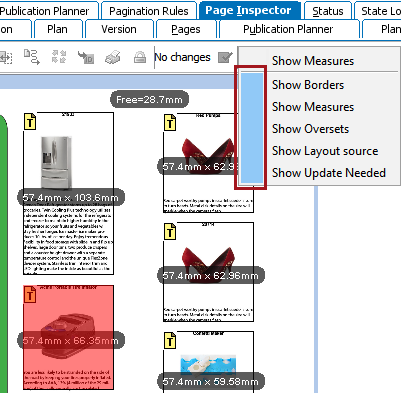
Show Measures
Shows the width and height of a product presentation, as well as the free space left on a page.
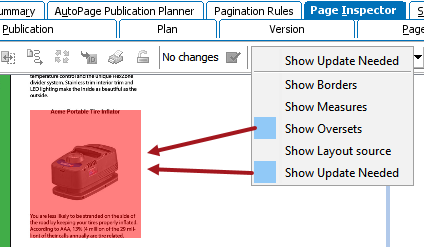
Show Oversets
Shows which paginated objects contain overset text. The objects are highlighted in yellowish orange.
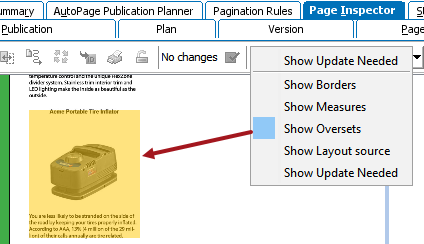
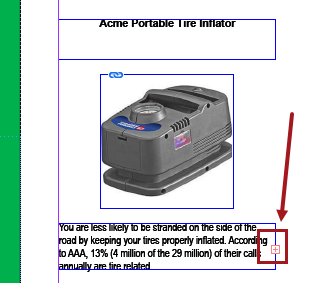
Overset means that there is too much text to fit in the visible frame on the InDesign page. The object will need to be remounted to resize the frame so it will accommodate all of the text. The following screenshot shows what the overset text frame looks like on the InDesign page, as indicated by a square with a red cross in the middle.
Viewing Overset Text in the Workbench
- Double-click the white space of the page that contains the mounted object with oversets. The workbench will route to the DTP page in the Tree.
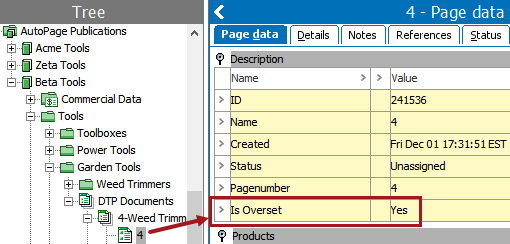
- On the Page data tab, if there is any overset text on the page, the value of Is Overset will be 'Yes.'
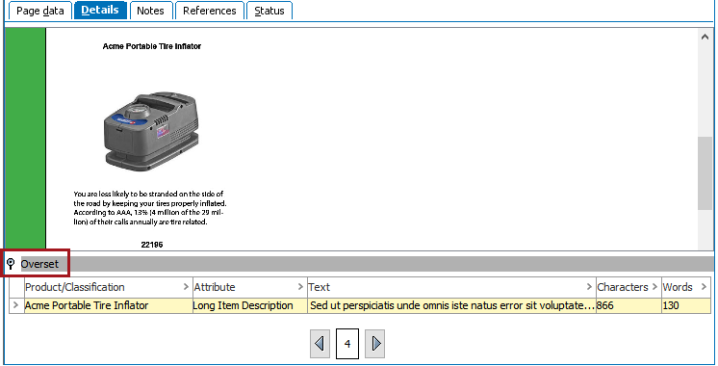
- On the Details tab, expand the Overset flipper below the page. The following information about the overset is displayed:
- The mounted product / classification object that contains the overset text
- The attribute that contains the overset text
- The text where the overset begins
- The number of characters in the overset text
- The number of words in the overset text
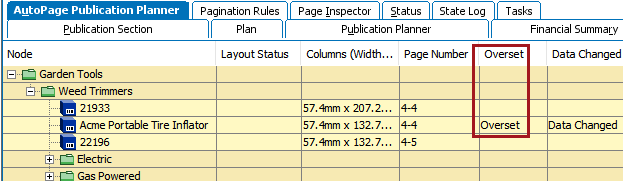
- Information about overset text can also be viewed on the Publication Planner tab. If there are any oversets, they are listed in the Overset column.
- To resolve the overset text, remount the object. Refer to the Remounting and Reflowing Objects topic (here) for more information.
Show Layout Source
Shows the name of the product template and the STEP path where the template can be found. If the product is mounted with an existing layout that is picked up from another publication, this is also shown. Hover the mouse over the layout symbol  to view details about the product template.
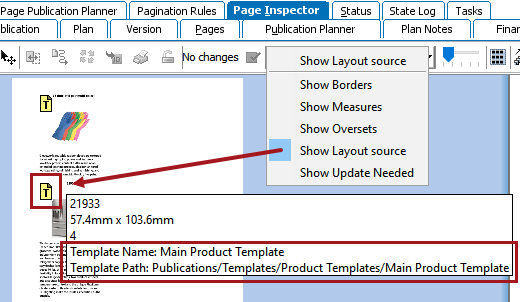
Note: Without 'Show Layout source' selected, hovering your mouse over a mounted object will still display a limited amount of information—the object name, dimensions of the mounted object, and the page number the object appears on. However, 'Show Layout source' must be selected to view product template information.
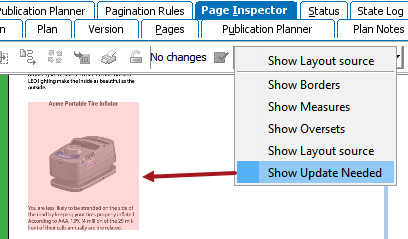
Show Update Needed
Indicates if the product data has been updated in STEP since the product was mounted on the page. The objects are highlighted in light red.
Objects are only highlighted if you have already run a Check for update needed operation on the relevant publication group, publication, section, or DTP document. For information on how to run a check for needed updates, refer to the Updating Documents in AutoPage topic here. For information on how to check for needed updates using bulk update functionality, refer to the Publishing: Check Publication Document for Needs Update Operation topic in the Bulk Updates documentation here.
Selecting Multiple Markers
Multiple markers can be activated on the page at the same time.
Overset & Update
If an object is both overset and needs update, and both markers are shown, the object is highlighted in red. Both markers must to be turned on to view the red color.
All Markers
The following screenshot shows a sample page with all markers activated.
Gray Boxes in the Page Inspector
Though not technically considered a marker, gray boxes sometimes display on mounted objects in the Page Inspector.
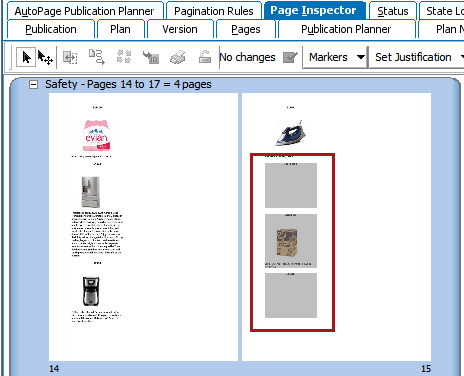
These gray boxes appear because the same page can be visible in two subsections if the mounted page contains objects from both subsections. The objects that do not belong to the selected subsection are displayed in a gray box. Also, because the page belongs to two different subsections, it is displayed twice in the Page Inspector.