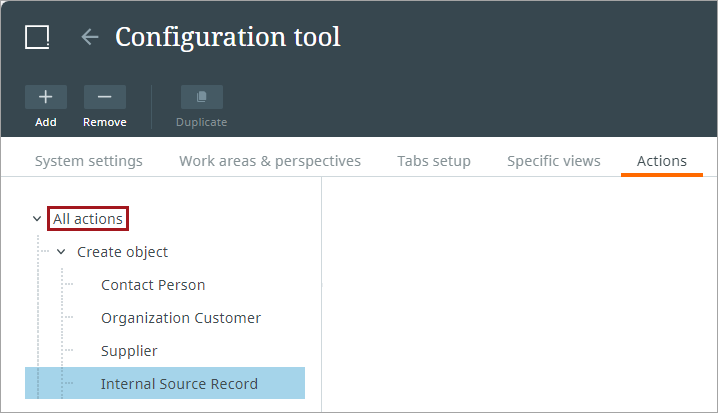
The Configuration tool actions allow admin users to create preset actions that are triggered by user actions. The action options are described below.
Object Creation Configuration Action
The object creation configuration action allows a user to create a new object and immediately initiate the new object into a defined workflow. This action is triggered in the following ways:
-
In a Task perspective, object creation and initiation are triggered by clicking the 'Create' toolbar action. For additional information, refer to the Creating and Initiating a New Object within the Tasks Perspective topic.
-
In a Browse perspective, object creation and initiation are triggered by right-clicking the 'Create' action. For additional information, refer to the Creating New Objects within the Browse Perspective topic.
Creating an Object Creation Configuration Action
-
Add a new configuration.
-
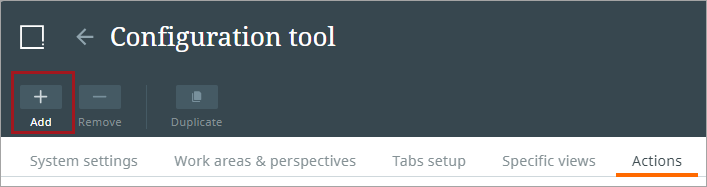
Click the Add toolbar button.
-
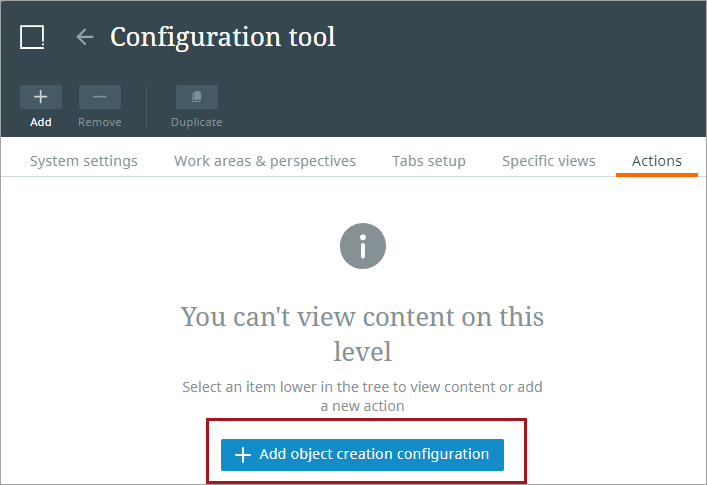
Click the Add object creation configuration button.
-
-
Enter an object type, a workflow, select the default parent node, and click the Create button.
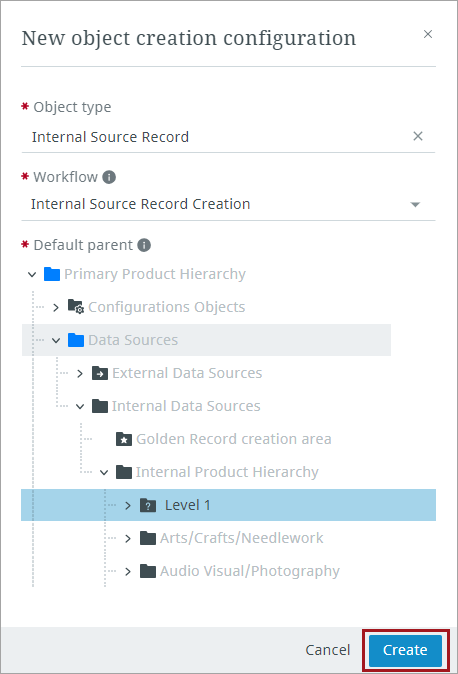
Note: The default parent settings apply when an object of this type is created in a Tasks perspective. If the object is created in a Browse perspective, it will automatically be initiated into the selected workflow, but the default parent will be overwritten with the location the object was added.
The default parent node value is stored in the 'Parent' field. This value can be updated later in a perspective table or using the Attribute tab of the details view. For more information on adding the 'Parent' field to these locations, refer to the Creating a Browse Table Configuration in Specific Views section of the Creating a Browse Perspective topic, the Creating and Maintaining Tasks Perspectives section of the Configuration Tool: Creating Perspectives and Work Areas topic, and the Setting Attributes for Display section in the Configuration Tool Tabs Setup topic.
-
Click the Save button in the toolbar.
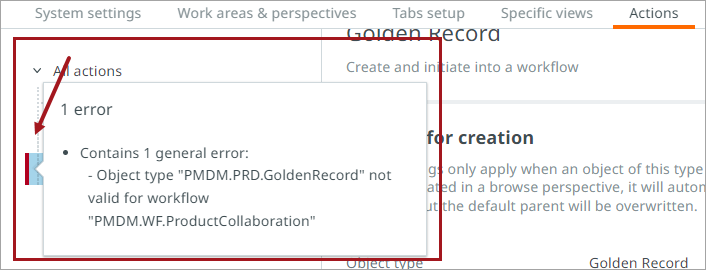
Note: Changes made to the properties of the actions may result in the action configuration to become invalid. If this happens, a red-line error indicator will display to the left of the affected configuration element. Hovering the cursor over the red line prompts an information pop-up to display. The pop-up describes the issue causing the configured element to be misconfigured, (as shown in the screenshot below), giving the user the information needed to make the appropriate change.
Updating Configuration Tool Actions
Actions can be viewed and updated by an admin user after the initial creation of the action.
-
Select the action from the actions list menu.
-
After making any changes, click the Save button on the top right of the page.
Removing Configuration Tool Actions
Actions can be removed by an admin user.
-
Select the action from the actions list menu.
-
Click the Remove toolbar button.

-
Click the Delete button in the dialogue to confirm removal. If desired, check the box for Don't ask me again in this tab for automatic removal for any future removal requests.

-
Click the Save button on the top right of the page.