Regardless of the object type or hierarchy that you are working with, the general principles of deleting objects in the workbench are the same and are described below.
Prerequisites
All actions are controlled via privileges. Some users may not have access to create or delete objects or may only have access to edit specific object types, hierarchies, or attribute values. The information below focuses strictly on carrying out the various actions and assumes that all required privileges are granted. More information on privileges is available in the Privilege Rules topic in the System Setup documentation here.
Delete Objects
Objects deleted in the Tree tab are moved to the Recycle Bin for the Tree, where they can be revived or purged. To fully delete an object, the deletion must be approved, and the object must be purged from the Recycle Bin. For information on the Tree Recycle Bin, refer to the Recycle Bin for the Tree Tab topic here.
Important: As an alternative, an object can be deleted from the Tree and also purged in a single step using the 'Force Delete & Purge' option in the Maintain menu. This option bypasses the Recycle Bin. Do not use this option if deletion events are required for output to downstream systems since a DELETEAPPROVAL event is not generated for 'Force Delete & Purge'. Refer to the Force Delete and Purge heading in the Maintain Menu topic of the Getting Started documentation here.
To delete from the Tree:
-
Select an object (or multiselect using Ctrl or Command) in the Tree.
-
Choose a delete method:
-
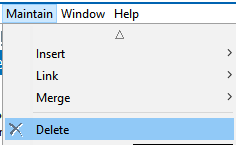
Right-click the selection and click Delete.

-
From the Maintain menu click Delete.
-
-
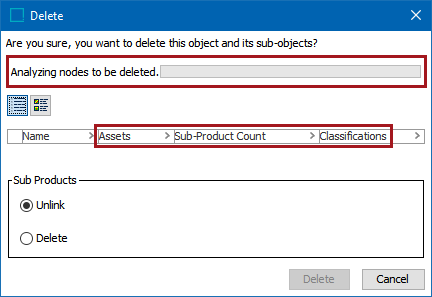
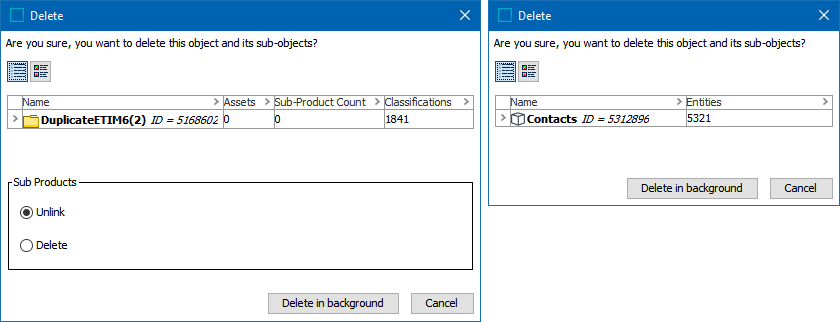
Review the Delete confirmation dialog, which varies slightly based on the object selected for deletion and the number of objects to be deleted.
-
Analyzing nodes to be deleted progress bar - displays as needed when large numbers of objects are being deleted. The Delete button is disabled while the analysis is running. Although the table is empty during the analysis phase, the impacted object types are displayed in the header.
-
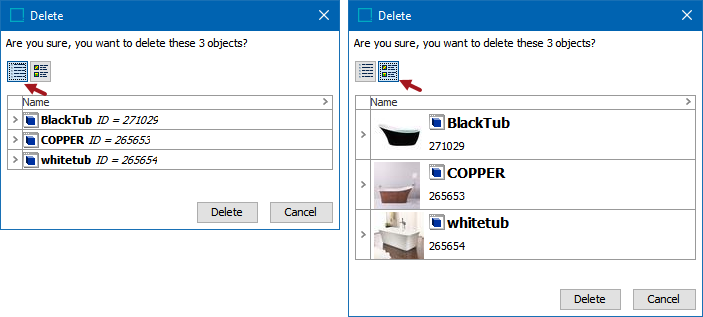
The view options buttons - allow display of the primary image when available.
-
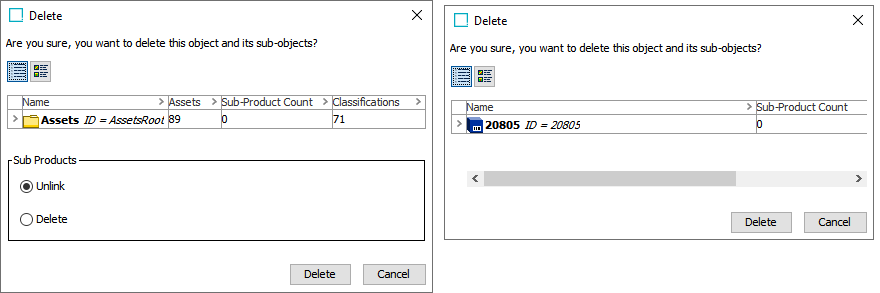
The object to delete table - includes the names of objects to be deleted and the number of impacted objects.
-
Sub Products - when deleting a classification, select Unlink to leave the sub product in the hierarchy, or select Delete to delete the selected objects and the sub products linked to the classification.
This is not an option for products; all child objects for products are automatically deleted.
Deleting a large number of objects, such as a parent object with more than 1,000 objects, uses a background process (BGP) to move the objects to the recycle bin. This allows the user to continue other activities in the workbench while the BGP runs.
The number of objects that triggers a BGP is determined by the case-sensitive property Delete.InBackgroundProcess.RequiredNodeNumber=1000. The default is 1,000. For on-prem systems, the property is included in the sharedconfig.properties file on the application server.
-
-
Click Delete or Delete in background to proceed with the deletion or click Cancel to close the dialog without making any changes.
-
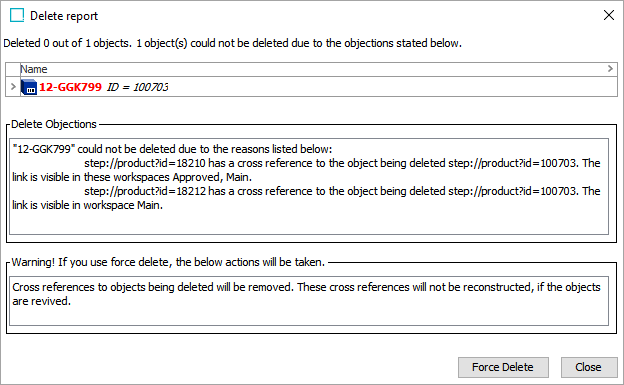
Review the 'Delete report' dialog or details of the BGP execution report, including the Delete Objections and Warnings if displayed.
To delete an object, a number of conditions must be met. For example, the object must not be referenced by any other object and must not be active in any workflow. When the deletion conditions are not met, the confirmation window displays the errors (Delete Objections) that must be corrected prior to deletion.
Approval may be required for the deletion to take effect. For example, if an object has been referenced by another object and that reference has been approved, removing the reference must also be approved (by approving the change on the referencing object) to resolve the deletion objection.
-
If no errors or warnings are displayed, click Close.
-
If errors or warnings are displayed in the ‘Delete report’ window or the ‘Delete large number of objects’ BGP, it is recommended to note the issues, click Close, and manually resolve them. Review the warning section to decide if the Force Delete option is a good choice.
-
The Force Delete button allows deletion of objects with errors and warnings from the ‘Delete report’ or the ‘Delete large number of objects’ BGP if the object is not in use (instantiated in the Tree) and typically involves restrictions (as defined on the dialog) if the deleted object is later revived. In either case, Force Delete uses a background process to perform the deletion and the process can be monitored on the BG Processes tab within the Force Purge or Delete Nodes queues.
If the object is in use, the 'Force delete report' dialog displays success or the objections that must be resolved manually before deletion can succeed.
-
-
View the deleted object(s) in the recycle bin. For information on the Tree Recycle Bin, refer to the Recycle Bin for the Tree Tab topic here.