The Onboarding Mappings Details screen allows users to quickly display mapping configurations. The Onboarding mappings navigator component functions as a Global Navigation Panel component. For more information about Global Navigation Panel, refer to the Global Navigation Panel topic in the Web User Interfaces documentation.
Configuration Prerequisites
It is expected that anyone configuring the Onboarding Mappings Details Screen component is familiar with the Web UI Designer as basic concepts for working with the designer are not covered in this section. In addition, the user must have appropriate privileges to access the designer. Additional information can be found in the Designer Access section of the Web User Interfaces documentation.
Configuration Process
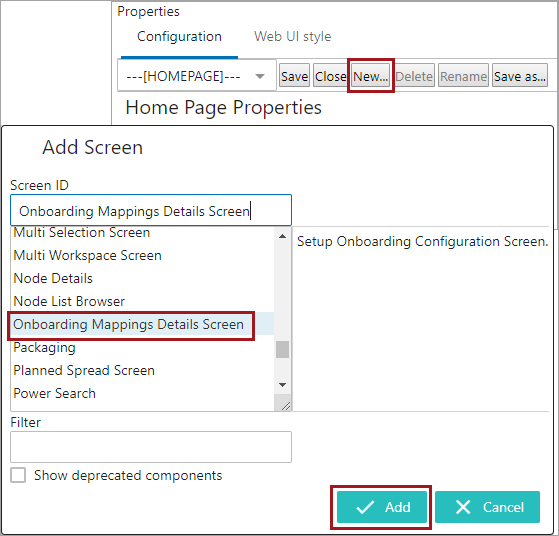
In the designer, create a new screen by selecting 'New.' Select the 'Onboarding Mappings Details Screen,', and create a name for the screen in the 'Screen ID' field. In the example below, the Screen ID is 'Onboarding Mappings Details Screen'. Click 'Add.'
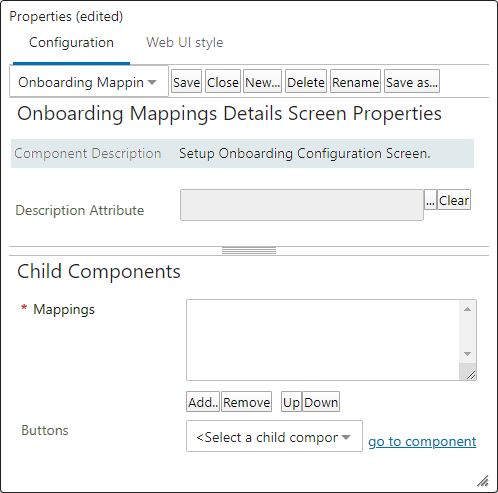
Once this screen is created, the Onboarding Mappings Details Screen Properties designer screen displays, which contains the following parameters for configuration:
-
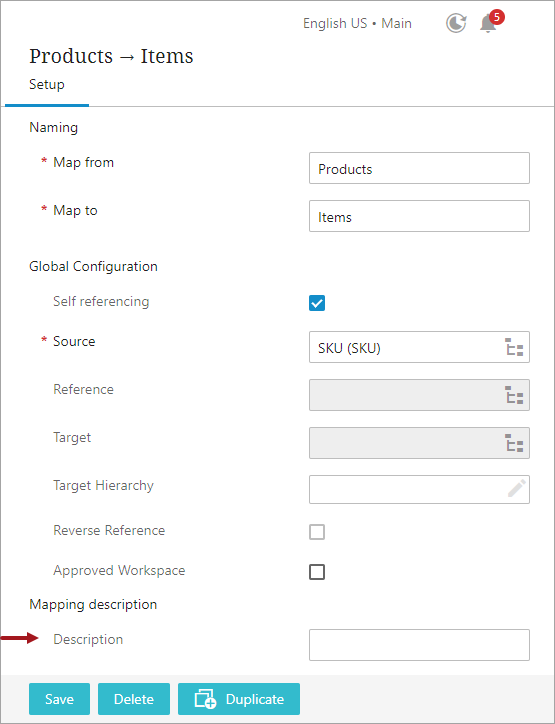
Description Attribute: This parameter allows users to configure an attribute that holds the description text for the Mapper Configuration setup entity. The configured attribute must be valid for the object type belonging to the Mapper Configuration setup entity. Any text string entered in the 'Description' field available within the 'Setup' tab of the Onboarding Mappings Details screen for the selected Mapper Configuration setup entity (an example shown below) will be held by the attribute defined in this parameter.
-
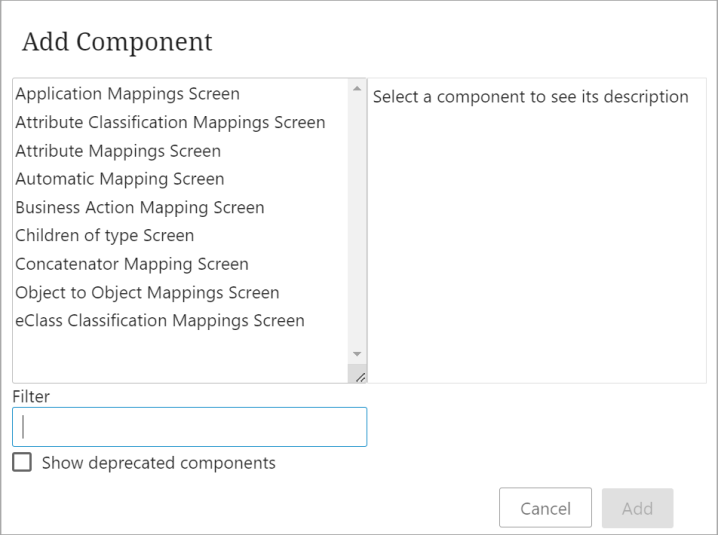
Mappings: By default, this required parameter is blank. Click on the 'Add' button to add the mapping plugins that admin users should be able to view and select when configuring the mappings. The following are the available mapping plugins:
-
Application Mappings Screen:
Note: This mapping plugin is for use with the PMDM for Automotive solution only.
When configured in the Mapper Configuration, this plugin transfers data from source object applications to create new applications in the target object. Additionally, it establishes references for target applications to both target vehicles and target part types. Double-click the added 'Application Mappings Screen' in the Mappings field to rename the plugin name if necessary by changing the value in the 'Title' parameter.

-
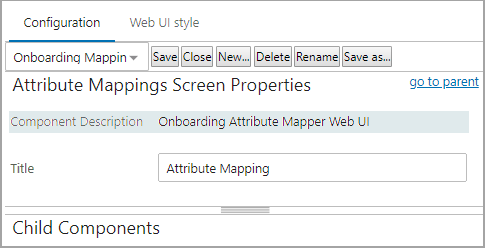
Attribute Mappings Screen: This plugin, when configured in the Mapper Configuration, will copy attribute values from the Source object to populate attributes in the Target object. In other words, If the Source object has an attribute value of 'X,' then this value can be copied into a valid attribute of the Target object (with transformations, if required). Double-click the added 'Attribute Mappings Screen' in the Mappings field to rename the plugin name if necessary by changing the value in the Title parameter.
-
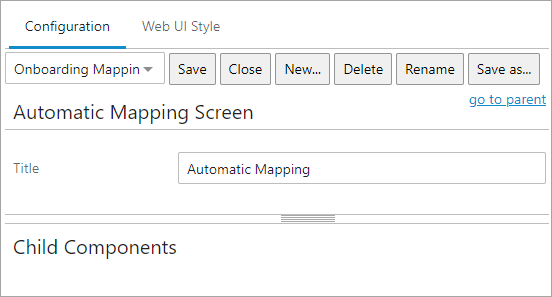
Automatic Mapping Screen: This plugin intelligently recognizes common attributes and references between source and target objects and then facilitates in transferring attribute values and references from the source to the target. Double-click the added 'Automatic Mapping Screen' in the Mappings field to rename the plugin name if necessary by changing the value in the Title parameter.
-
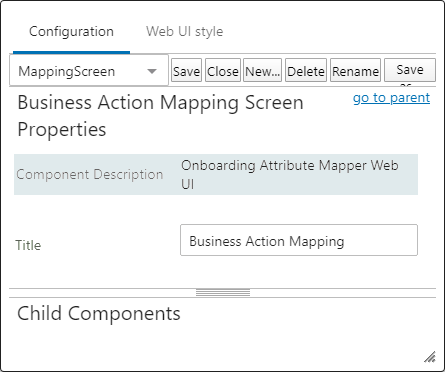
Business Action Mapping Screen: This plugin, when configured in the Mapper Configuration, provides an extended flexibility for users to configure and solve unique mapping cases which cannot be achieved by the other Mapping plugins (Attribute Mapping, Application Mapping, Object to Object Mapping, etc.). The Business Action Mapping plugin takes a business action as a configuration and when executed, executes the business action on the target object.
-
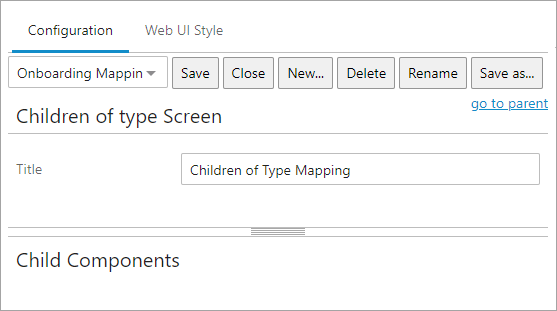
Children of Type Mapping Screen: This plugin identifies shared child object types between the source and target objects. It then duplicates these child objects, along with their associated data, from the source to the target object.
-
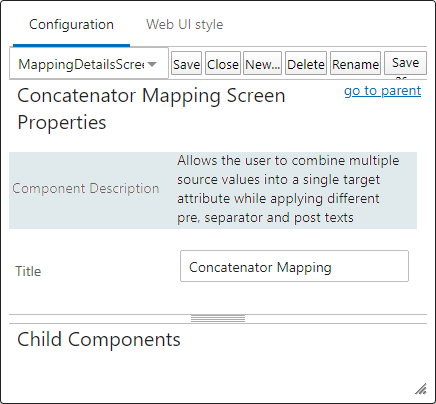
Concatenator Mappings Screen: This mapper plugin facilitates to retrieve multiple values from the source object and merge them into a single attribute in the target object. This plugin is more valuable especially for applying different pre, separator, and post texts to enhance data cohesion.
-
Object to Object Mappings Screen: This plugin, when configured in the Mapper Configuration, transfers any data from the source-related object (e.g., child object or referenced object) to the target-related object. Double-click the added 'Object to Object Mappings Screen' in the Mappings field to rename the plugin name if necessary by changing the value in the Title parameter. Double-click the added 'Object to Object Mappings Screen' in the Mappings field to rename the plugin name if necessary by changing the value in the Title parameter.
-
ECLASS Classification Mappings Screen: The ECLASS Classification Mapping plugin is designed to facilitate the mapping of ECLASS classification objects. This plugin handles updates and changes in the ECLASS hierarchy, thereby facilitating the mapping of the classification objects.
-
-
Buttons: Multiple action buttons can be added to the 'Onboarding Mappings Details Screen' to be used with the Mapper Configuration list. These action buttons are added and configured within the 'Actions' field on the Buttons parameter. The 'Save Action' is required to be configured. Other actions should be added only when necessary.
Important: The Delete, Duplicate, and Reset buttons configured within the Buttons field will delete / duplicate / reset the Mapper Configuration, NOT the individual mapping plugin rows within the configuration. If the user does not want to be able to delete the Mapper Configuration in Web UI, then do not configure the Delete Action.
If the Mapper Configuration is deleted in Web UI, then it will get moved to the Recycle Bin in System Setup. Users can revive the Mapper Configuration via the 'Maintain' dropdown > Revive.
Implementing the Onboarding Mappings Details Screen
Once the 'Onboarding Mappings Details Screen' is created, implementation of the screen requires the following setup:
- The Global Navigation Panel needs to be configured to access the Mapper Configurations
- The Mapper Configuration object type must be configured to display the 'Onboarding Mappings Details Screen' when a Mapper Configuration is selected
Configuring the Global Navigation Panel
-
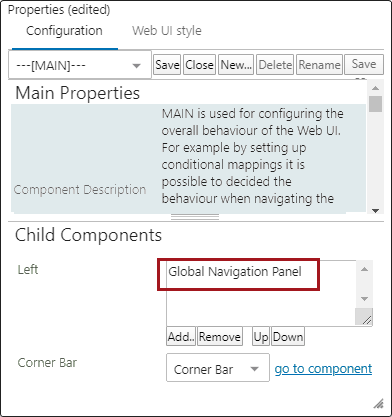
From the Main Properties screen, add a 'Global Navigation Panel' to the 'Left' section of the child components. Once added, double-click the Global Navigation Panel component. For Information on how to add the Global Navigation Panel, refer to the Global Navigation Panel topic in the Web User Interfaces documentation.
-
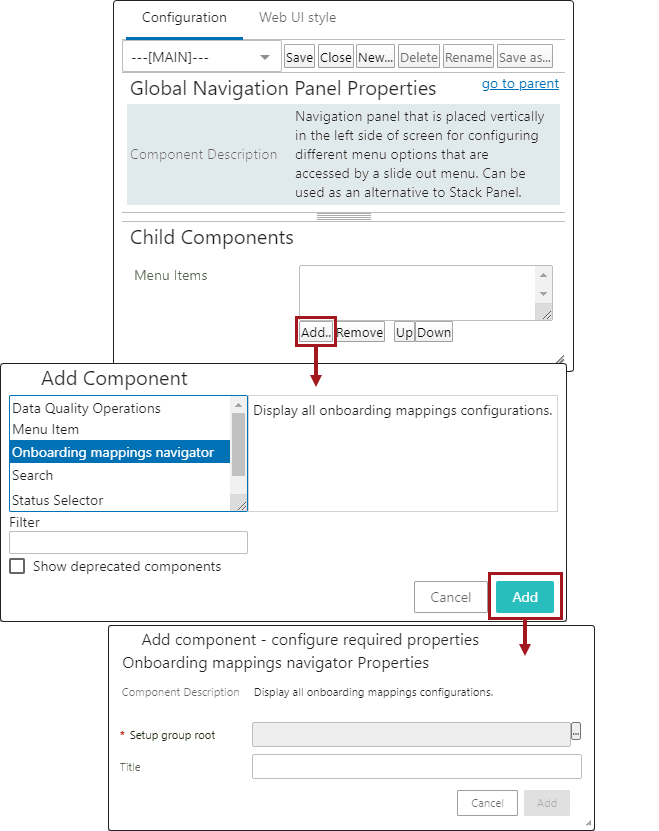
From the Global Navigation Panel Properties, select 'Add' in the Menu Items field of the Child Components section. Select 'Onboarding mappings navigator' from this dialog and then click 'Add.' The 'Onboarding mappings navigator Properties' designer screen will be displayed.
-
In the 'Onboarding mappings navigator Properties,' click the ellipsis button (
 ) next to the 'Setup group root' parameter. Then select the Mappings node to define the setup group root for mapping configurations. Click 'OK' to add.
-
If required, type in a suitable title within the Title parameter that displays the 'Onboarding mappings navigator' component in the Global Navigation Panel. If left blank, the default value is set as 'Mapping Navigator'.
When finished, click Save in the designer to save the current settings. Do not close the designer unless you have finished configuring all the other parameters (outlined in the rest of this topic).
Configuring the Mapper Configurations to Display Onboarding Mappings Details Screen
-
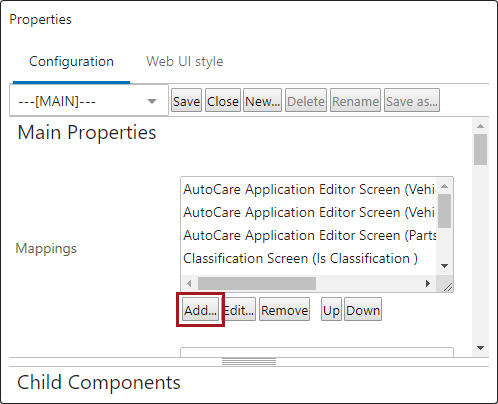
From the Main Properties, click the 'Add...' button for the Mappings parameter, and the Screen Mapping Properties will display.
-
Add a condition by clicking the Add... button next to the 'Conditions' parameter, and the Add Component dialog will display.
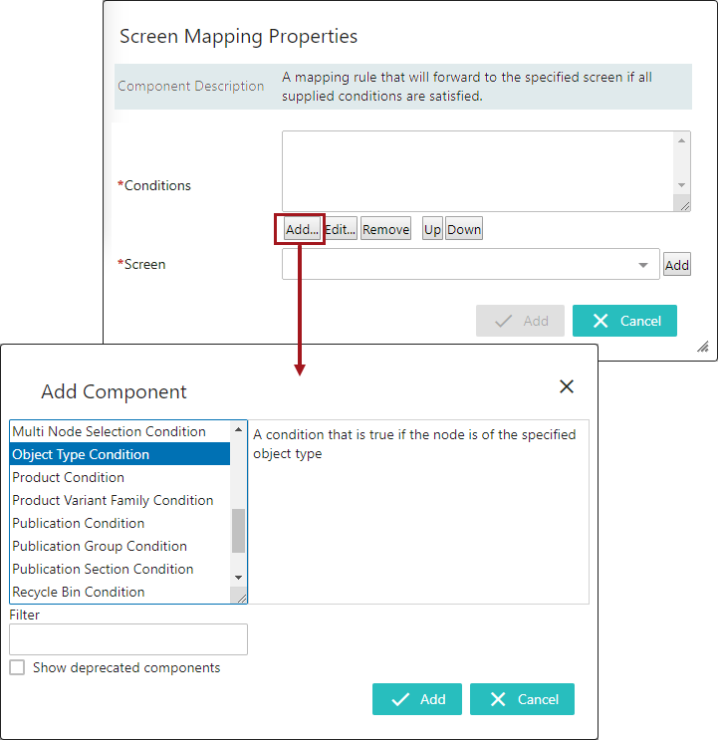
-
Within the Add Component dialog, select the Object Type Condition component and then click Add. In the Object Type Condition Properties, click the ellipsis button (
) next to the Object Type parameter, expand Basic Object Types, and select the Mapper Configuration (MapperConfiguration) object type to define that this object type should use the Onboarding Mappings Details Screen. Click OK to add the object type. Then click Add to add the Object Type Condition.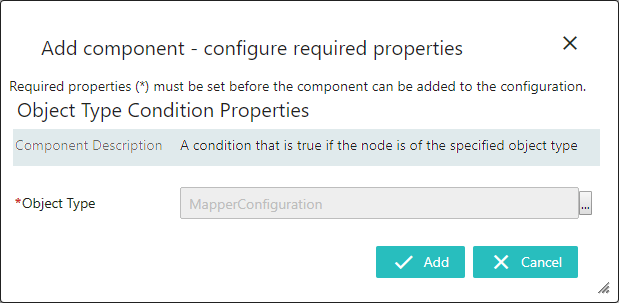
-
In the Screen Mapping Properties, select the previously created Onboarding Mappings Detail Screen using the dropdown selector next to the 'Screen' parameter.
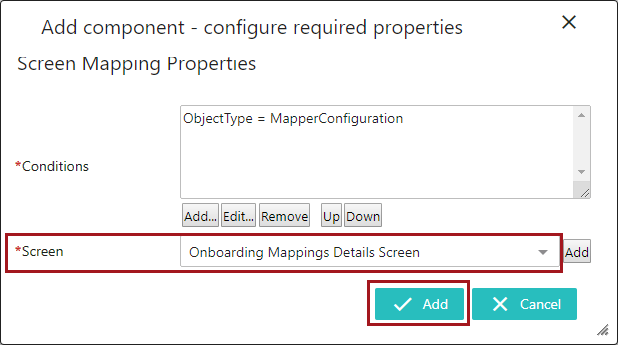
-
Click Add. The new mapping is added in the 'Mappings' field (as shown below). Click Save in the designer to save the current settings.
