Mapping for attributes is available for both attributes that already exist in STEP and those that need to be created, as defined below.
The mapping instructions are the same for both the Import Manager tool and the IIEP tool. For details about starting an import, refer to Creating a Data Import or Creating an Inbound Integration Endpoint.
Map to an Existing Attribute
You can map a data column in your input file to an attribute that already exists in STEP. For Classification(s) you can map the data to a description attribute only.
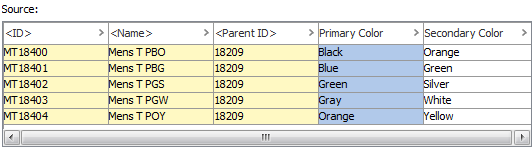
- In the Source section, select the column of data that you want to map to an attribute and click the Map button.
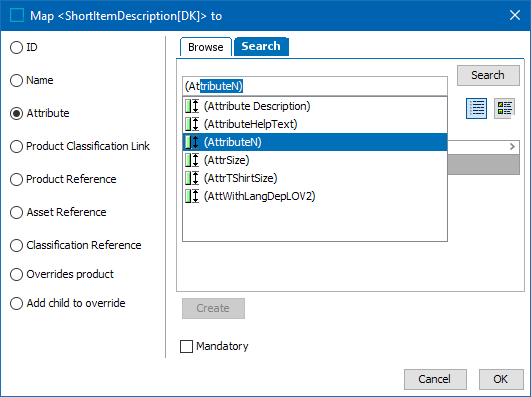
- In the 'Map ... to' dialog, select the Attribute radio button.
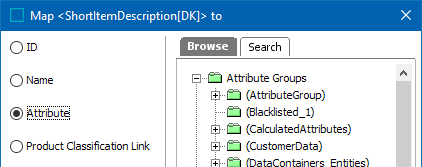
- In the displayed attribute selector, use Browse or Search to select the STEP attribute to be mapped.
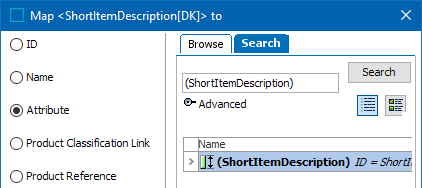
Search is available on all or part of the attribute’s name or ID. Click the advanced search section to use other options, such as searching for attributes with a specific value.
Note: Only description attribute(s) can be mapped to a classification. Selecting a specification attribute displays an error.
- If the attribute selected is an LOV, set the Match value ID in LOV appropriately:
- If checked, the ID of the LOV must be included in the inbound file.
- If unchecked, the LOV ID is not required.
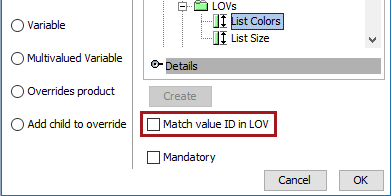
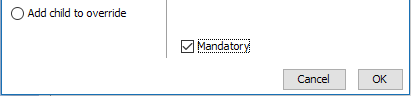
- Check the Mandatory option appropriately:
- If checked, imported objects must have an attribute value in the file. If an attribute value does not exist for an object, the object is skipped and not imported.
- If unchecked, all objects are imported regardless if an attribute value is specified or not.
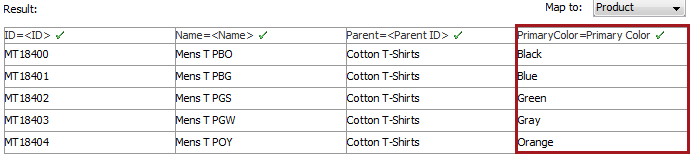
- Click OK and the Result panel displays your selection of column and attribute. A validated data column is marked with a green check mark as shown below.
- Complete the mapping and initiate the import.
Create a New Attribute and Map
When a data column in your input file is an attribute that does not yet exist in STEP, you can create the new STEP attribute during the import process, and then map the data column to it.
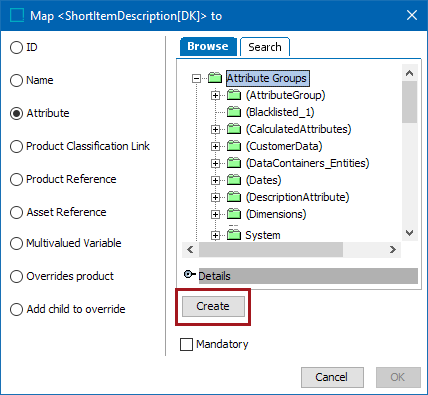
- In the 'Map to' window, select the attribute radio button and navigate to the appropriate attribute group to house the new attribute. Click the Create button.
- In the Create Attribute window, provide required information for the new attribute. For details on how to create an attribute, refer to the Creating Attributes topic in the System Setup documentation.
Note: Only description attributes are valid for classifications
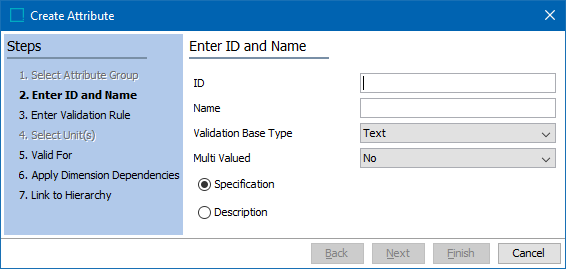
- Click Finish on the Create Attribute window to close it and return to the Map To dialog.
- In the attribute selector window, use Browse or Search to select the STEP attribute just created.
- Check the Mandatory option appropriately:
- If checked, imported objects must have an attribute value in the file. If an attribute value does not exist for an object, the object is skipped and not imported.
- If unchecked, all objects are imported regardless if an attribute value is specified or not.
- Click OK to map this new attribute to the previously selected data column.
- Complete the mapping and initiate the import.