Search results
You can select one or more items from the search results, and take the following actions:
-
add a selection to a workflow
-
apply a business action to the selection
-
export selections into an Excel spreadsheet
-
add selection to a new or existing collection

Adding search results to a workflow
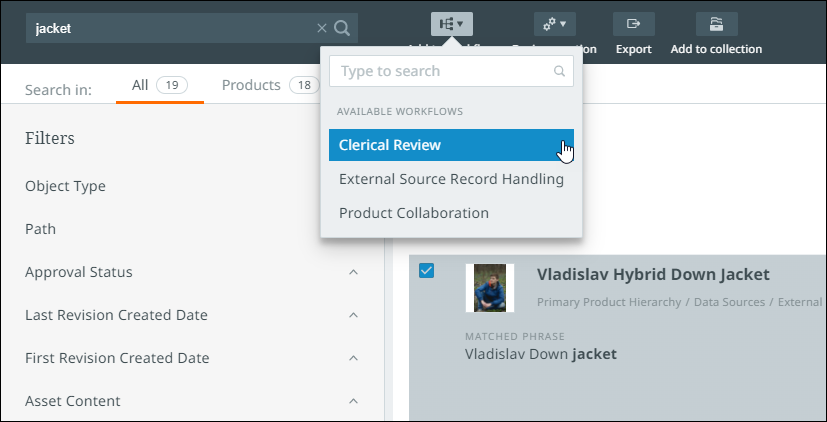
Once the selection has been made from the search results, click the "Add to Workflow" button at the top of the screen. A dropdown will display containing the names of all workflows configured on that system. When the desired workflow has been located from the dropdown, click it. The items in the selection are now added to the selected workflow.

Applying business actions to search results
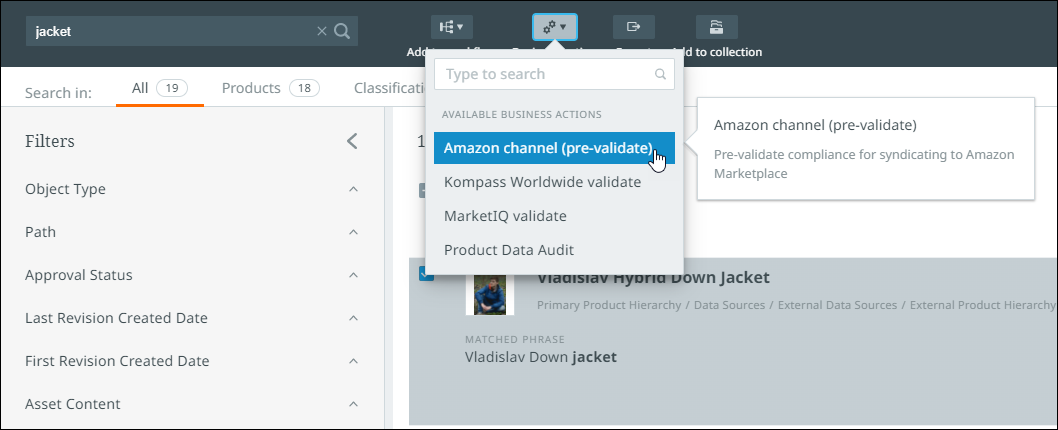
With one or more items selected from the list of search results, users can apply a pre-configured business action to that selection. To do so, click the "Business Action" button at the top of the screen. The dropdown displays all applicable business actions configured on the system. Those business actions listed in black text can be applied to the selection, while those in gray cannot. Hover the cursor over each business action for additional information about that business action. When the desired business action has been located, click it. Subject to the business rule configuration and the selected items' suitability, the items in the selection will have the business action applied to them.

Exporting search results
Once users have made their selection from the search results, users can export the data for the items in the selection based on a pre-configured export configuration by clicking the "Export" button. If multiple export configurations have been configured, an "Export" dialog will display that allows users to select from all export configurations that user is privileged to use. With the desired export configuration selected, clicking the "Export" button, which also lists the number of items included in the export, initiates the export. The export file can be accessed by clicking the notifications button in the top right-hand corner of the interface.
Adding search results to a collection
Once the selection has been made from the search results, users can click the "Add to Collection" button at the top of the screen (next to the search bar).
Users will then have the option to "Create a new collection" or add the selection to an existing collection, if available.
When creating a new collection, users can pick a work area and then input the desired name for the collection.
-
Use the check mark to add the collection or the trash icon to delete the information you have entered.
-
To add the selection to the collection, you will choose "Add to collection" at the bottom of the dialog.
If a collection or collections already exist, they will be listed in the dialog. Make a collection selection, and "Add to collection."
As items are added to a collection, the Notification center is updated and the notification gives you a link to the collection.
Go to Search results product card view for details around what information these search cards provide and how they impact the columns that display in a collection perspective.
Note: When a specific search term is entered in the search bar, returned values based on that search term will include a breadcrumb navigation that displays the category / product path. This information is especially helpful for users that want to view the categories associated with the search results and filter the results as needed. While this is not shown above, an example can be found in Search bar.