Browsing data
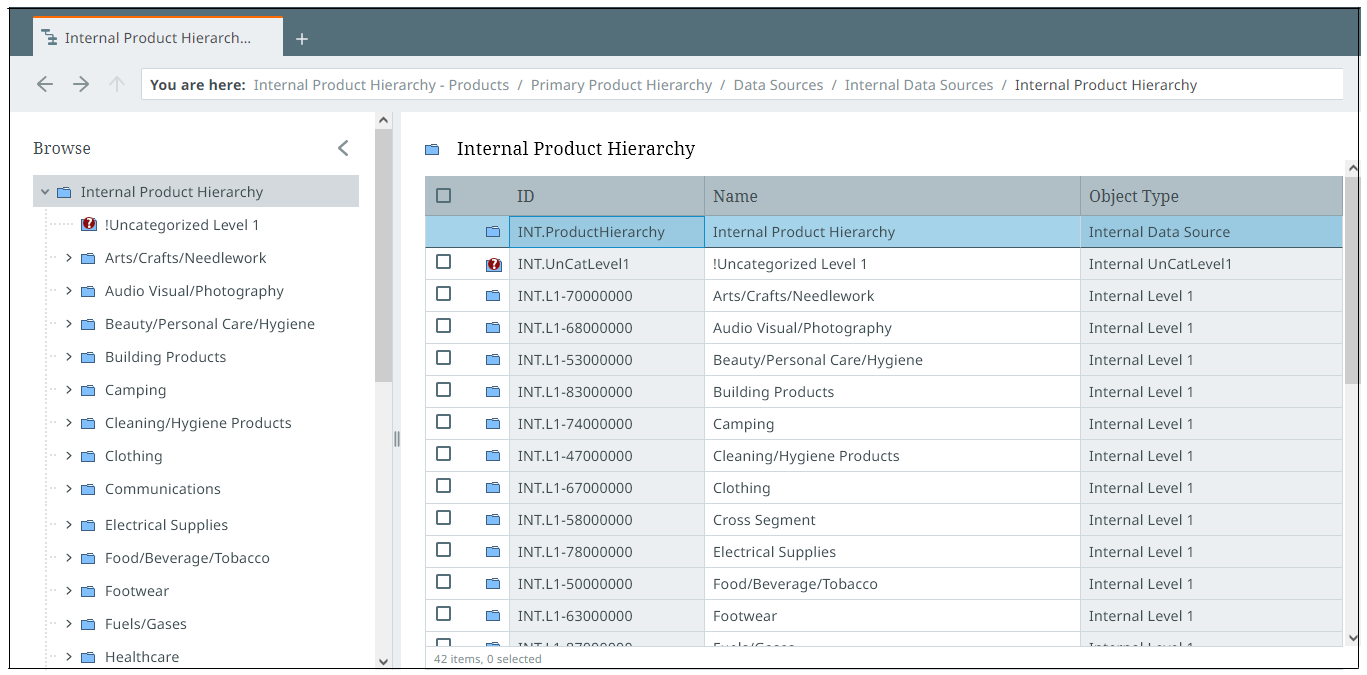
Data can be freely explored via the browse perspective. Like other perspective types, browse perspectives display your data in a customizable table. Objects in this perspective can be viewed in more detail by selecting them from the table.
Navigation tree
The navigation tree resides on the left side of the perspective and allows you to browse through a hierarchy of products, entities, assets, or classifications. This hierarchy draws nodes directly from the data model and may restrict access to parts of the data set based on the user's permissions.
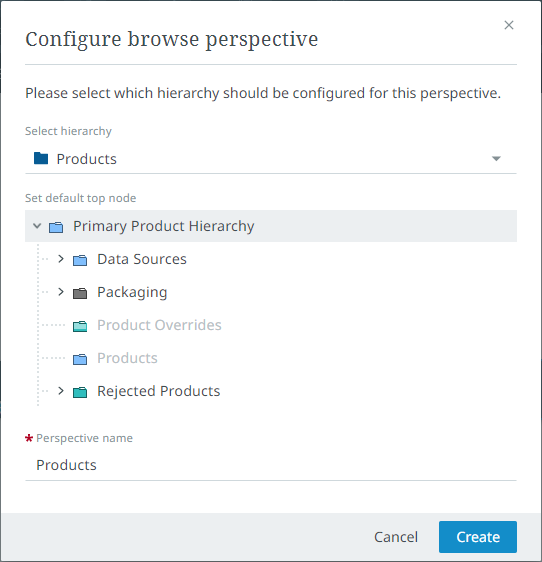
Each browse perspective focuses on a specific hierarchy that is determined when creating it for the first time. For more information, refer to Adding a new perspective.
To navigate down to the deeper levels of the tree, select the arrow icon to open relevant nodes. When you have arrived at the desired node, select it from the tree to open a table comprising all the objects within that node.
Note: When navigating a Classification hierarchy any linked objects will not appear in the tree. Instead, linked objects can be viewed via the node list that populates when selecting a classification in the details view or in a table when using the list view.
The top node of the hierarchy can be changed at any time by simply right-clicking the desired node and selecting Set as new top node from the context menu.
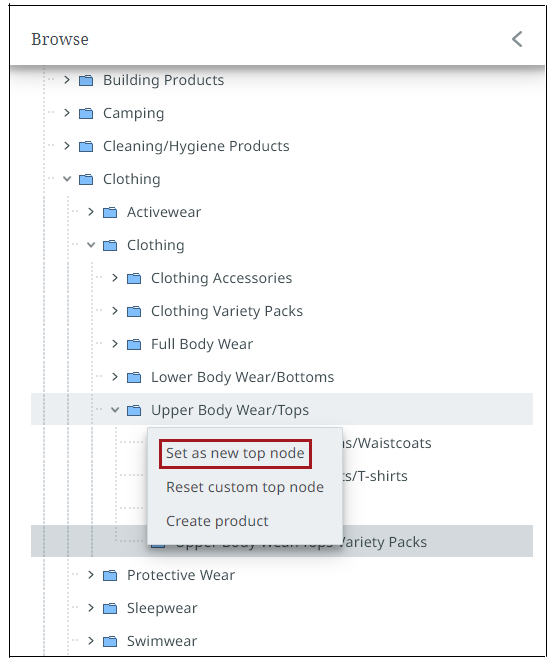
This selection can be undone by right-clicking any node in the hierarchy and selecting Reset custom top node from the context menu.
List view
When viewing a browse perspective via the list view, it will display all objects within the selected node on a table. Similar to other perspective types, this table is customizable. For more information, refer to Customizing perspectives.
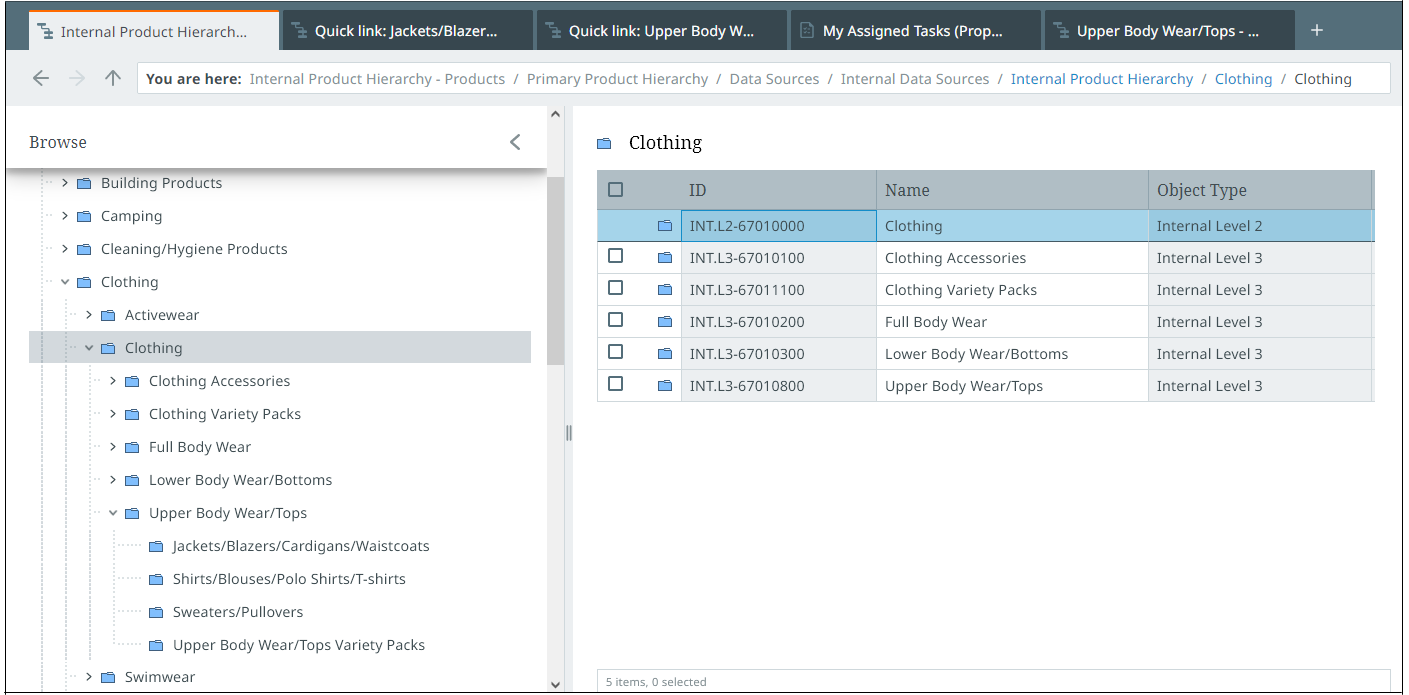
Selecting an object from the table will open it up in the details view (shown below).
Important: The Select All option, found in the header row of the table, allows you to select all items in a table. Alternatively, you can select up to 500 items manually by checking the checkbox for each desired item. Refer to the Toolbar topic for other maximums that you need to consider when taking actions on perspective selections.
Details view
When viewing a browse perspective via the details view it will split the screen into the following sections:
- Navigation tree (explained above)
- Node list
- Node details
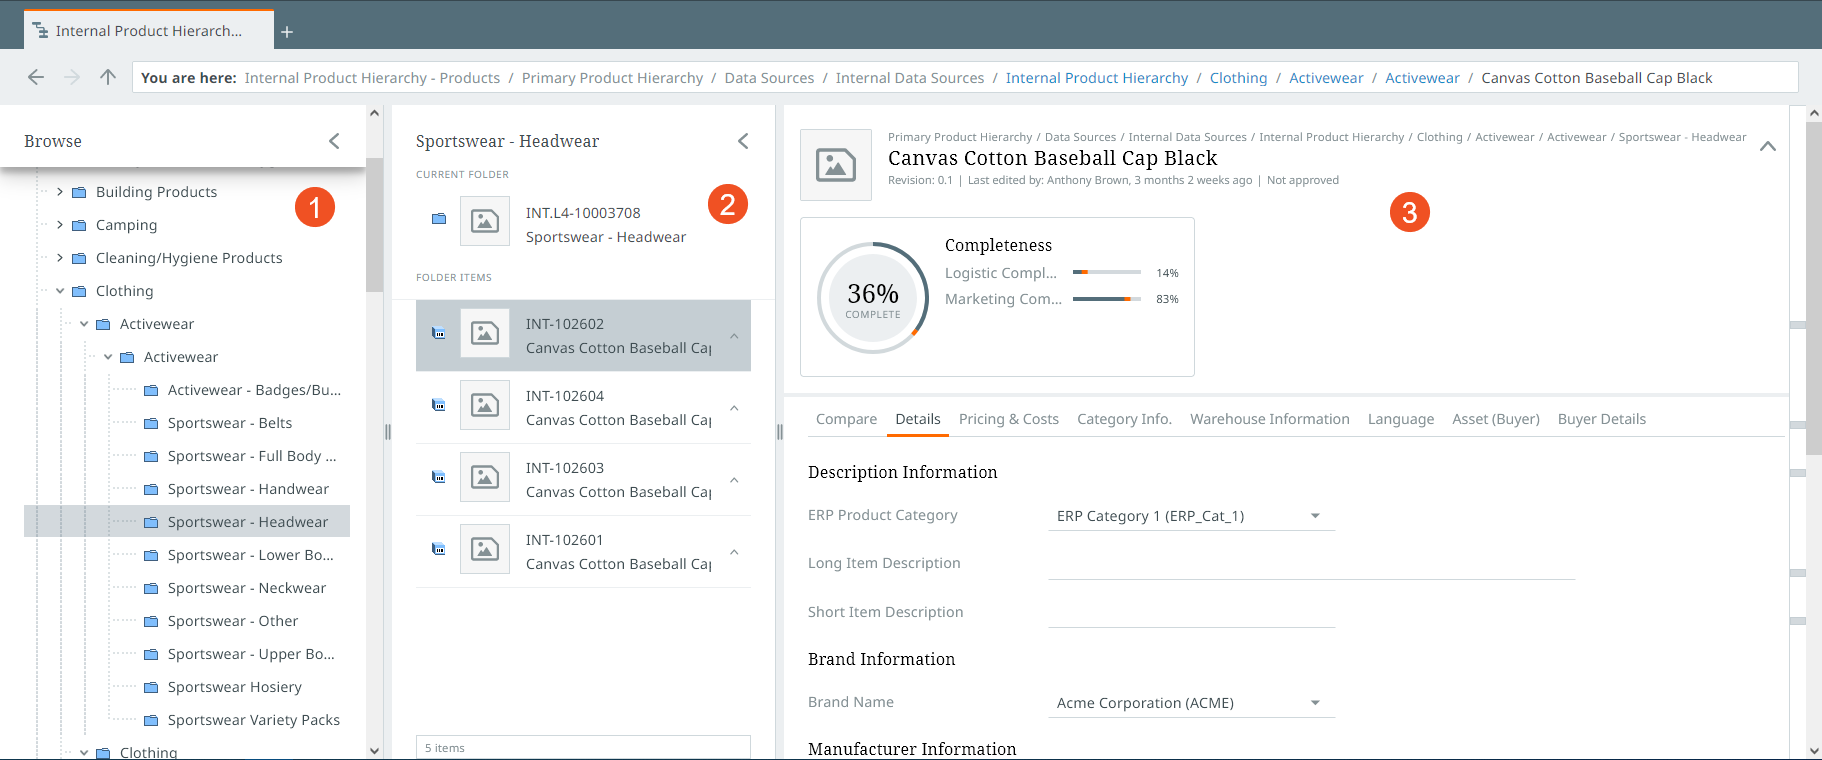
Node list
All objects listed under the node selected from the tree will appear in a list in this section. When selected, the node details pane to the right will populate with relevant data.
The "Current Folder" navigation card displays the node you currently have selected in the navigation tree and the "Folder Items" section below lists out all of the child objects. In the example image below, the current folder is a classification and the folder items are its linked products.
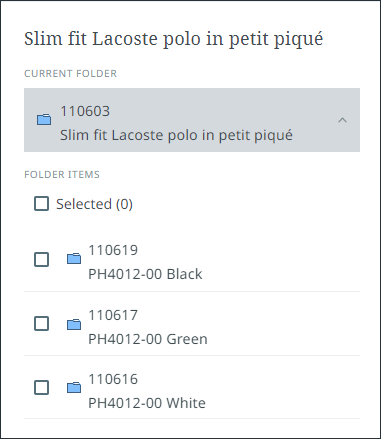
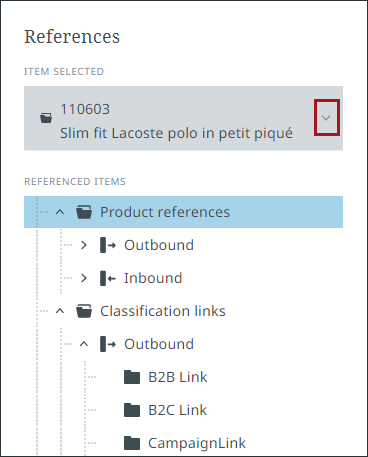
Clicking the arrow beside an object in the list will display all of its inbound and outbound references, as well as any classification links. Refer to Product references and classification links for more information.
To return to the product / classification list, select the arrow icon next to the selected item.
Node details
When an object is selected from the node list it will populate additional node data on the pane to the far-right of the screen.
Refer to Details view for additional information.
