The Products menu option in the Vendor Portal allows a user to view, enrich, and submit products added through the Vendor Portal as well as provides an option to add individual or bulk products.
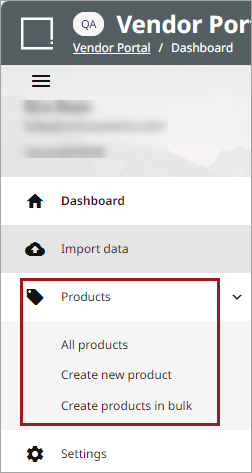
The Products menu options are:
For more information regarding the Vendor Portal, refer to the Vendor Portal topic.
All Products
All Products provides a list of all products added for a channel context. The table contains the name, status, category, and required columns.
Status Types
| Icon | Status | Description |
|---|---|---|
|
|
Progress |
Product is in the process of being enriched. |
|
|
Ready |
Product enrichment is complete and is ready to be submitted. |
|
|
Submitted |
Product has been submitted and is waiting for admin review. |
|
|
Returned |
Product has been returned for follow-up post review. |

|
Rejected |
Product has been rejected in the review process. |

|
Accepted |
Product has been accepted into the master data. |


Product Details Page
Clicking on a product in the ‘All products’ table will open the product’s details page. Click on a tab to review the details.
Summary Tab
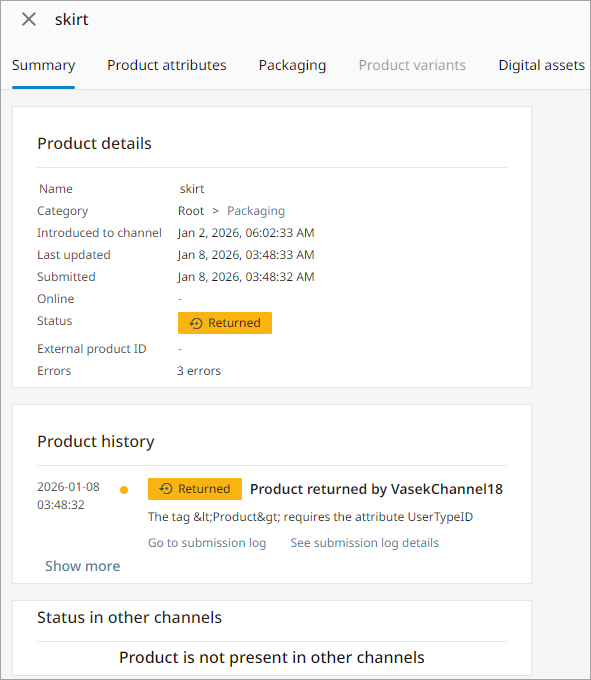
The Summary tab provides detailed information for the location and the status of the selected product in the ‘Product details’ section. The ‘Product history’ section provides a log of status in the onboarding process. If the product is also included in a separate channel, the status is listed in the ‘Status in other channels’ section.
Product Attributes Tab
The Product attributes tab allows the user to update the attribute values for the selected product.
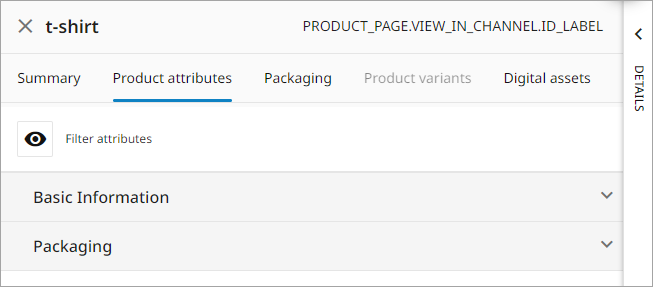
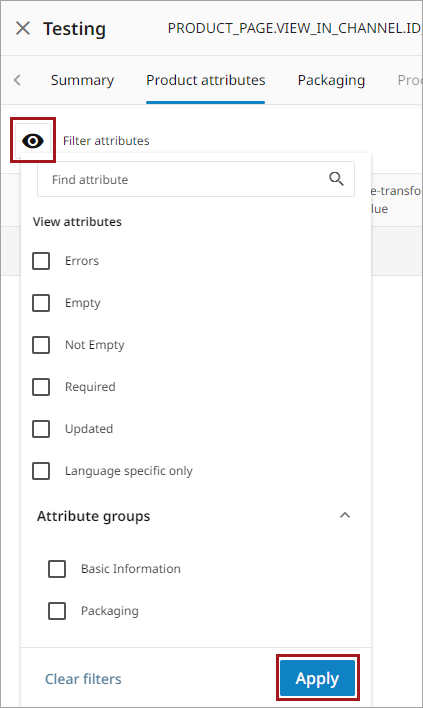
The attributes listed for the product can be filtered by attribute groups as well as the attribute status. Click the Filter attributes button to view and select the filter options and click the Apply button to save any changes.
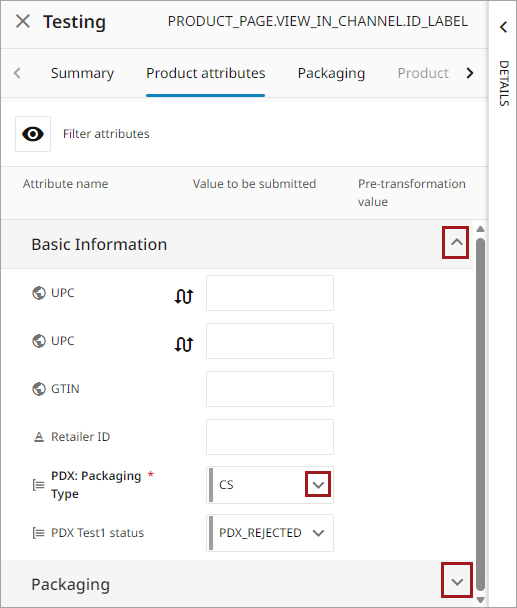
Click the drop-down arrows to the right of the attribute group to display the attributes and attribute values for the selected product. Enter any data into the value fields as needed. A down arrow icon ( ) indicates a LOV attribute field; otherwise, the field is a free text field.
The value columns are:
-
Value to be submitted: value either pulled from master data or edited by user
-
Pre-transformation value: original value in master data before any transformations were applied. For more information on transforming attribute values refer to the Value Transformations for Attributes topic.
Product Errors
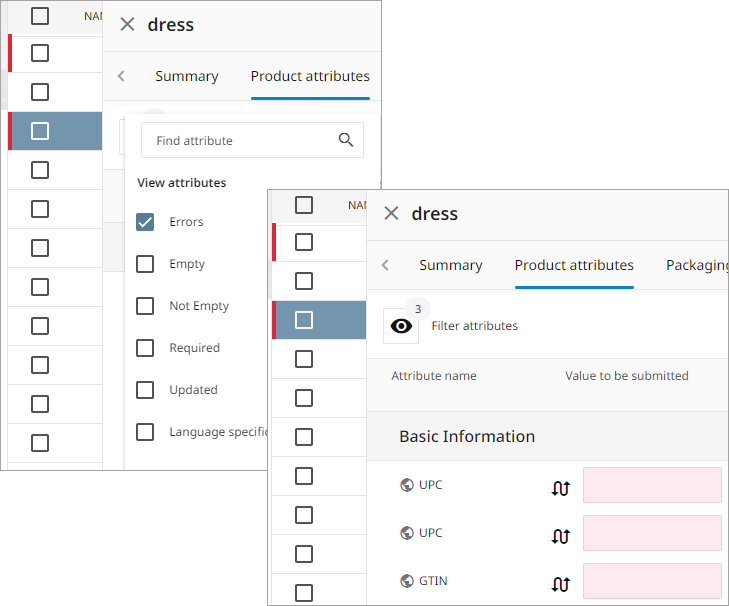
An error is indicated by a vertical red line to the left of the product. Hovering over the Status of a product provides more information on the status, including listing any attributes causing the errors.
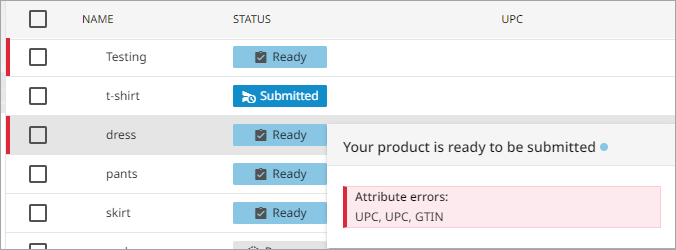
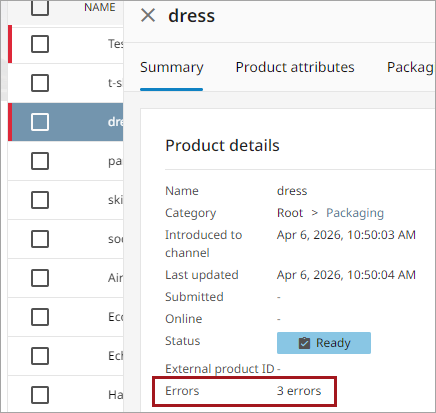
Alternatively, clicking on the product with the error will display the hover information window. The Summary tab has a field that lists the number of errors.
A user can navigate to the Product attributes tab and review the attributes or apply a filter to show the attributes with errors. Attributes containing an error are indicated with a red value field box.
Details
On the right-hand side of the product information window is the ‘Details’ window. Click the side arrow to expand. The ‘Details’ window shows the Channel and Master Data values for a product.
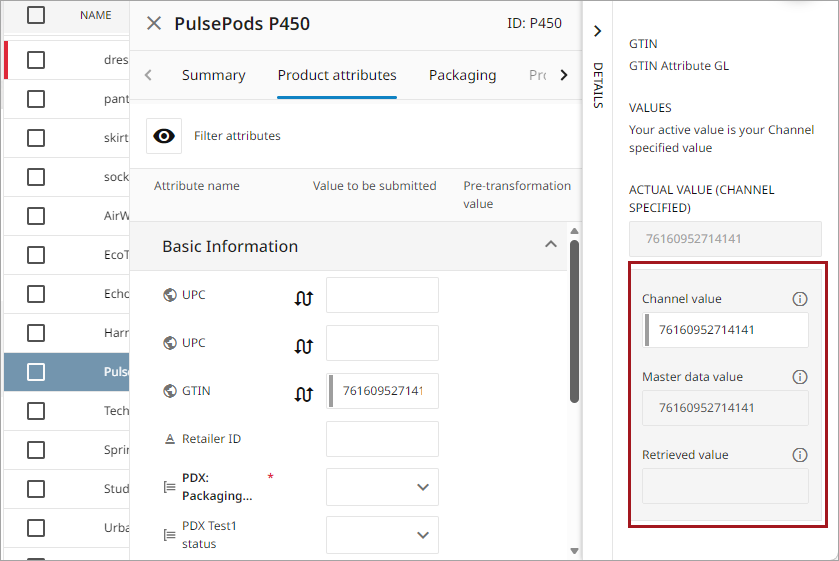
When a supplier creates a product in the Vendor Portal, an empty placeholder is created in master data with only the ID and Name attributes populated. All attribute data entered in the Vendor Portal after that point are stored as channel values. This is because the supplier is operating in the context of one onboarding channel. If both values exist, then the channel value has priority and will overwrite the master data value for that product for that channel only. Master data fields will remain empty until explicitly edited within the master data in PDX. Refer to the Master Data topic for additional information regarding Master Data maintenance.
Many suppliers work with only one retailer (channel) and don’t have a need to manage reusable master data. Channel values allow the supplier to submit products quickly without forcing full master data setup or mappings.
A Retrieved value is a value that has been pulled into a channel via maintenance flow from STEP and has lower priority than a channel value. Refer to the Controlling the PDX Channel for Product Onboarding - Maintenance topic for information on maintenance flows.
A vertical gray bar to the left of the value field indicates that it is a channel value.
Product variants Tab
The Product variants tab displays the attribute information for family / variant products.
Digital assets Tab
The Digital assets tab displays images and other digital assets that have been uploaded for the product.
Creating a Single Product
Adding a single product can be done multiple ways:
-
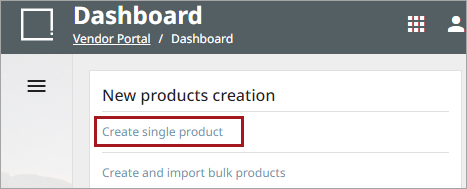
The ‘Create single product’ link using the ‘New products creation’ widget within the Dashboard. For more information, refer to the Vendor Portal Dashboard topic.
-
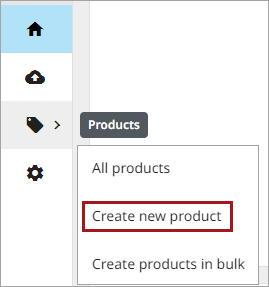
The ‘Create new product’ option in the Products menu.
-
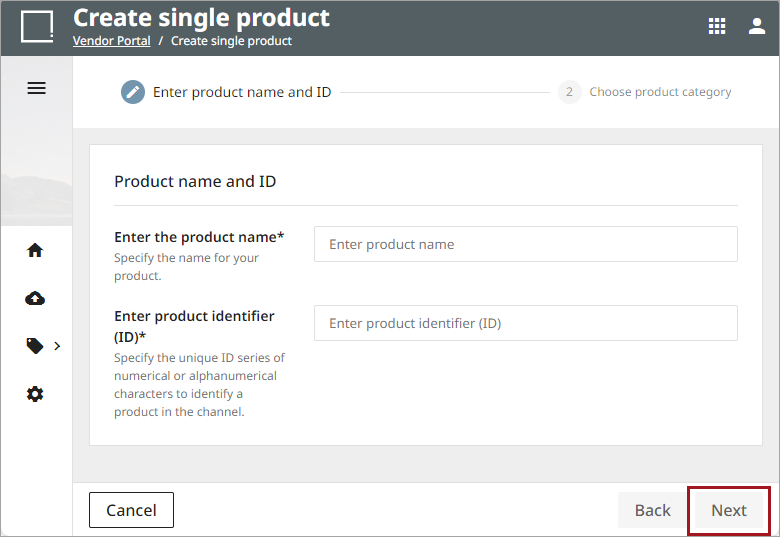
Enter the product name and product identifier (ID) and click the Next button.
-
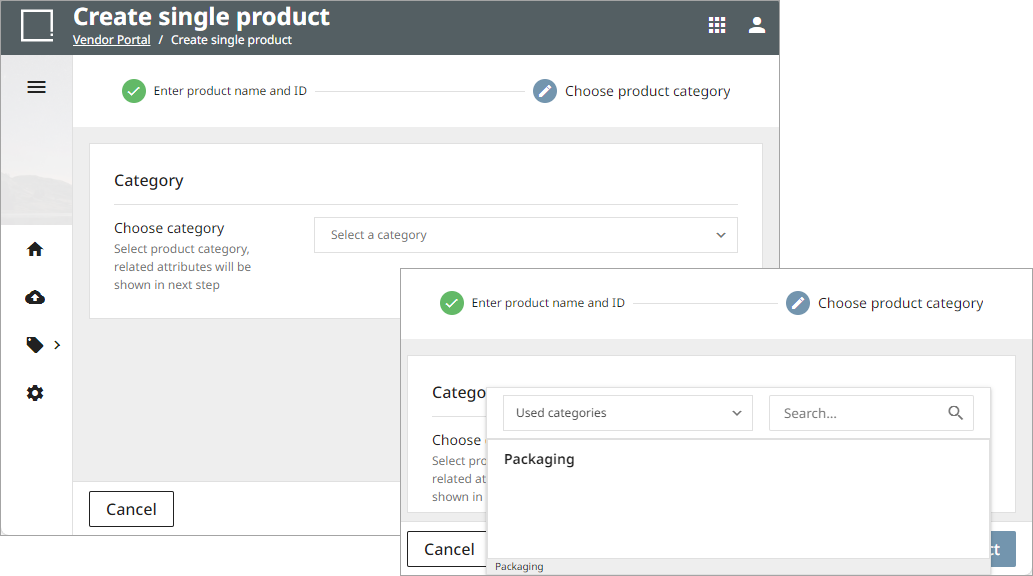
Select a product category from the dropdown menu.
-
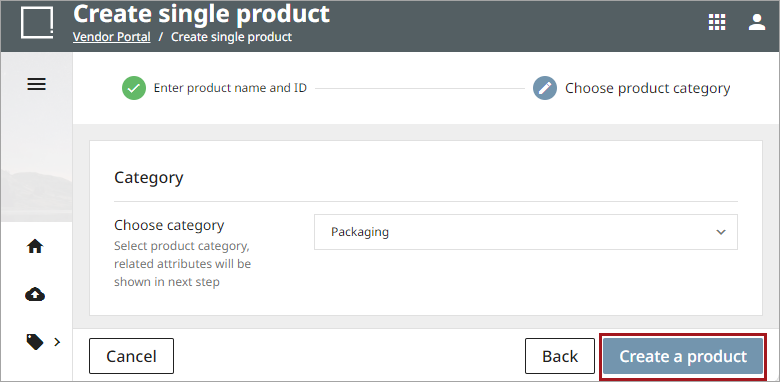
Select the Create a product button to save.
Creating Products in Bulk
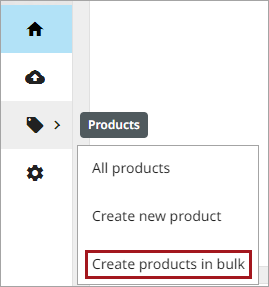
Adding bulk products can be done multiple ways:
-
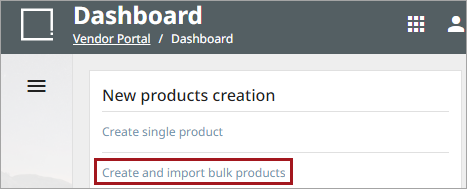
The ‘Create and import bulk products’ link using the ‘New products creation’ widget within the Dashboard. For more information, refer to the Vendor Portal Dashboard topic.
-
The ‘Create new product’ option in the Products menu.
-
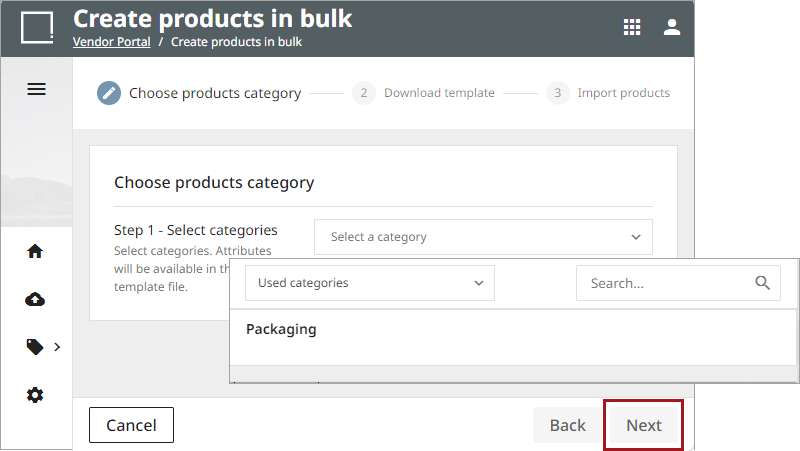
Select a category from the dropdown where the products will be added and click the Next button.
-
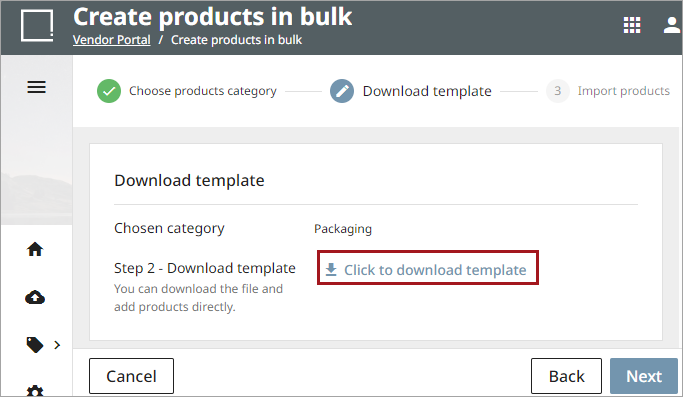
Click the Click to download template link to download the import template. Save the template locally and click the Next button.
-
Open the locally saved template, enter the data, and save the changes.
-
Hovering over a red triangle (
 ) in the top right corner of the label cell will display a short description of the column.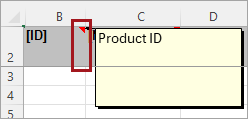
-
A red asterisk (*) at the end of a column name indicates a required column.
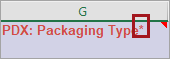
-
Click on the arrow located to the right of a cell to select a value from the List of Values (LOVs) when applicable.
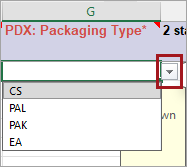
-
-
Click the View data import link or the Import products button to upload the file created in step 3.
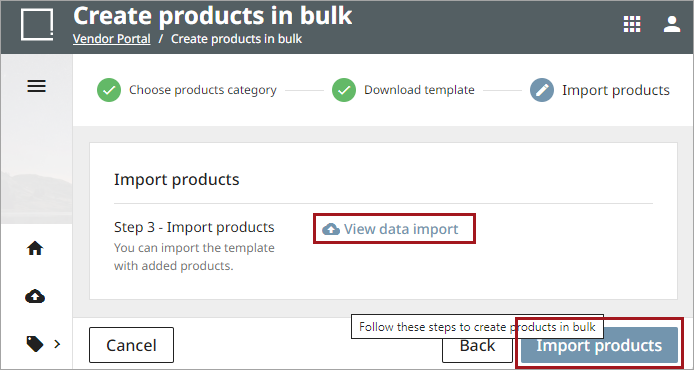
-
Upload the file or drag and drop the file in the window.
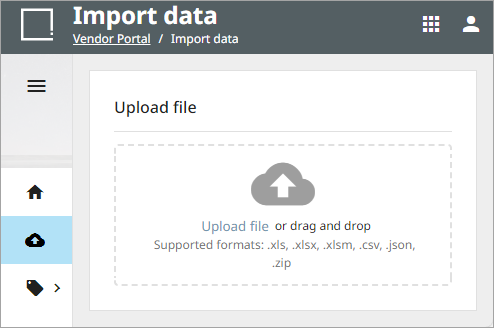
-
-
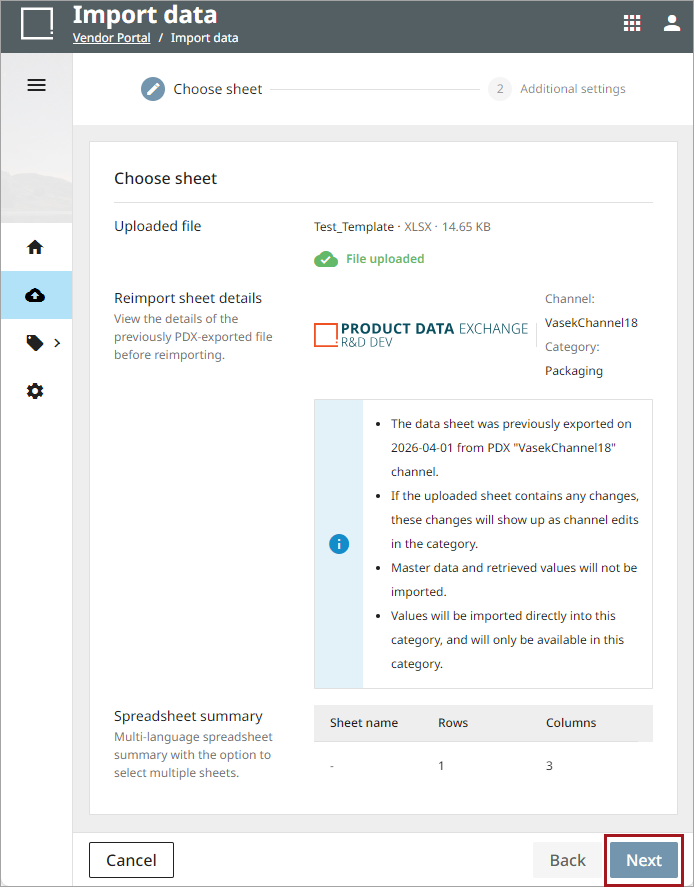
Review the results of the upload. Click the Next button.
-
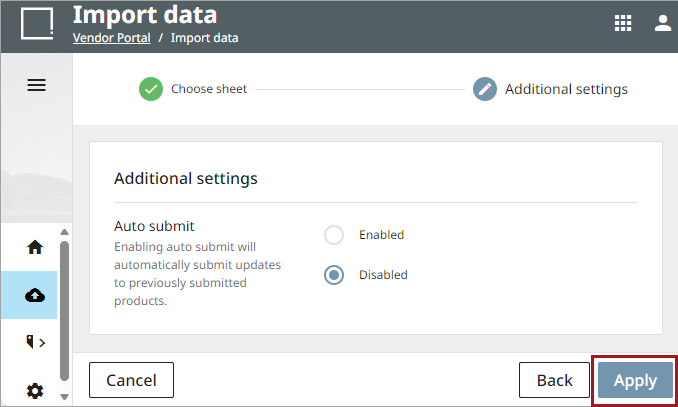
Select the applicable auto submit option and click the Apply button.