While not the only reason, 'Workflow Attachments' are typically used for holding files that are necessary for users handling tasks in states. This could be written instructions, images, data sheets etc. Once the attachment is in place, when a user receives or gets a specific task(s), they can access the attachment and follow the specified instructions / guidelines.
Using workflow attachments a user can attach files to workflow instances. Also, like the workflow variables, workflow attachments are global to the workflow instance.
Note: Users should be familiar with the navigation to the STEP Workflow Designer and defining the views and mappings. Refer to Creating a Workflow for more on the workflow designer. Also, refer to Views and Mappings for Workflows for additional information.
Workflow Attachment Configurations
As described in the Configuring Views for Workflows topic, the 'WorkflowAttachment' component allows Users to add, open, download and delete workflow attachments through views.
Attachments are defined in the left pane of the Workflow Designer.
To add a workflow attachment:
-
Click on the 'Add Workflow Variables/Attachments' icon (
 ) and select the option Add Workflow Attachment.
 -
In the dialog that appears, enter the ID and click OK.
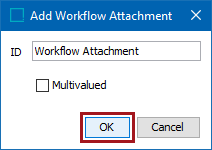
If multiple attachments are required then check the option for 'Multivalued'.
Note: If a user needs to edit or delete a workflow attachment added in this section, they can click on the edit icon,
 , or they can click on the remove icon,
  , to make any necessary changes.
 -
From the Edit menu, select Edit Workbench Views and Mappings.
-
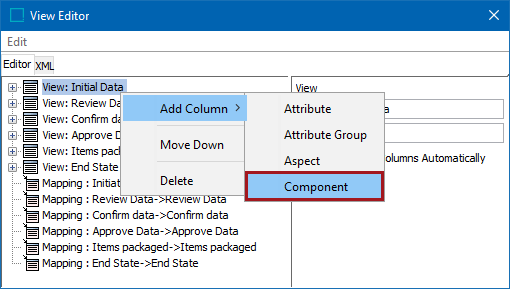
In the View Editor, right-click the view that needs an attachment added to it, and select Add Column > Component.
-
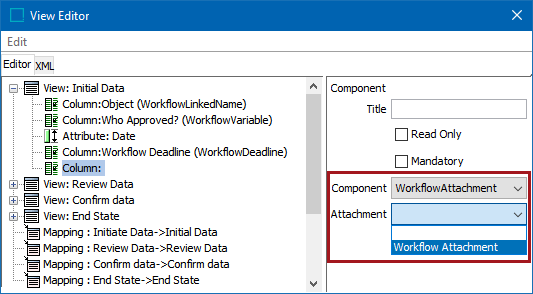
Under the Component dropdown, select 'Workflow Attachment' and to display an 'Attachment' parameter. Select the attachment that was created. For this example it is 'Workflow Attachment.'
-
Enter a title and decide if either of the optional 'Read Only' or 'Mandatory' parameters should be checked before exiting the View Editor and clicking 'Save and Exit' in the STEP Workflow Designer.
Component
Returned Value
Read Only
If checked, the add and delete options are disabled, but users can still open and download attachments. Although uploaded files are not stored in the STEP database, but are instead on the application server file system in the path specified via the Install.STEPWorkflowArea property.
If unchecked, a user can download the attachment and upload files. These files are attached to the workflow instance.
Mandatory
An attachment is required.
Attaching a File in a Workflow
Once configurations are in place, the steps below show a user how to attach and remove a file.
-
Navigate to the STEP Workflow tab, select the desired workflow, and click on the corresponding state that the workflow attachment was mapped to in the above steps.
-
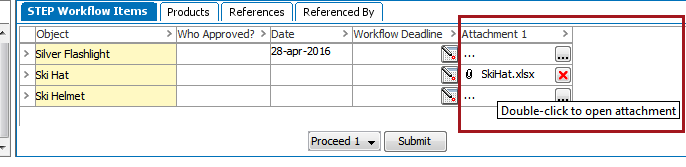
In the STEP Workflow Items tab, click the ellipsis button (
 ) next to the desired product and select the file from the system that is to be attached.
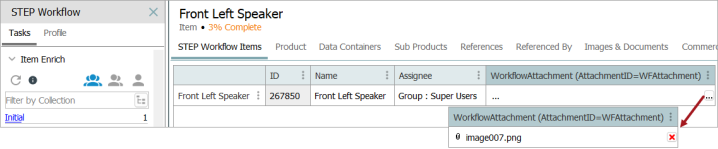
-
Double click on the attachment to open it.
-
To remove the attachment, click on the red 'x' button,
 .
.
Important: Workflow attachments are specific to the instance and values are deleted together with the instance.
In the public API you can obtain a 'WorkflowAttachment' object through the 'WorkflowInstance' interface via 'WorkflowInstance.getAttachmentByID'("Attachment ID") and have various methods available on the returned object.
Note: The files referenced by attachments are stored on the application server in the directory pointed to by config property Install.STEPWorkflowArea. If you are on a clustered environment, the directory should be on a shared drive. Workflow attachments are not stored as assets in STEP.