Important: Syndigo: This functionality has been deprecated and is no longer supported and/or available for new installations. This documentation is retained as a reference only for customers already using the functionality and for whom it remains available in the current state. The functionality will be removed in the future so customers using this should make plans to transition away from their implementation of it.
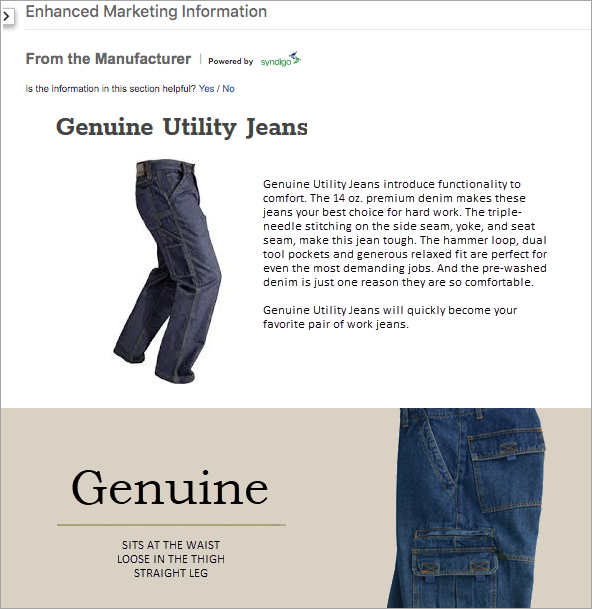
Enhanced marketing content is available to retailers from Syndigo, a Content Delivery Network (CDN). The information can include text, images, and videos, and is primarily used in downstream systems. Within Web UI, the information can be previewed on the Product Editor screen, as shown in the image below.
For information on related components for use by data stewards, refer to the Data Enrichment Components topic in the Web User Interfaces documentation.
Prerequisites
Complete the following prerequisites before starting the Syndigo integration configuration:
- An account with Syndigo is required before the following steps can have the desired result in Web UI. Search the web for information on becoming a Syndigo customer.
- If your Syndigo account is not using the STEP ID for products, create an attribute in STEP. For example, 'SyndigoID'. The value will be used to map products between Syndigo and STEP.
- Activate the 'syndigo' add-on component. For on-premises systems, instructions for installing components can be found in the 'SPOT Program' topic in the System Administration documentation found in 'Downloadable Documentation'. For Stibo Systems SaaS environments, contact Stibo Systems Support.
- Activate the 'ui-product-editor' add-on component. For on-premises systems, instructions for installing components can be found in the 'SPOT Program' topic in the System Administration documentation found in 'Downloadable Documentation'. For Stibo Systems SaaS environments, contact Stibo Systems Support.
- Complete the one-time setup defined in the Initial Setup for Syndigo Integration topic here.
- Complete the setup defined in the Setting up the Product Editor Screen topic here.
Configuration
After completing the Prerequisites above, identifying your Syndigo account is included in the workbench configuration steps below. Once configured, available Syndigo information is displayed in the Web UI on the Product Editor screen.
- In the workbench System Setup, select the Syndigo integrations node and create a new configuration. The Syndigo Integration Type editor is displayed.
- Open the Syndigo Configuration flipper to display the parameters.
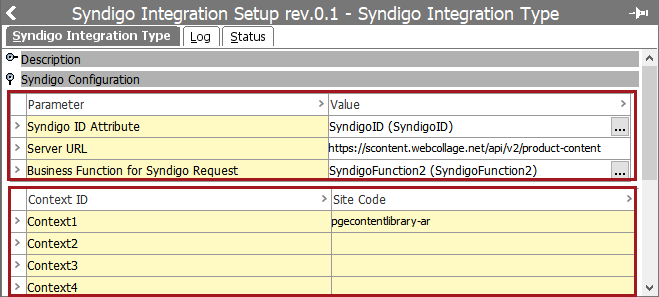
- In the Parameter / Value section:
- For the Syndigo ID Attribute parameter, click the ellipsis button (
 ) to display the 'Select attribute representing Syndigo ID' dialog. Click the attribute that holds the Syndigo ID from the dialog and click the Select button.
Note: Leaving this parameter blank will result in using the STEP ID for identifying products in Syndigo.
- For the Server URL parameter, no change is required. The default is 'https://scontent.webcollage.net/api/v2/product-content' and will only change with direction from Syndigo.
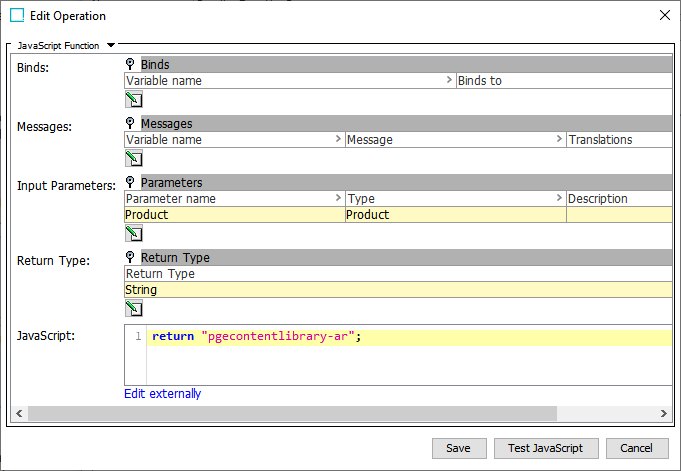
- For the Business Function for Syndigo Request parameter, it is optional. Configuring a business function enables users without country / language dimensions for country–dependent data to display the available information from Syndigo.
Important: When both a context and the business function are configured, the business function takes precedence.
When configuring a business function for Syndigo, Product must be selected for the Input Parameters, and String must be selected for the Return Type.
For information on creating business functions, refer to the Business Functions section in the Business Rules documentation here.
- In the Context ID / Site Code section, all STEP Context IDs are displayed in the Context ID column and allows context-specific data to be accurately displayed based on the selected context in Web UI. Assign the Syndigo Site Code that corresponds to the STEP Context ID for contexts with marketing content available.
If necessary, use the Add New Context link to create a new context. For more information, refer to the Contexts topic in the System Setup documentation here.
Important: If the Business Function for Syndigo Request parameter is also configured, the business function takes precedence, and the Context ID/ Site Code section is not editable.
- If a Syndigo ID attribute is in use via the Syndigo ID Attribute parameter, add the Syndigo ID value to a product.
Verify Rich Marketing Content
Once configuration is complete, the following results are possible in Web UI when viewing a context that is mapped for Syndigo content.
On the Product Editor screen below the Enhanced Marketing Information section:
- For a product with a valid Syndigo ID and content for the selected context, the Syndigo data is displayed.
- For a product with an invalid Syndigo ID or no content for the selected context, the text 'No Syndigo Content' is displayed.