Important: Image Analytics Package / Image Deduplication: This functionality has been deprecated and is no longer supported and/or available for new installations. This documentation is retained as a reference only for customers already using the functionality and for whom it remains available in the current state. The functionality will be removed in the future so customers using this should make plans to transition away from their implementation of it.
The Image Deduplication Clerical Review screen component enables users to review and manage sets of duplicate images after running the image deduplication process. Each potential duplicate set in clerical review is represented in the workflow as a single task, with all assets in the duplicate set being displayed in this screen.
Prerequisites
It is expected that anyone configuring the Image Deduplication Clerical Review Screen component is familiar with the Web UI designer as basic concepts for working with the designer are not covered in this section. In addition, the user must have appropriate privileges to access the designer. Additional information can be found in the Designer Access section of the Web User Interfaces documentation.
Additionally, to use the image deduplication functionality, the Image Deduplication component must be activated as described in the Deduplicating Images topic in the Digital Assets documentation.
Adding and Configuring the Screen
Use the following steps to create and configure an 'Image Deduplication Clerical Review' screen.
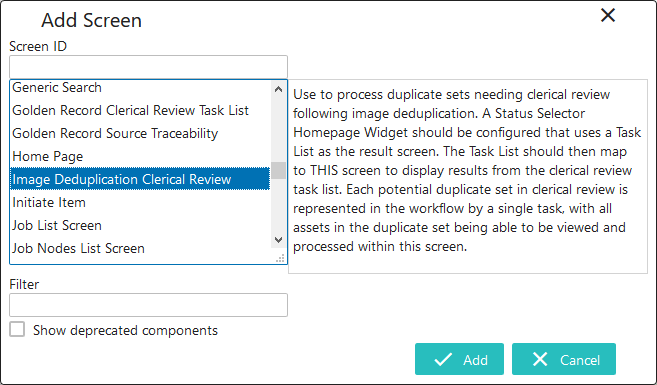
- Create an 'Image Deduplication Clerical Review' screen. Steps for creating a new screen are outlined in the Creating a New Screen section of the Design Mode Basics topic. Select 'Image Deduplication Clerical Review' as the screen type.
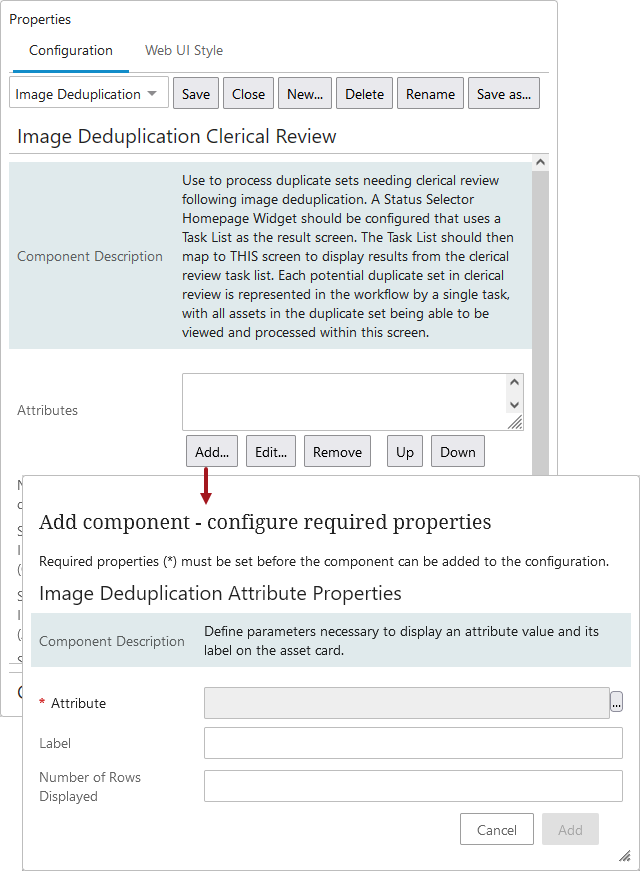
- After creating the new 'Image Deduplication Clerical Review' screen, determine the image attributes that should display on the screen. On the Attributes parameter, click 'Add' to display the Image Deduplication Attribute Properties dialog, then click the ellipsis button (
 ) on the Attribute parameter to make your selections.
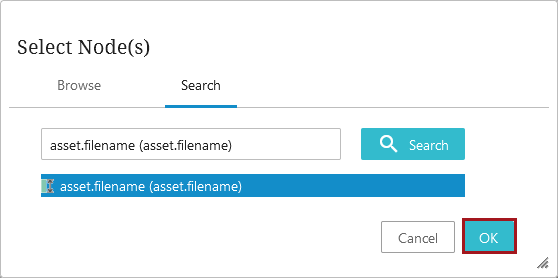
- Use the 'Search' or the 'Browse' option to select the asset metadata attributes that will appear in the screen and click 'OK.'
- Optionally, add a Label and Number of Rows Displayed:
- Label - By default, the user will view the attribute name on the screen.
- Number of Rows Displayed - By default, only one row is used and additional text can be viewed by hovering over the value. If most values require more than one row, add an integer to define how many should be used.
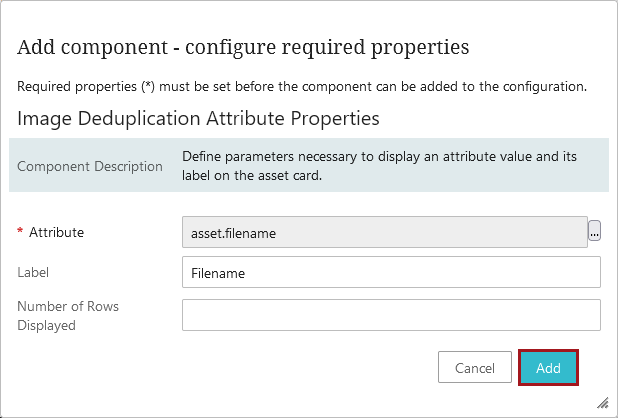
- Click 'Add' to close the Image Deduplication Attribute Properties dialog. Repeat as needed to add more metadata attributes.
Note: While any number of attributes can be displayed, the screen is optimized for a small number. Adding an excessive number of attributes will result in a poor user experience.
All added attributes and the settings are displayed in the Attributes parameter.
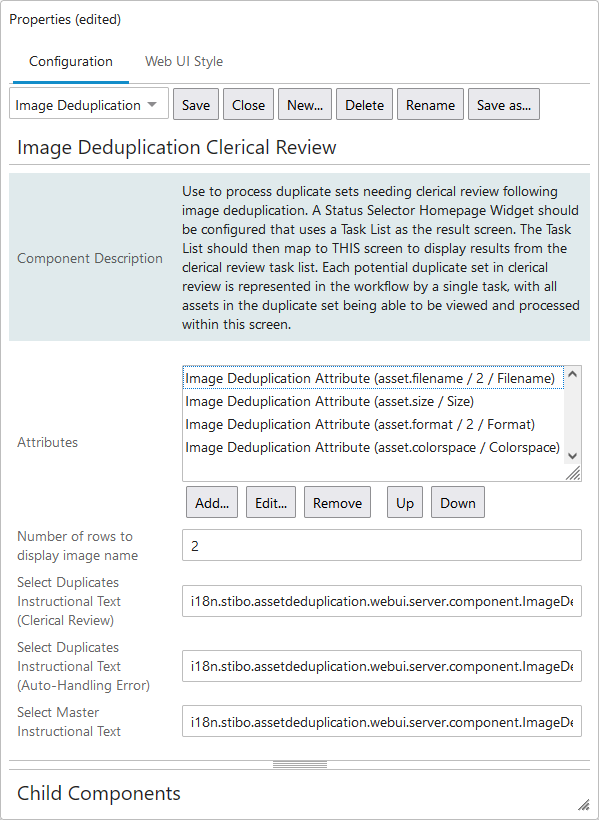
- On the Image Deduplication Clerical Review dialog, for the Number of rows to display image name parameter, set a number. Text wraps as required, up to the number of rows set. Additional text can be viewed by hovering over the value.
- The following parameters include default instructional text. To replace the default settings, remove the i18n.* text and enter your own text:
- Select Duplicates Instructional Text (Clerical Review)
- Select Duplicates Instructional Text (Auto-Handling Error)
- Select Master Instructional Text
Once configured and set as an Asset Selection Screen and a Multi Selection Screen on a Node List component, or as an Advanced Search with Enable Workflow Selection enabled, the Image Deduplication Clerical Review screen will display image cards for all suggested duplicates from a group.