By using the Attribute Group Management screen in the Web UI, users are able to create attributes and create and configure attribute groups.

Configuring the Attribute Group Management Screen
Before configuring the screen, it is assumed that the general configuration alluded to in the Attribute and LOV Creation and Maintenance in Web UI topic has been completed. This would include creating the screen, mapping the screen, and making the screen accessible in a Global Navigation Panel.
Using the Attribute Group Management Screen
The following sections describe how to work with attributes and attribute groups within the Attribute Group Management screen.
Creating Attributes
To create a new attribute in Web UI in the Attribute Group Management screen, follow these steps:
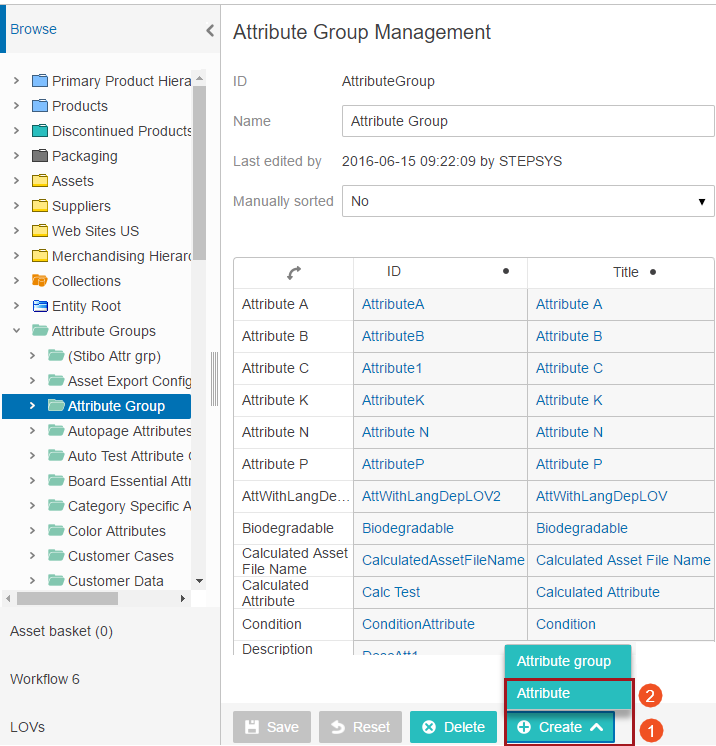
- In the System Setup tree, select the attribute group into which you would like to add your attribute. At the bottom of the Attribute Group Management screen, click the Create button and then select Attribute.
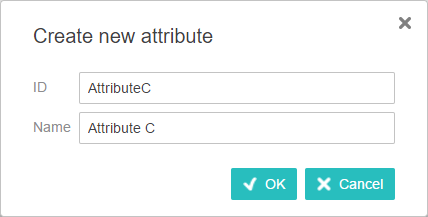
- In the Create new attribute window, add the ID and Name of the attribute and then click OK.
- The Attribute Management screen then displays. This is where you will view and edit the newly created attribute.
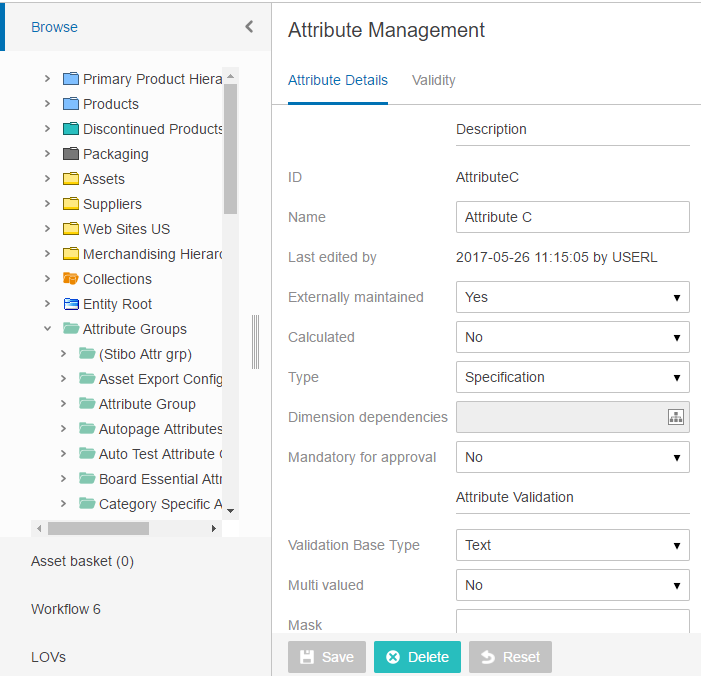
- To edit and configure the attribute, follow the instructions outlined in the Attribute Management Screen topic.
Creating Attribute Groups
To create a new attribute group in the Web UI, follow these steps:
- Select either the topmost level of the attribute group hierarchy (parent node) or another attribute group in which you would like to nest your new attribute group. The Attribute Group Management screen displays.
- At the bottom of the Attribute Group Management screen, click Create and then select Attribute group.

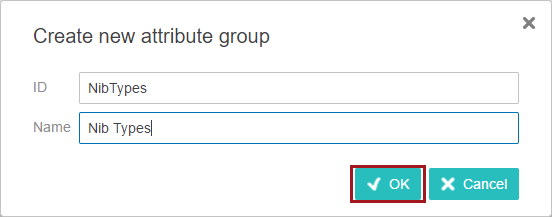
- In the Create new attribute group window that displays, add an ID and Name for the attribute group and then click OK to close the window.
- The new attribute group is created.
Note: An attribute group can only be created as a child of a higher-level (parent) attribute group. An attribute group cannot be created when an attribute is selected. An attribute group cannot be created within a parent attribute group when 'Manually sorted = Yes' is set on the parent attribute group.
Maintaining Attribute Groups
In addition to attribute group creation, the Attribute Group Management screen also enables you to edit the names of attribute groups, delete attribute groups, and manually reorder attributes.
- Edit: To edit the name of an attribute group, make the required changes to the attribute group in the Name field and then click the Save button.
- Delete: To delete an attribute group, select the attribute group to be deleted in the left navigation area, and then click the Delete button.
Important: Only empty attribute groups can be deleted. Attribute groups that contain attributes cannot be deleted until the child attributes have been deleted or moved into another attribute group.
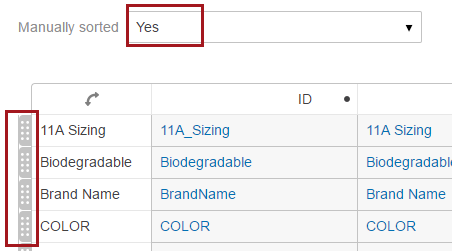
- Manually sort: To manually sort attributes in an attribute group, first select Yes for Manually sorted and then click the Save button. 'Drag handles' appear to the left of each attribute. Click and hold an attribute's drag handle, then drag to move it to its new location.
The Manually sorted for attribute groups cannot be set to Yes for existing attribute groups in the below cases:
- If an attribute group contains sub attribute groups
- If an attribute group contains tag groups
- If an attribute group contains reference types