Although a calculated attribute must be created in the workbench, it is available for use in both the workbench and Web UI.
Important: A calculated attribute is not always the best tool. Before creating a calculated attribute, it is important to be certain a different (i.e., more efficient) STEP method should not be used instead. For more information, refer to the Calculated Attribute Considerations and Limitations topic.
- In the workbench > System Setup > select the attribute group that will hold your calculated attribute or create a new group.
- Right-click the attribute group, and select the New Attribute option. The Create Attribute wizard displays and the selected group is provided for the Select Attribute Group step of the wizard.
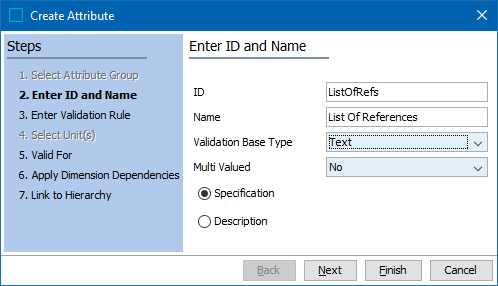
- On the Enter ID and Name step of the wizard, provide the following information:
- Type an ID and Name for your new attribute.
- Set Validation Base Type, keeping in mind that the assigned type only takes effect when the calculated value is manually overridden. For more information, refer to the 'Attribute Validation section' section of the Setting up a Calculated Attribute topic.
- Set Multi Valued to No. This is required for a calculated attribute.
- Select Specification or Description based on your requirements. For more information, refer to the 'Description or Specification' section of the Setting up a Calculated Attribute topic.
- Click the Next button.
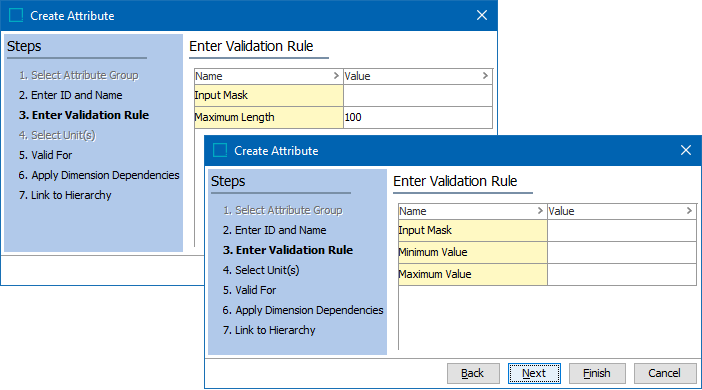
- On the Enter Validation Rule step of the wizard, provide the required information, based on the validation base type selected (as shown in the image below):
- Type an Input Mask if required. For more information, refer to the Input Masks topic and the 'Restrict Override on a Calculated Value' section of Overriding and Restoring Calculated Attribute Values topic.
- For Validation Base Types of Embedded Number, Fraction, Integer, Number, Numeric Text, or Numeric Text (exclude tags), set a Minimum Value and/or Maximum Value if required. For more information, refer to the Validation Rules topic.
- For other Validation Base Types, set a Maximum Length if required. For more information, refer to the Validation Rules topic.
- Click the Next button.
- The Select Unit(s) step of the wizard is only enabled when the Validation Base Types is Embedded Number, Fraction, Integer, Number, Numeric Text, or Numeric Text (exclude tags). Add the following data if required:
- Click the Add button to display a dialog. Choose a unit and click the Select button. The selected unit is displayed in the text box. Add as many units as are required.
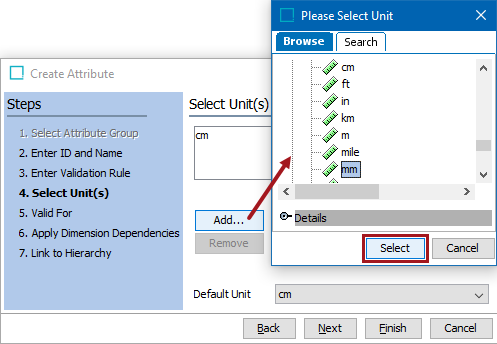
- When a unit exists in the text box, the Remove button is enabled. Click it to remove the selected unit from the text box.
- Use the Default Unit dropdown to set the unit that will be automatically applied to the calculated attribute value.
- Click the Next button.
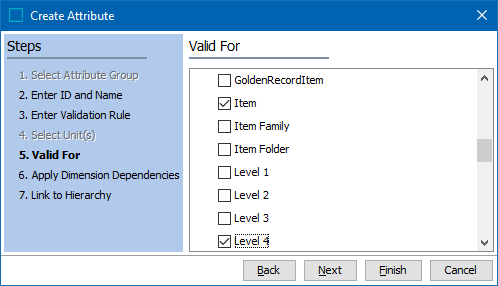
- On the Valid For step of the wizard, select the object types where the calculated attribute can be edited. This sets the attribute editor Validity tab selections.
- Click the Next button.
- On the Apply Dimension Dependencies step of the wizard, leave all checkboxes unchecked unless you have a reason to set a dimension. Dimension dependencies are only relevant when overriding the calculated value. For more information, refer to the Setting up a Calculated Attribute topic.
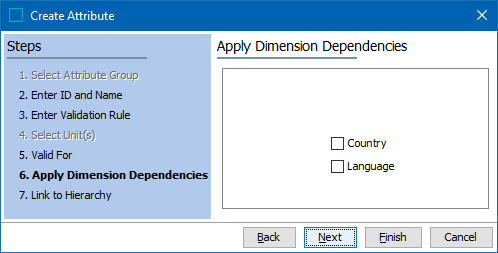
- Click the Next button.
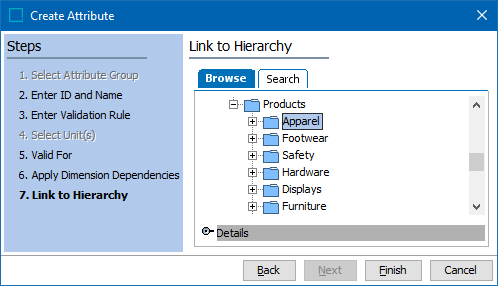
- On the Link to Hierarchy step of the wizard, use the Browse and/or Search tab to find and select the hierarchy nodes where the new attribute can be viewed.
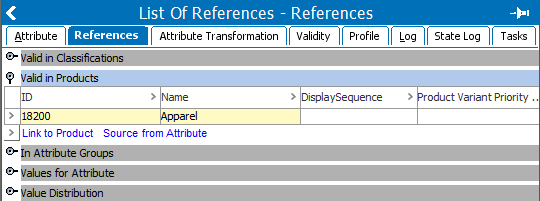
This creates an entry on the attribute editor References tab, under the Valid in Products section as shown below.
- Click the Finish button on the wizard. The attribute editor is displayed for the new attribute in the attribute group. Continue with the manual configuration steps below to make the attribute calculated.
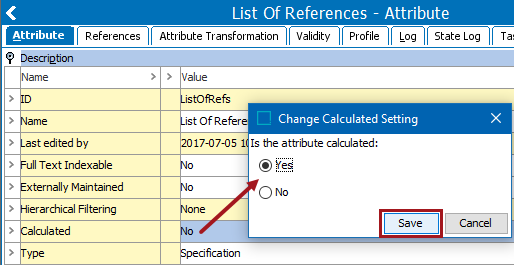
- In the attribute editor, on the Attribute tab, within the Description section, double click the Calculated field to display the Change Calculated Setting dialog. Click the Yes radio button, and click the Save button.
- The 'Value template' parameter displays in the editor with the text 'EMPTY' and a gray background.

- Based on the validation base type selected in the previous wizard step, the 'Unit template' parameter displays in the editor with no text.

- Open the Function Editor for the 'Value template' and 'Unit template' parameters to supply the calculation. For detailed steps, refer to the 'Attribute Editor' section of the Function Editor topic.
- Use the Function Editor to update the 'Value template' and 'Unit template' parameters to construct the required functions. For details on available functions, refer to the STEP Functions topic or the Calculated Attribute Use Cases topic.