Default product templates can be assigned to product, product-override, entity, and classification objects in the workbench by setting the value of InDesign Template Allowed to 'Yes' on the corresponding object types in System Setup. Default templates are assigned to these objects so that:
- A default product template can be set at a higher node in the product, classification, or entity hierarchy and inherited by lower nodes
- Templates do not have to be stored locally when mounting pages using 'drag-and-drop' operations in InDesign
- Publication rules can be configured to use the default templates that are assigned, eliminating the need to assign product templates to Flatplanner frames or create additional pagination rules to drive product layouts
Note: The 'InDesign Template Allowed' field is only visible in STEP systems with a Print Publisher license.
Configuring Object Types to Allow Default Product Templates
Before an object can be assigned a default InDesign product template, it must first be configured to display the 'Default InDesign template' field under the Description flipper on the Product / Classification / entity object type name tab. To set this up:
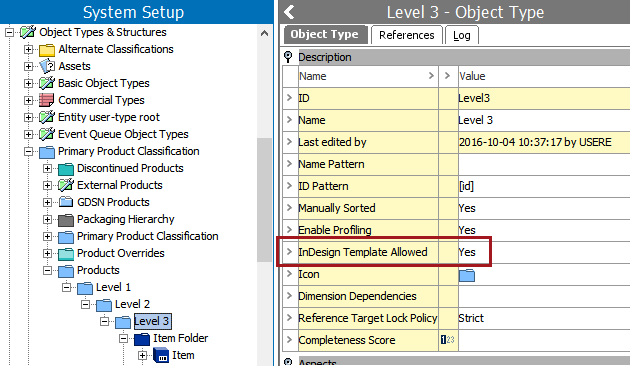
- Locate the relevant object type in System Setup.
- With your object type selected, go to the Object Type tab and expand the Description flipper.
- In the InDesign Template Allowed field, select 'Yes' from the dropdown list.
- After enabling an object type to allow a default InDesign template, a default product template can be assigned to any object of the selected object type in the Tree.
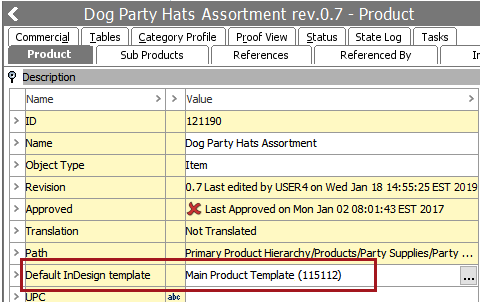
Assigning a Default InDesign Product Template
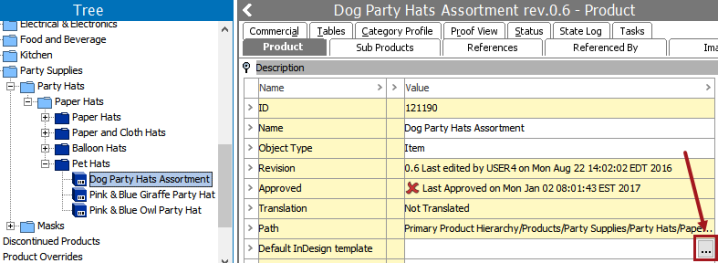
- In the workbench, navigate to your object in the Tree and go to the Product / Classification / entity object type name tab.
- Under the Description flipper, go to Default InDesign template and click the ellipsis button (
 ).
).
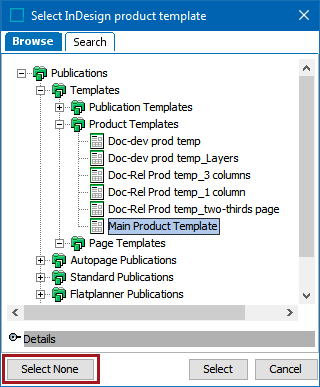
- In the Select InDesign product template dialog, browse to or search for the template that you would like to set as the default, then click Select.
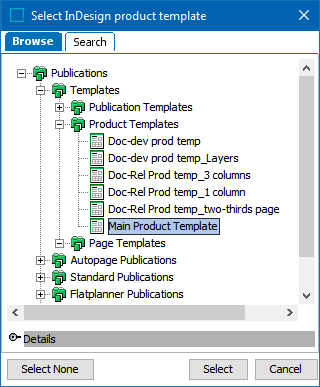
Note: If you have already selected a default product template and want to remove it, click Select None from the dialog.
- The product template is set as the default.
Note: Default InDesign templates can also be assigned to products using the Proof View component in Web UI. Refer to the Configuring the Web UI Proof View Component topic in the Print Proof View section of this guide here.
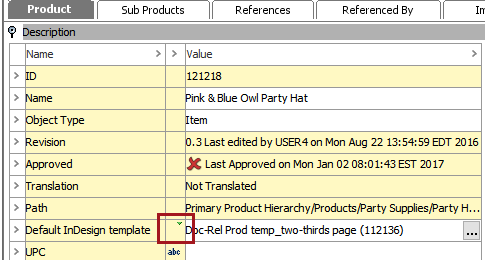
Default Product Template Inheritance
Default InDesign templates can also be inherited from higher nodes in the product, classification, and entity hierarchies, saving time and effort in assigning a default template to multiple objects.
Note: Both parent and child objects must be configured to accept default InDesign templates before templates can be inherited.
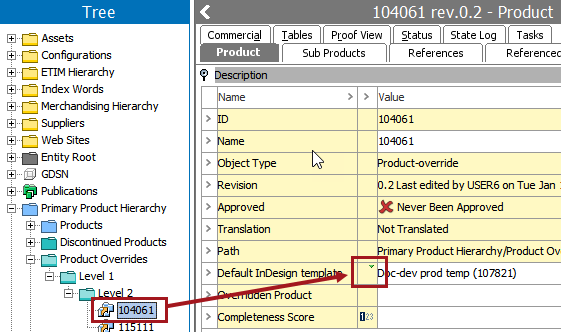
A small green arrow to the left of the template field indicates that the template is inherited.
The inherited template can be overridden with another one by following the steps in the previous section of this topic, Assigning a Default InDesign Product Template.
To revert back to the inherited template, click the ellipsis button () in the Default InDesign template field, then click Select None in the 'Select InDesign product template' dialog.
Default Product Template Inheritance for Product Overrides
By default, product overrides do not inherit default product templates from the product hierarchy. This behavior can be reversed by changing the Inherit Default Product Template through product hierarchy for Product Overrides setting to 'Y'. This setting is located under the DTP Settings flipper on the System Settings tab, located under System Setup > Users and Groups.
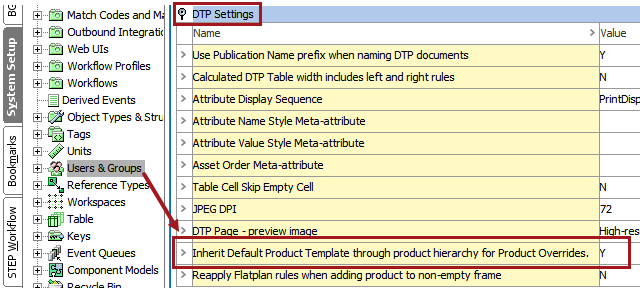
The following screenshot shows a product-override object with a product template inherited from its Level 2 parent object.