A number of configuration options are available for each view, allowing them to be tailored for more efficient use. These content elements determine which columns display in each view, except for Sticker Book, where these elements display in a vertical list on each Flatplanner frame. The view elements described in this topic can be configured in the following areas of the Flatplanner interface in the STEP Workbench:
- Basket view
- Financial Summary view
- Sticker Book view
Note: The Publication Planner also uses a view, but it has a different set of view elements. For more information on the view options available for the Publication Planner, refer to the Configuring the Publication Planner Column View topic in this guide here.
The following subsections describe the available View element options.
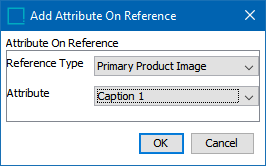
Attribute On Reference
Displays the value of a description attribute that is valid on the specified reference link type. For example, this element could be used to display a caption for an image that is linked to a product in a basket. The caption attribute would exist on the link between the product and the image.
- From the Reference Type list, select the preferred reference type.
- From the Attribute list, select the attribute whose value should be displayed.
- Click OK to add the element to the view.
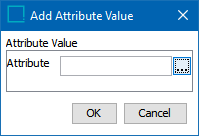
Attribute Value
Displays the value of a specified attribute or attributes.
- Click the ellipsis button (
 ), then browse to or search for the preferred attribute in the 'Select Object' dialog (not pictured). Multiple attributes can be selected by holding the Ctrl or Shift key while making selections.
 - After selecting the attribute(s), click Select to close the 'Select Object' dialog.
- Click OK to add the element to the view.
Calculation
Displays the value of a specified STEP Function. One example could be a calculation that concatenates the values of multiple commercial terms lists along with free text descriptors. For example, text such as 'Qty. on hand' or 'Qty. on order' could be concatenated along with corresponding commercial terms values.
- In the Name field, enter a name for the calculation.
- Click the ellipsis button () next to the Formula field to launch the Function Editor (not pictured).
- Enter the preferred formula, then click OK to close the Function Editor.
- Click OK to add the element to the view.

For detailed information about calculations and how to specify functions, refer to the STEP Functions section of the Resource Materials online help documentation here.
Commercial Data
Displays the specified value from a commercial terms list type.
- In the Data Type list, select the preferred commercial data list type.
- In the Break No. field, enter the break number of the commercial term value that should be displayed.
- Click OK to add the element to the view.
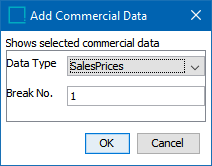
Multiple term values from the same list type, e.g., price breaks that correlate to different quantities, can be added to the view by adding the same list type again, then adding a different break number.
For detailed information on commercial data, refer to the Commercial Data section of the Publisher (Adobe InDesign Integration) documentation here.
ID
Displays the object's STEP ID in the view.
Image
Displays a thumbnail of a linked image.
- In the Reference Type field, type the ID of the asset reference type whose linked image should be displayed.
- From the Size list, select the preferred image thumbnail size. The available options are Small and Normal.

- Click OK to add the element to the view.
Image Size Examples
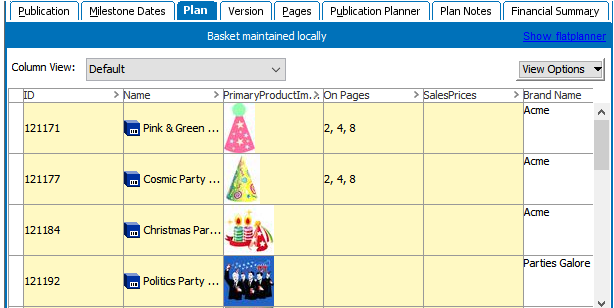
In the Flatplanner Basket, Normal and Small images display as follows:
In the Flatplanner Sticker Book view, Normal and Small images display as follows:
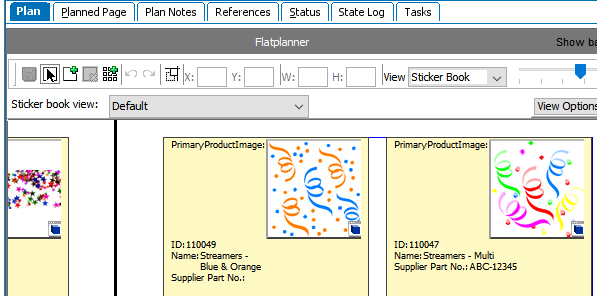
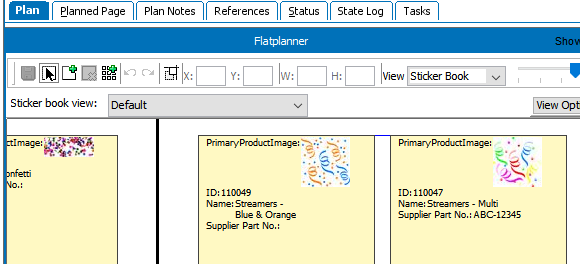
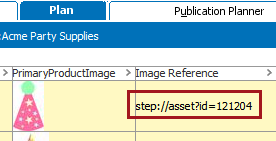
Image Reference
Displays the STEP URL of a linked asset. Typically, the asset reference type entered for this element will be the same as the one used for the Image element.
- In the Reference Type field, type the ID of the asset reference type whose linked image should have its URL displayed.
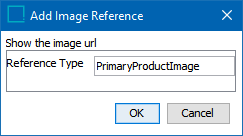
- Click OK to add the element to the view.
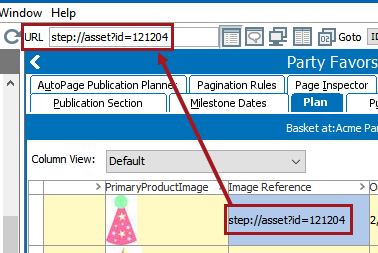
- The STEP URL of the linked image will display in the view. The below screenshot shows how the URL displays in a basket.
Tip: Though the URL is not hyperlinked in the view, the URL can be copied to the clipboard by selecting the cell in the basket and pressing Ctrl+C (Cmd+C on Mac systems). The URL can then be pasted into the STEP URL field by pressing Ctrl+V (Cmd+V on Mac systems).
Name
Displays the object's STEP Name in the view.
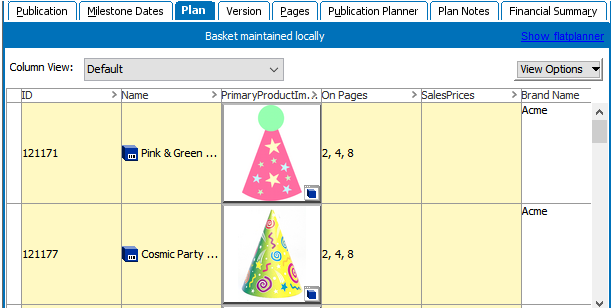
On Pages
Displays the page number(s) of the Flatplanner planned page(s) to which the object has been linked in the publication.
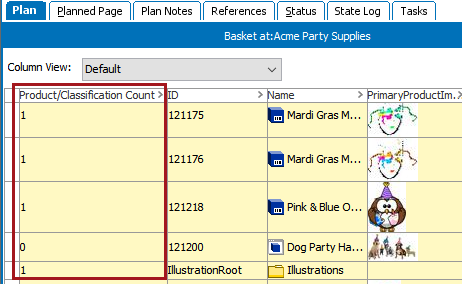
Product/Classification Count
Displays the number of products or classifications in a view column. The number displayed is 1 for product and classification objects and 0 for asset objects.
Space Usage
Displays the amount of space, in square millimeters, that the object occupies on actual pages (InDesign documents) saved back to the publication in STEP.