In some cases, the default views included in the Flatplanner interface may not suit the needs of all users. In this instance, new views can be created, and/or users can copy an existing view to make their own private view. Copied views can be made available to all users (public) or only available to the user who makes the copy (private). If a view is no longer needed, it can be deleted.
The instructions in this topic apply to the following areas of the Flatplanner interface where views can be configured:
- Basket view
- Sticker Book view
- Financial Summary view
- Publication Planner
Note: Users may not create, edit, or delete public views of the basket, financial summary, publication planner, or sticker book unless they have the privileges to do so. Refer to the Public and Private View Options topic in this guide here for more information.
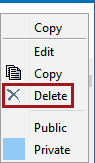
Copy a View
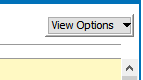
- In the upper right corner of the interface, click the View Options button.
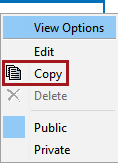
- In the menu that displays, click Copy to display the Copy Column View dialog.
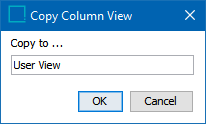
- In the Copy to … field, type the name of the new view, then click OK.
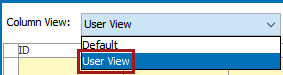
- The copy of the view is now available in the Column View dropdown list.
Create a View
To create a new view, you can either edit or copy an existing view by clicking on the View Options button. Both methods automatically create a new view.
Note: A new view is not created if the view is edited by adding or removing columns.
- To create a new view by editing an existing one, follow the instructions provided in the Editing Views section of this guide here.
- To create a new view by copying an existing one, follow the instructions provided in the 'Copy a View' section above.
- If editing a public view, a private view is automatically created when you start editing. After editing, you can make it public again to keep all changes. This prevents the view from having to be copied and re-saved.
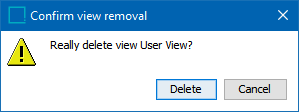
Delete a View
- In the Column View dropdown list, select the View that you want to delete.
Note: If only one view is available, it cannot be deleted.
- In the upper right corner of the interface, click the View Options button, then select Delete.
- A 'Confirm view removal' dialog displays. Click Delete to delete the view, or Cancel to keep the view.
Rename a View
There is no direct method for renaming a view. To 'rename' a view, you must first copy an existing view, provide a new name for the copied view, then delete the original view.