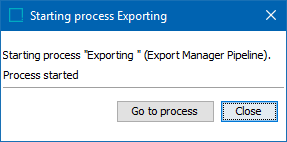
When you launch a data export process (as described in the Running a Data Export topic), the system starts a background process. It assigns a process number to that particular data export, and gives it the name assigned on the Save Export Configuration dialog. The starting process dialog is displayed:
Monitoring a data export allows users to view the process' activity and status, take action based on the process' result, analyze the execution report for details, and truncate the execution report to eliminate unneeded information.
For information on initiating and monitoring BGPs in Web UI, refer to the Background Process List Screen topic in the Web User Interfaces documentation.
Monitoring the Export Process
Choose a method to monitor a particular data export process:
- In the Starting Process Exporting window (that appears when you launch the export), click the Go To Process button.
- On the BG Processes tab open the Export Manager Pipeline node. For details on the states of a background process, refer to the BGP States and Quarantine Status topic in the System Setup documentation.
The Properties section includes details about the export process.
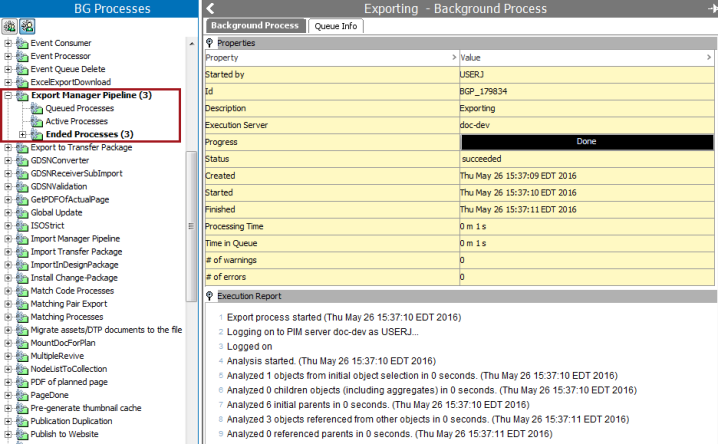
Execution Report Section
The execution information includes the status of the process and the number of warnings and errors.
Typically, you do not monitor the process as it is being carried out. However, if the process fails and you need to investigate why or if you need to contact Stibo Systems Help Desk, the information can be useful.
Navigation
After the first entry, the Execution Report displays the following navigation buttons:

The buttons are enabled when until the log reaches over 100 lines.
- Selecting the
 button will navigate back one page.
 - Selecting the
 button will navigate to the beginning of the log.
 - Selecting the
 button will navigate forward one page.
 - Selecting the
 button will navigate to the end of the log.
Save
- Click the Save button (
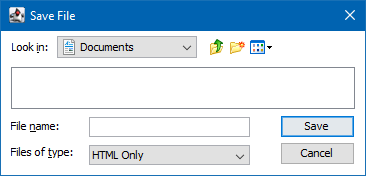
 ) to save the Execution Report as an 'HTML Only' file type.
Note: Changing the default format manually may result in an error.
- Enter a name for the log report and click Save.
Truncate
When the Execution Report become cluttered or only specific information is needed, use the Truncate option to permanently eliminate selected rows.
- Click the Truncate button (
 ) to display the Truncate execution report dialog:
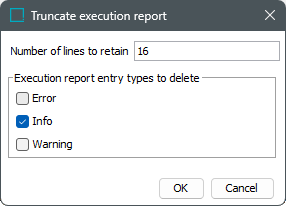
- In Number of lines to retain, the current number of log entries will display. Type the number of lines to keep starting from the end of the log, and permanently deleting the oldest rows, based on the selected entry types below.
- In Execution report entry types to delete, select the types that should be permanently removed.
Note: The Properties section includes a count of the Warnings and Errors included in the Execution Report.
- Click OK to permanently remove the selected number and types of execution report entries.
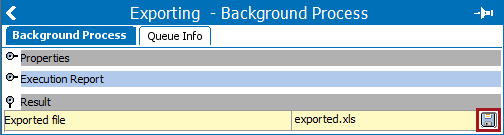
Result Section
The selected delivery option determines if you can download the file from the Background Process tab. When available, the file is stored on the STEP application server, and can typically be found at workarea\background-processarea\Exporter, in a folder named for the background process ID (for example, BGP_179834 in the image above).
Depending on your system setup, you may also be able to edit the file from within STEP.
Download an Export File
- Click the save icon to the right of the file name.
- In the Save window, find the location where to save the file, and click Save.
You can now open and edit the file.
View an Export File
Double-click the name of the exported file to open it using an available editor for the output format. In the image above, the file will be opened in Excel.