You can add an attribute value to all records by mapping a constant value. Common setup uses this feature for filling some object attributes.
For more information about the additional import steps, refer to Creating a Data Import or Creating an Inbound Integration Endpoint.
Mapping a Constant
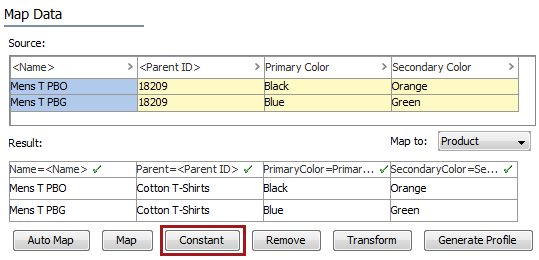
- Below the Result panel, click the Constant button.
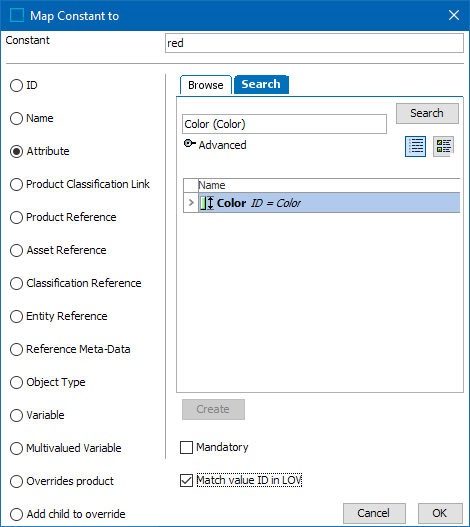
- On the Map Constant To dialog, in the Constant field, enter text that should be assigned to all records.
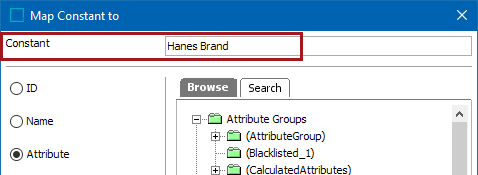
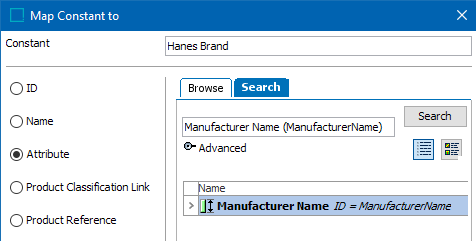
- Select the Attribute radio button and use Browse or Search to select the attribute to be modified. Click OK.
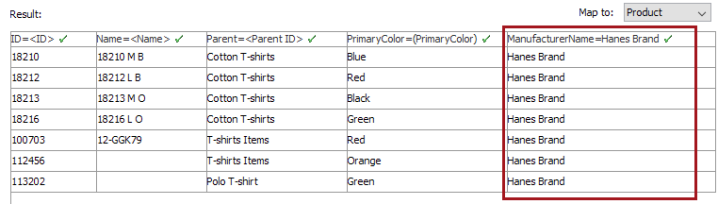
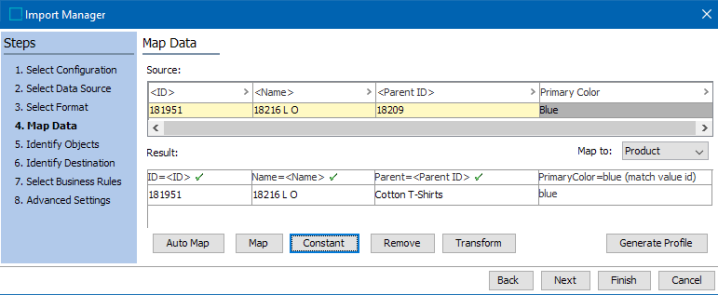
- The Result panel displays the constant value as if it exists in the input file.
Once a constant value has been mapped to an attribute, for the first 200 rows of the import file, the data is validated against the data model. If the data is not applicable for an attribute due to mismatch with the configured validation will be highlighted as below.

A user can also add the constant value to the LOV attribute, they must enter the value of the LOV, which is case sensitive.
If the LOV attribute holds an LOV with value IDs, then the user can enter the value ID. If the option 'Match value ID in LOV' is checked, the IDs are matched against the IDs in the LOV, and values are applied based on the match, as shown below.
The Result panel displays the mapped values below, and matches the LOV ID.
Note: The LOV ID is case sensitive, if there is a mismatch with the LOV ID that exists in STEP, validation will return an error as shown below.
