For details about other setup required for using ETIM classifications, refer to the ETIM Configuration section of the ETIM Format documentation.
Use the following steps to set the valid product type on the Validity tab for the exported ETIM attributes.
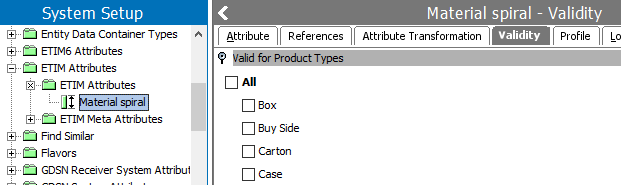
- Determine the product object type that should be selected on the ETIM Attributes Validity tab.
- System Setup > Attribute Groups > ETIM Attributes > ETIM Attributes, right-click and select Export Attributes Below. This assumes that you want to set validity on all ETIM attributes. If needed, select only the subset that you want to modify and export those.

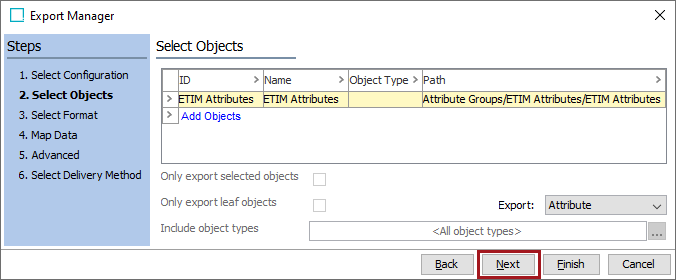
- The Export Manager displays with the selected ETIM Attributes, click the Next button.
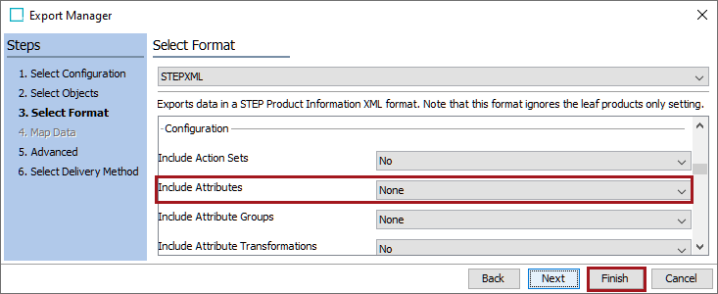
- To ensure the smallest XML export file, on Select Format step:
- Set STEPXML as the format.
- Set the Include Attributes parameter to Selected.
- Set all other parameters to No / None.
- Click Finish.
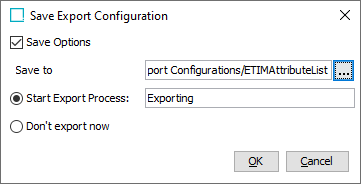
- On the Save Export Configuration dialog, set the options as desired, and click OK to start the export.
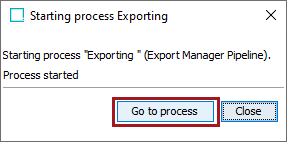
- Click the Go to process button.
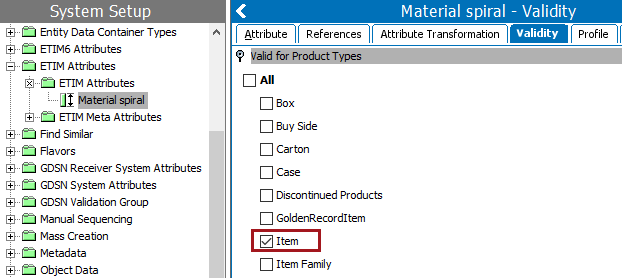
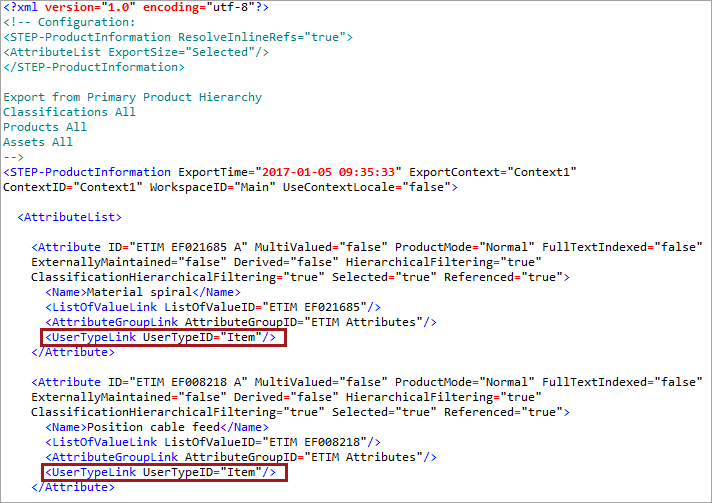
- Open the export file for editing and make the following updates as shown in the image below. In the example, 'Item' is the product object type that will be set as valid.
Below each instance of the <AttributeGroupLink AttributeGroupID="ETIM Attributes"/> tag, add the text <UserTypeLink UserTypeID="Item"/>, substituting the text 'Item' with the name of your own desired product object type determined in the first step. The double quote marks are required.
- Save the modified file with a new name.
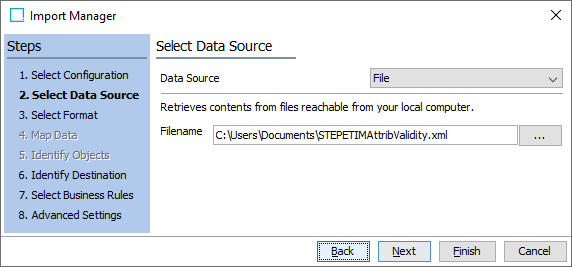
- Open Import Manager (File > Import > Data) and import the modified file. For details on the import process, refer to Creating a Data Import here.
- Verify that imported attributes now display the valid product type.