Adding a new work area
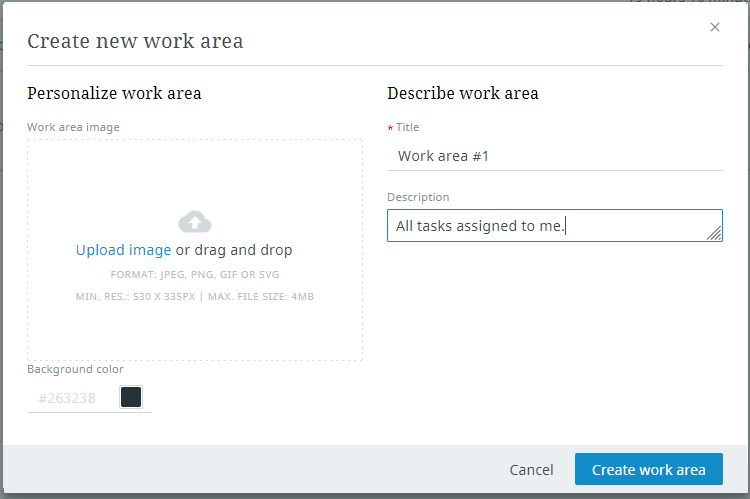
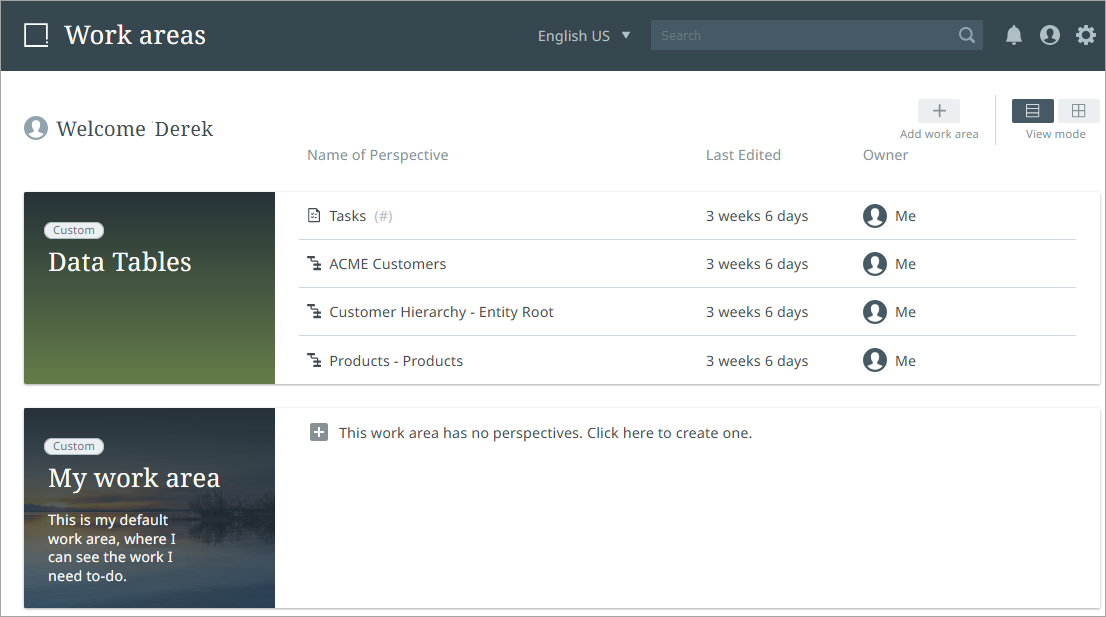
Select the "Add work area" button at the top of the page to access the work area editor.
In the "Create new work area" editor, you can assign a title for the work area, a description of its purpose, and a background color or an image to represent the work area.

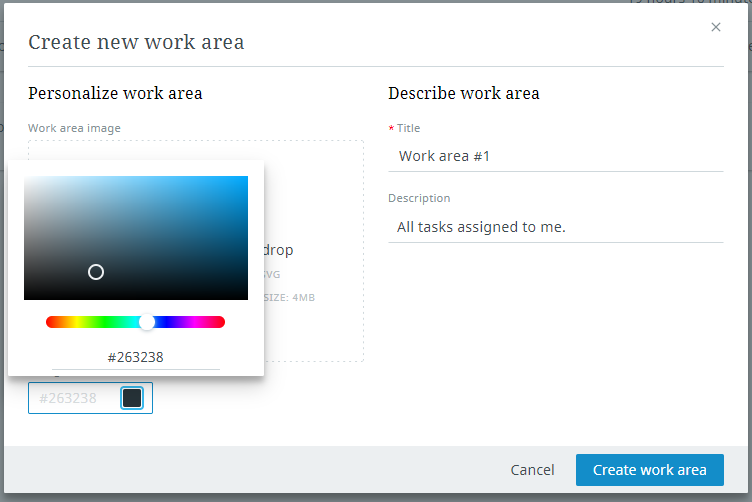
You can specify the background color by manually entering a hexadecimal color code or by picking a color from the palette on the color picker.

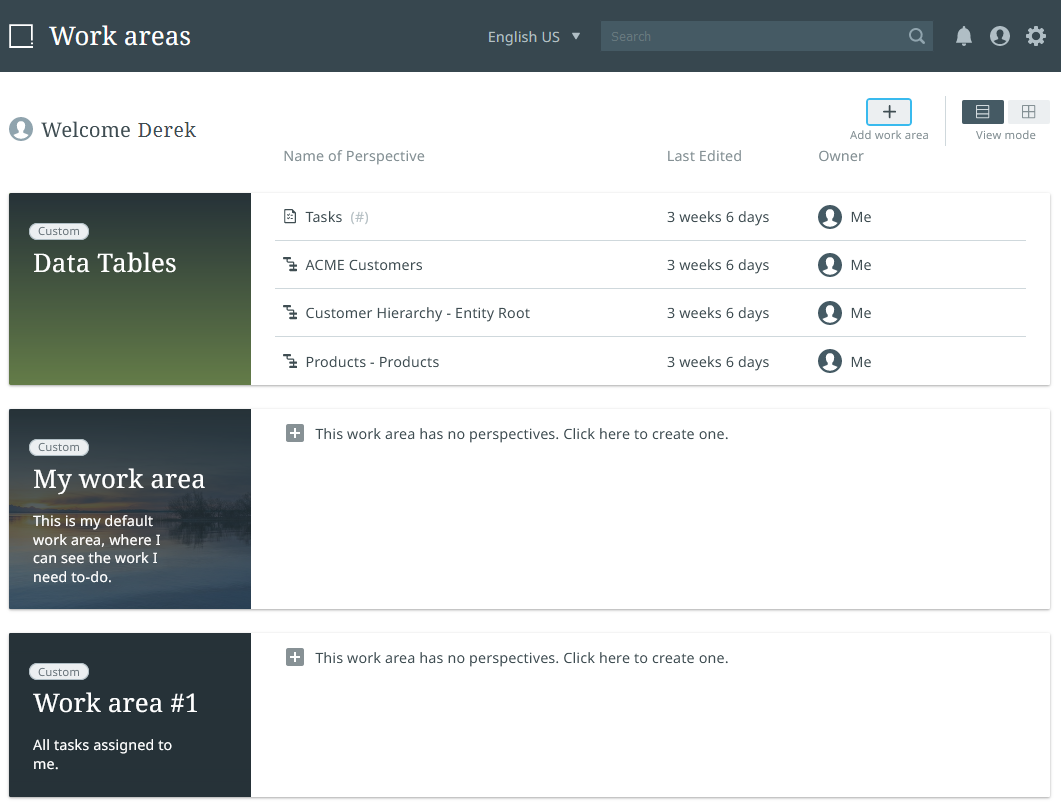
Once your new work area has been created, it displays alongside your existing work areas.
Important: Prerequisite—Verify, or have a system administrator verify, a classification folder for work area images has been set up in STEP. For more information, refer to the Administration section.
Next, you may want to add a perspective to your work area. For more on this, go to Adding a new perspective.
Note: Preset work area and perspective configurations set by admin users become the default settings for assigned user groups. Columns and filters set by admins display to users. Admin defined filters cannot be deleted or overwritten by users once set. A tooltip message displays stating, "You cannot overwrite admin configurations." However, custom settings such as zoom, additional filters, and column width can still be manipulated and maintained by users in preset perspectives. Upon saving these changes, the 'Reset to default' feature is enabled which allows users to revert to default settings defined by admins. Preset work areas can be duplicated and further customized by users in the duplication. Custom work areas, identified by a "Custom" label above the work area name, are configured by the user and are customized based on user preferences and privileges.

