Getting started
Instrument is a powerful tool that provides a new and innovative way to master your data. To accomplish this, it has been designed with a focus on simplicity and transparency; empowering users to solve complex issues with as little friction as possible.
In a nutshell, the goal of Instrument is to do the following:
- Simplify complexity by providing a consistent interface with a contextual toolbar
- Maintain the context of the data you are working with so that you can return to where you started
- Provide guidance for solving issues through the use of dynamic errors and warnings
- Make it easy to organize your data via the work area and perspective concepts
- Offer various accessibility options for anyone who needs them
Prerequisites
What are the steps to try out Instrument?
There are a few requirements needed before you can activate the Instrument UI:
-
Be on the most recent STEP version. Going forward, update to the latest version when available. Instrument updates will not be backported.
-
Have the Elasticsearch license and Elasticsearch server configuration setup.
-
Have the In-Memory license and setup.
Contact Stibo Systems to determine how best to meet these requirements and get started.
Additionally, some system administration setup is required before using Instrument. Administrators should refer to the Administration section of this online help.
Accessing Instrument
The Instrument user interface (UI) is accessible via your system's Start Page or by appending your system URL with "instrument."
For example, https://[system name]/instrument.
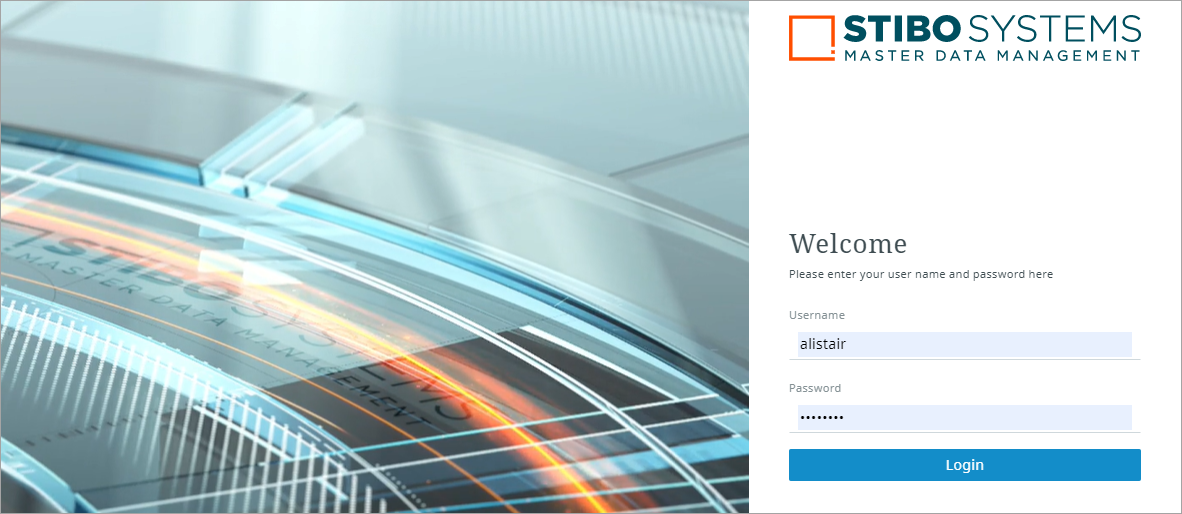
To log in, you simply enter your STEP credentials (username and password).
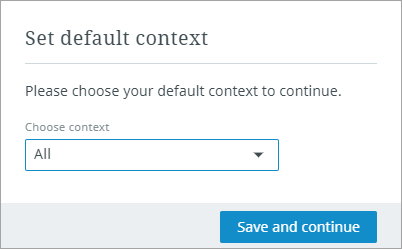
When you first log in, you will select a default context.
If the admin user has set the default context via the Configuration tool, then you will not need to choose a context here. Once you are logged in, you will still be able to change your context while in the User Settings.
Instrument concepts
This tool allows you to organize your data into groups and then work with those groups via tab groups. This gives you the ease of editing and managing your data in a way that makes sense to you.
This is accomplished through the use of work areas and perspectives:
Work areas are methods of viewing and working with your data in a format you customize.
You can customize the work area name, description, and background image. If you find that your work requires more than one work area, you can add as many as you need, giving each work area its own unique title, image, color, and description to differentiate them and make them easily recognizable.
Important: Prerequisite—Verify, or have a system administrator verify, a classification folder for work area images has been set up in STEP. For more information, refer to the Administration section.
Perspectives provide a customized look into your data and exist as tabs that reside within a work area. There are three types of perspectives you can add to your work area: tasks, browse, and collections.
A contextual toolbar is accessible whenever you are viewing a perspective. Any actions not relevant to the view you are in will be automatically hidden from the toolbar.
Important: Prerequisite—Verify, or have a system administrator verify, that business actions have been set up for you to view and use in Instrument. By default, no business actions are shown without this setup. More information for your system administrator is in the Administration section.
Functionality for Work areas is covered in Using Instrument documentation. Refer to the Perspectives topic for a more in-depth look at perspective features and functions.

