This section describes how to create a page template in InDesign, apply layout styles to the page template, and how to store the page template locally and/or in STEP. Just like with page templates created in the workbench, page templates created in InDesign use frames to determine where products, images, and free text can be placed, as well as which product templates apply to which frames.
Though it is almost always recommended to create page templates directly in the page template Designer tool in the STEP Workbench, there are certain exceptions where the page template must be created in InDesign:
- Galley page templates must be created in InDesign.
- Page templates where styling is needed in the Flatplanner frames must be created in InDesign, though this is uncommon. Typically, all styling is handled on product templates and publication templates / mounting pages.
- Layouts where Flatplanner frames must be very precisely aligned against each other with no or extremely little space in between (also uncommon, but may be helpful for layouts such as coupon flyers). Using InDesign to create these types of page templates will give a more precise level of control over frame alignment than what is available in the Designer tool in the workbench.
Note: Before you can use InDesign-created page templates with Flatplanner, the templates must first be saved back to STEP and assigned to a publication.
Creating a Page Template in InDesign
To create a page template in InDesign:
- Create a new InDesign document that has the same page size and margins as the publication template being used in the publication.
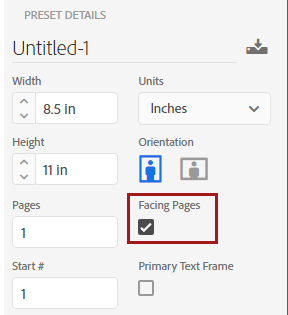
- Since this document must be a two-page spread with facing pages, check the Facing Pages box in the New Document dialog in InDesign.

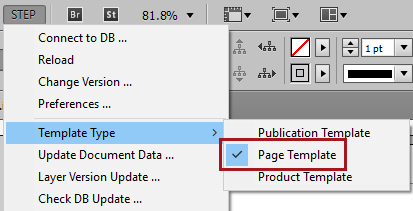
- Navigate to STEP > Template Type and choose Page Template.

Applying Frames to the Page Template
To complete the page template, frames must be added to it. Frames are added from the STEP Template Frame panel.
- Open the STEP Template Frame panel by navigating to Window > STEP Template Frame.
- Draw either a text frame using the Type tool (T) or an image frame using the Rectangle Frame tool (F).
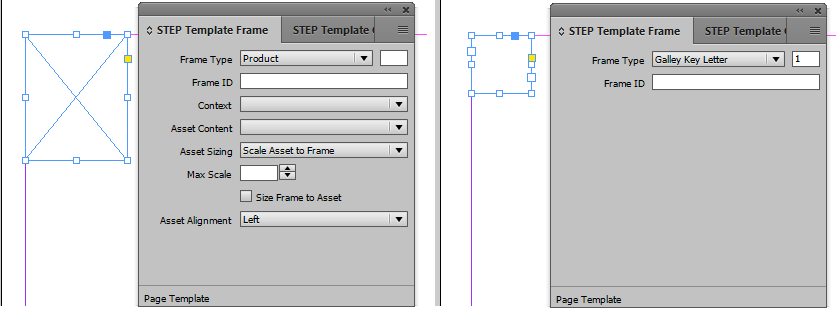
- With the frame selected, choose the desired frame type from the Frame Type dropdown list. The following screenshots show the available options for image frames (L) and text frames (R).

- Repeat step 2 - 3 for each element you want to allow on the pages in your publication.
When the pages with the different frame types are viewed in the Flatplanner Plan view, each frame type is represented by a colored square. Frames that do not have any products linked display as gray squares. Frames with linked products are shaded light blue. Galley text frames display as green. For more detailed information about galley templates, refer to the Galley Templates section of the Print Flatplanner documentation
Storing the Page Template
Once you have created a page template, it must be saved to STEP in order to use it in conjunction with Print Flatplanner, as well as to make it available to other STEP users.
To store the template in STEP:
- Save the InDesign document on your local hard drive as a standard InDesign file (suffix .indd).
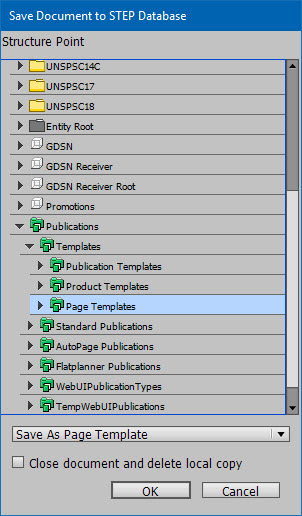
- In the STEP menu, click 'Save Document to DB.' A Save Document to STEP Database dialog box appears.

- Select the publication group you want to save the document to, then select Save as Page Template from the dropdown list.
- Click OK.