The following documents will create an Asset Push Sidecar. Each item is required for a successful installation. This topic will focus on the preliminary setup outside of the key installation.
- Create the Asset Push Directory
- Download the Asset Push jar file
- Asset Push Sidecar Installation
- Verifying and Testing the Asset Push Sidecar
- Uninstalling the Asset Push Sidecar
For information on logging, starting / stopping / checking the status of the sidecar, as well as any limitations of this guide, refer to the Additional Asset Push Sidecar Information topic in this documentation here.
Create a Directory for Asset Push Sidecar Files
Note: The Asset Push Sidecar required for provisioning high-resolution images to the InDesign server will be configured as part of the initial deployment on Stibo SaaS environments.
First, a directory is needed to house the files and installation of each Asset Push Sidecar. Create a directory on the host machine where the Asset Push Sidecar files will be stored. For on-premises installations of STEP, this can be any location, such as one of the application servers, the InDesign server, or a separate Asset Push File Server to where the assets should be pushed. On Stibo SaaS environments, Asset Push Sidecar cannot be installed. Asset Push Sidecars can only be installed on a separate (and customer-hosted) server.
For Linux or Mac Environments
/workarea
For Windows Environment
L:\
For example
/workarea/sidecar/assetpushqueue-DTPConfiguration/
or
L:\sidecar\assetpushqueue-DTPConfiguration\
Downloading Asset Push .jar File
Next, the jar file for the desired asset push queue needs to be downloaded to install the sidecar. To locate the jar file, go to your web browser and access the STEP application server URL/sidecar,
http://server.domain/sidecar/
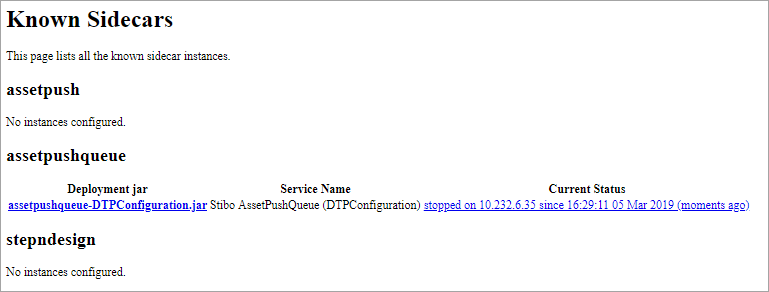
If it is possible, download this .jar file from the machine that should run the Asset Push Sidecar. The sidecar page will list the asset push queues that have been created.
Download the jar file to the created directory, and start a terminal window or command prompt in this directory.
Next, the sidecar will be installed, created the needed files. Refer to the Installing the Sidecar topic in this documentation for the next step.