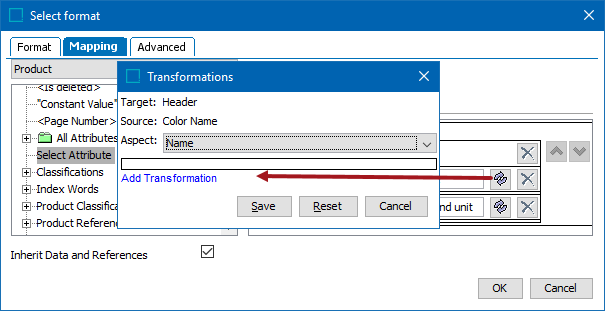
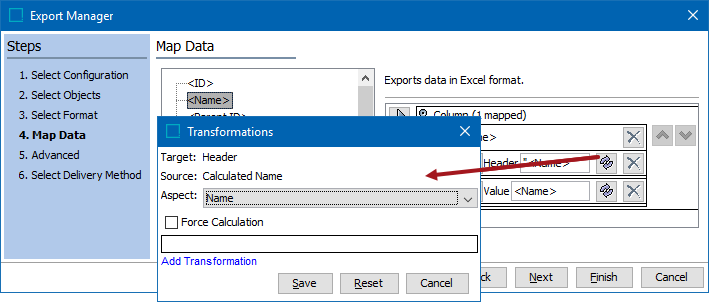
During the Map Data process, transformations modify how data is displayed when it is exported from STEP. For example, with transformations, you can split one STEP data column into multiple values, append and prepend data to values, and perform search and replace.
Transformations are cumulative and are carried out in strict sequence order. That is, if you specify many transformations, each one takes place on the result of the prior transformation, not on the original data. Since there is no preview of the effect of transformation instructions, it is a good idea to implement one or two transformations at a time, save the configuration, and gradually build the complete set of transformations.
Transformations that are textual in nature cannot be applied to attribute values that are not textual.
For examples of the most common transformations, refer to Mapping Transformation Examples here.
To use transformations on attributes in STEP, or data in tables and publications, refer to Attribute Transformations in the System Setup documentation here.
Transforming Data
The mapping step for Export Manager and OIEPs includes the same options after clicking the Transform button.
In OIEPs, the transformations dialog is accessed from the OIEP editor Configuration tab > > Output Templates flipper > edit the Format column > select the Mapping tab.

In the Export Manager, the transformations dialog is accessed from the Map Data step.

Based on the item being transformed, the following parameters are displayed on the Transformations dialog, and allow you to complete the transformation setup:
- Aspect (here)
- Data Container Separator (here)
- Force Calculation is only available when a calculated attribute has been selected. Checking this box ensures the value of the specified calculated attribute is resolved upon export. When unchecked, calculated values can still be generated via the Include Calculated Attribute Values option on the Advanced step (here).
- Multi-Value Separator text box (here)
- Add Transformation link (options are shown below)
For details on each of the available transformation options, refer to the Transformations topic in the Resource Materials online help here.
For more information about the additional wizard steps, refer to Creating a Data Export (here) or Creating an Outbound Integration Endpoint (here).