Print Publisher publication templates start out just like any other InDesign document—a blank .indd file. They become publication templates after being designated as such in Print Publisher. In addition to background graphics such as logos, publication templates also typically contain footers, sidebars (such as section names), page numbers, and so forth.
This topic explains how to create and configure a publication template from a blank InDesign file, as well as create a publication template from a previously existing master document. It does not describe how to use standard InDesign functionality such as adding page numbers to master pages, since this documentation assumes the reader already has a working knowledge of InDesign.
Creating a Publication Template as a New Document
- After opening InDesign, begin the process of creating a new InDesign document by navigating to File > New > Document or typing Ctrl+N.
- In the New Document dialog that displays, define the settings for your template, including page size, margins, and bleed / slug. Publication templates can also be created with multiple columns. In most instances, these settings will apply to the entire publication, though it is possible to create additional master pages in your publication template that have different page sizes, margins, and so forth. Refer to the 'Master Pages of Different Sizes' subsection of this topic below for more information.
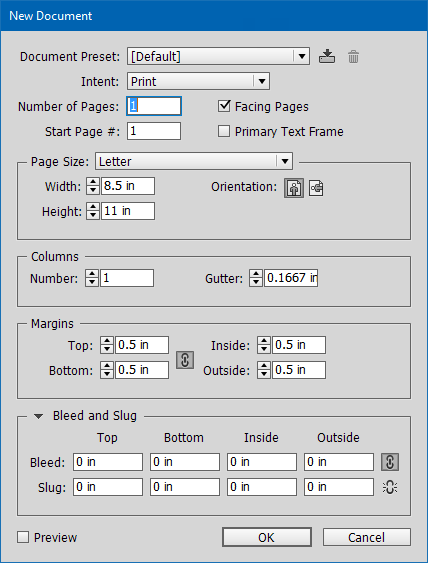
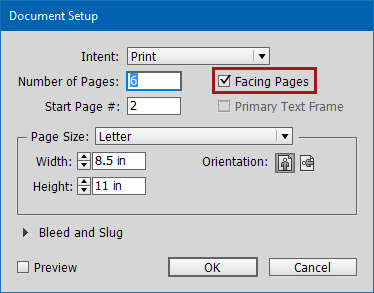
- Check the Facing Pages check box to create a spread for the master page. When using Print Flatplanner and Print AutoPage, the publication template must be created as a spread, by creating two pages based off of the master page.
Note: If you are working with a previously created master document that does not already have Facing Pages checked, you can correct this by navigating to File > Document Setup in InDesign and checking the Facing Pages box on the Document Setup dialog.
- Click OK to finish creating the empty document.
Designating the Template Type
Next, designate your blank InDesign document as a publication template.
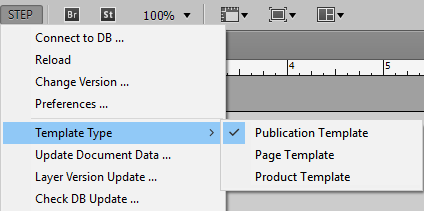
- With your blank InDesign document open, Navigate to STEP > Template Type.
- Select Publication Template from the STEP menu.
Master Pages and Spreads
A publication template can consist of one or many master pages and spreads. Many publications, especially large catalogs, need more than one master spread because each section may have, for example, different colored thumb tabs for each chapter. The following screenshot shows a publication template as viewed in the InDesign Pages panel. It contains three master pages (A-Master, B-Master, and C-Master) and three spreads based off of these master pages—pages 2-3 are created from A-Master, pages 4-5 are created from B-Master, and pages 6-7 are created from C-Master.
Note: Each page spread must only contain two pages.
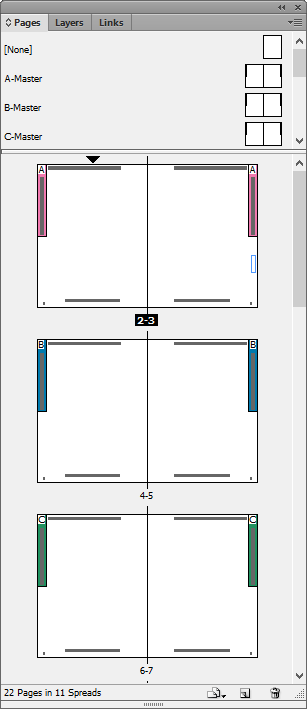
Page spreads must be created from the master pages because products can only be mounted on pages, not on master pages. For standard drag-and-drop mounting operations, users will drag products onto one of the page spreads and not a master page. For the Print AutoPage and Print Flatplanner components, these page spreads must be mapped to publication sections using pagination rules. For more information, refer to AutoPage Pagination Rules in the Print AutoPage documentation
To create a new master page in InDesign:
- Open the Pages panel (navigate to Window > Pages or press F12).
- Click the Options menu in the upper right corner of the panel and select New Master.
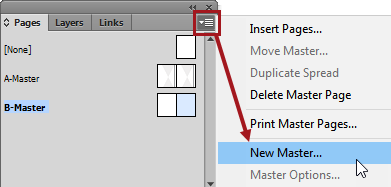
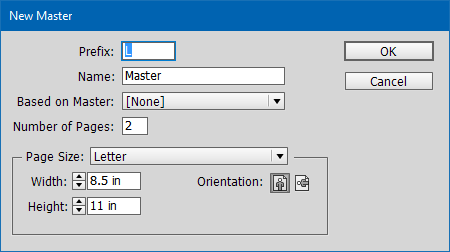
- Configure your new master page on the New Master dialog, then click OK to complete.
Master Pages of Different Sizes
Sometimes a publication may need one or more master pages that are a different page size than the rest of the catalog. For example, you may need a smaller page size to create an order form or advertising insert. Since more than one publication template cannot be used for an entire publication, this different page size is handled by creating a new master page within the publication template.
A master page of a different size is created the same way as any other master page, except it is given a different page size on the New Master dialog.
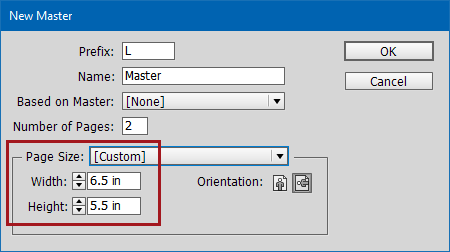
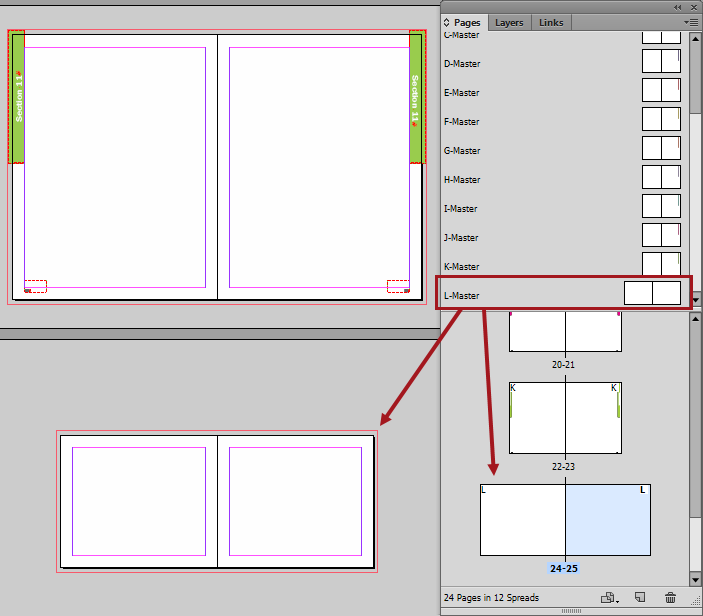
The following screenshot shows how a page created from a master page of a different page size looks alongside the other pages in the template. The InDesign Pages panel is on the right and the page spreads (viewed at a zoom level of 25%) are on the left.
Creating a Publication Template From an Existing Document
In many instances, a sample InDesign document will be provided (typically by a customer) before the template-building process begins. Creating a publication template from a finished sample document is a relatively straightforward process. Re-using a sample document in this manner removes much of the guesswork in setting up the size of the pages and margins, the required paragraph and character styles, color swatches, and so forth. Creating a template from a preexisting sample ensures that a publication created in STEP will look exactly like the publication as it was created previously, outside of STEP. For this method, follow these steps:
- Open the sample InDesign document.
- Open the Pages panel by navigating to Window > Pages (or pressing F12).
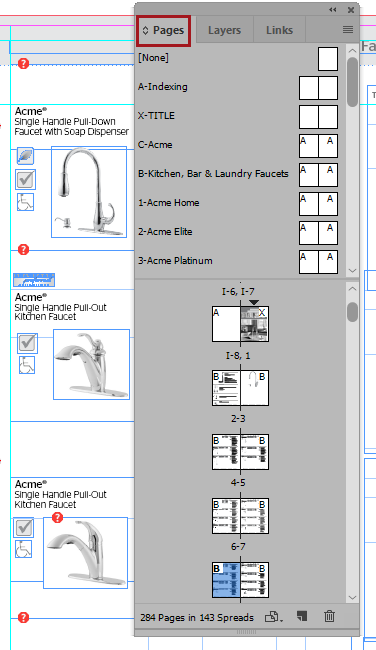
- In the Pages panel, delete all pages and master pages that are not needed. If the publication template will only be used for simple proof views in STEP, then only one master page and one page spread needs to remain. If you are using the Print AutoPage or Print Flatplanner component and need to map publication sections to master spreads through pagination rules, then you may need to retain most or all of the master pages in the document. For more information, refer to the 'Set publication template spread index' section of the AutoPage Pagination Rule Actions topic in the Print AutoPage documentation (here) and the Flatplanner Pagination Rule Actions topic in the Print Flatplanner documentation. For information on proof views, refer to the Print Proof View section of this guide here.
- Next, select the page(s) at the bottom of the Pages panel.
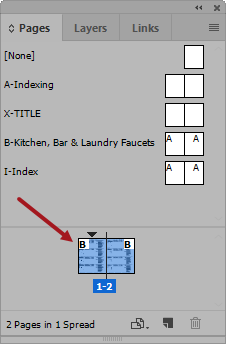
- Using the InDesign selection tool
 , click anywhere on the InDesign page and press Ctrl+A to select all elements on the page(s), or, go to Edit > Select all in the InDesign menu. Then, press the Delete key to remove all elements.
 - The resulting blank document will still contain all elements from the master page such as page numbers, side tabs, and other background graphics.
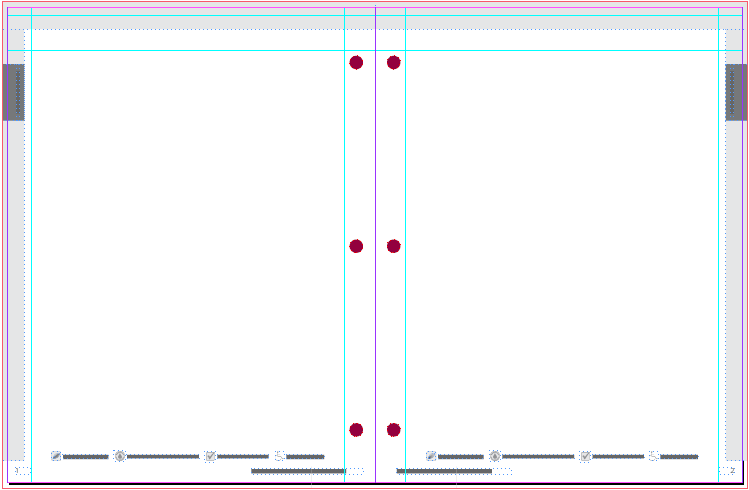
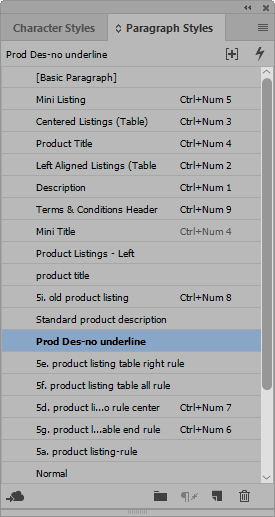
In addition, all paragraph and character styles will remain.
