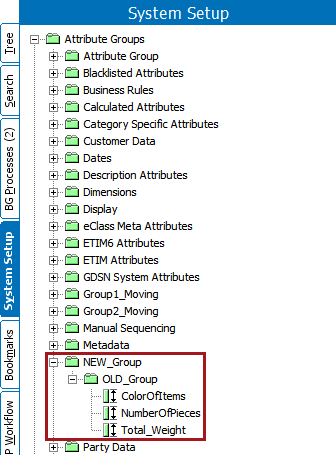
To reorganize attributes under new groups, you will need to reparent the groups. There are two methods of reparenting attribute groups.
- Manual Reparenting - For smaller attribute groups with only a couple of attributes, users are able to easily drag and drop the attributes under a desired parent.
- STEPXML Reparenting - Using STEPXML, users can reparent an attribute group with numerous attributes inside.
Manual Reparenting
To manually reparent attribute groups with attributes: create a new attribute group, drag the attributes from the existing attribute group into the newly created attribute group, delete the old attribute group, and recreate it inside of the new one.
Note: To reuse the name of the existing attribute group inside of the new parent attribute, then that existing group must be deleted first. This is required because STEP auto-generates a name based on the STEP ID, and only one instance of a STEP ID may exist.
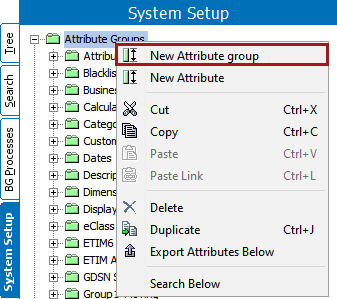
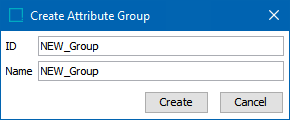
- In System Setup, create a new attribute group that will become the new parent for the attributes in the existing group.
- Open the attribute group containing the attribute to reparent by pressing the plus (+) icon next to the attribute group name.
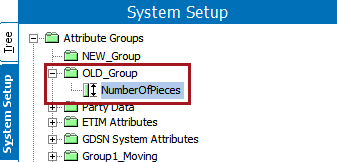
- Drag the desired attribute(s) into the new attribute group.
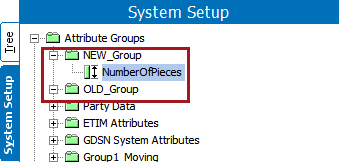
Note: When dragging the attribute, the old attribute group will retain the open icon, which is a minus (-) sign. This is due to the fact that the system has not been updated.
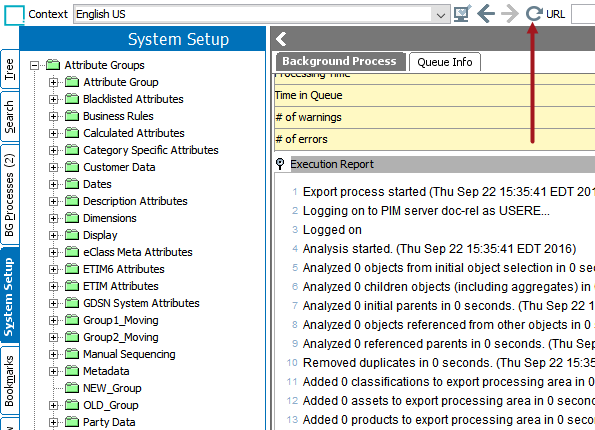
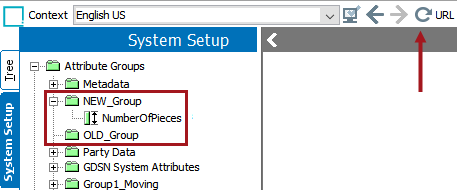
- Select Refresh at the top navigation in STEP. The original attribute group refreshes to show it is empty.
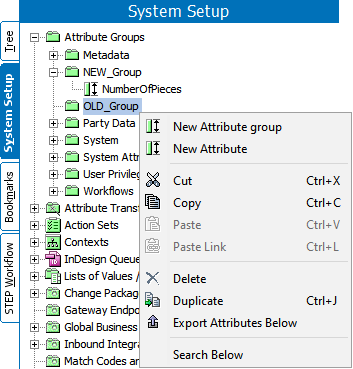
- Delete your old group from the Tree tab by right-clicking on the attribute group and selecting Delete, or by going to the Maintain menu > Delete.
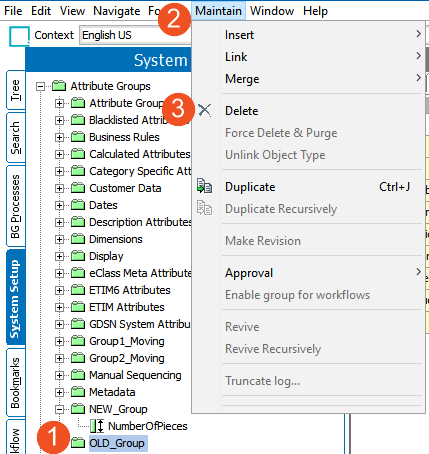
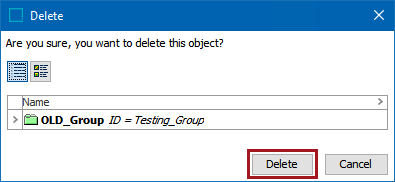
- Click Delete to confirm the deletion on the pop-up prompt.
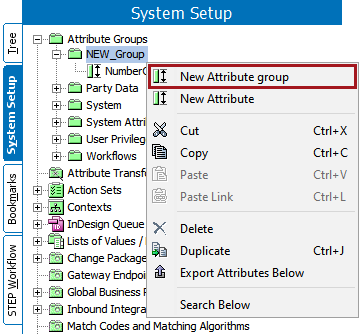
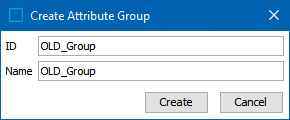
- Create the old group under the new attribute group that was created in step 1.
- Drag the attribute from the attribute group created in step 1 and move it to the recreated old attribute group from step 7.
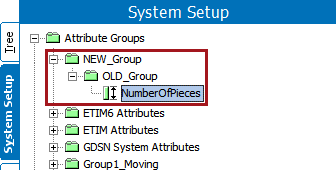
STEPXML Reparenting
An easier method for multiple attribute reparenting is to use STEPXML. In this process, users will export all the attributes to reparent, apply some STEPXML, and then import the updated attributes.
Note: Using the STEPXML method is best when dealing with a larger number of attributes. If only a few are being reparented, the manual method is fine. Using STEPXML a user can link an attribute to new attribute group but cannot unlink an attribute from an old attribute group in which it is already linked.
First, create the new group under which your old attribute group will be reparented.


Export the Attribute Group
Next, export the attribute group that needs reparenting. To properly export an attribute group for reparenting:
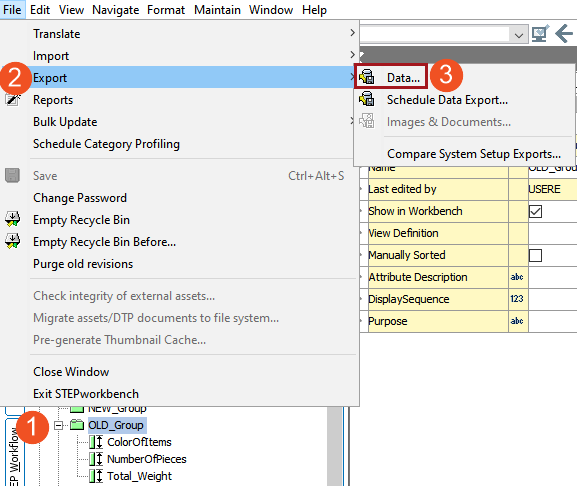
- Select the old attribute group to reparent from the Tree tab. Then, select File > Export > Data....
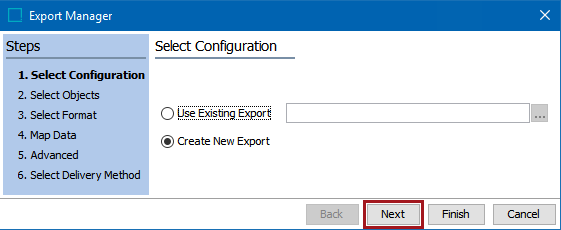
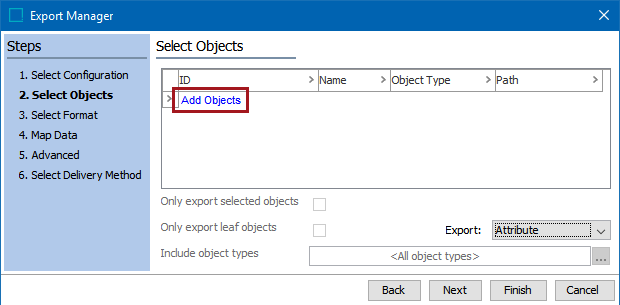
- The Export Manager will display. Select Next, and on step 2 of the Export Manager, Select Objects, select Attribute from the Export dropdown menu.
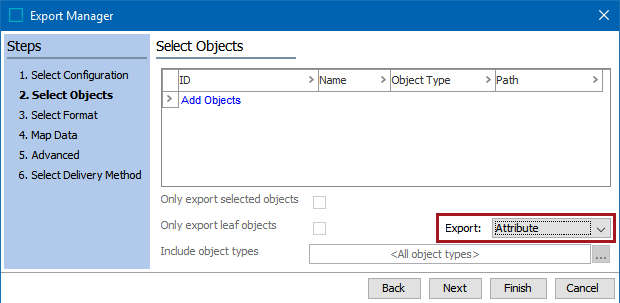
- Finally, select Add Objects from the data field.
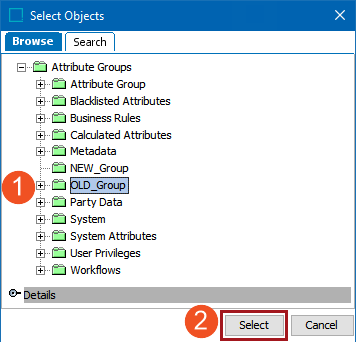
- Select the desired attribute group to reparent by clicking the group then pressing Select. Select Next once the attribute group is added to the Select Objects list.
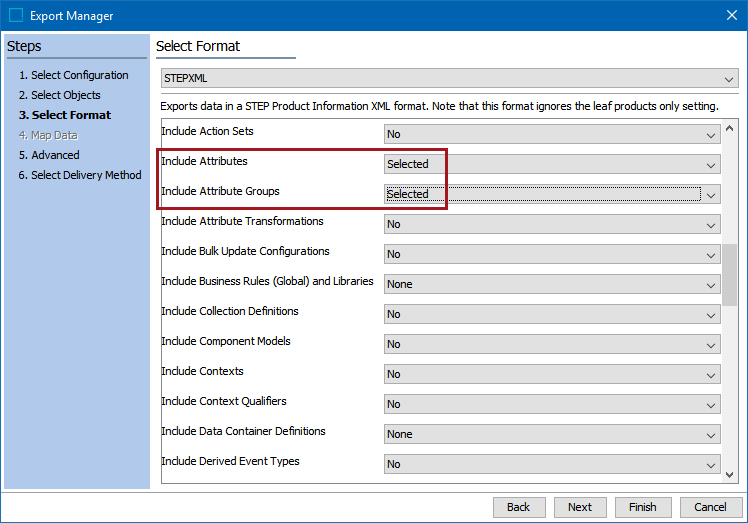
- On step 3, Select Format, first select STEPXML from the dropdown menu. Then, navigate to Include Attribute Groups and Include Attributes and set both options to Selected. Select Finish to export the file.
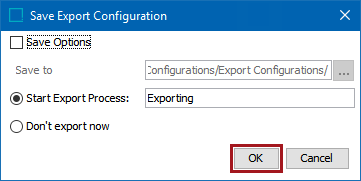
- Press OK on the export configuration pop-up. To save this configuration for future use, select the Save Options box and select a location. Otherwise, the export will begin and give a status update.
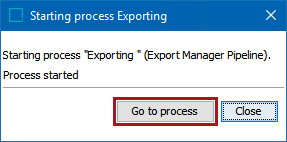
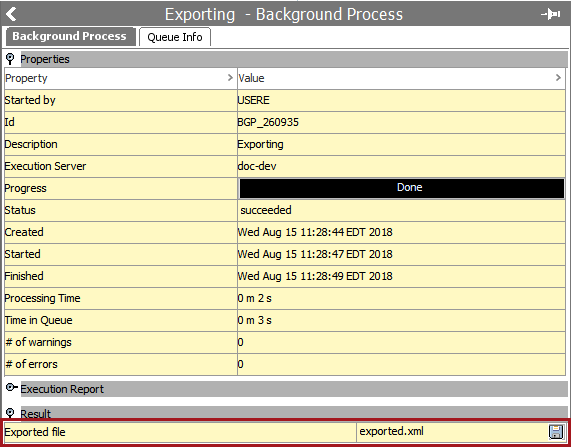
- Select Go to Process and scroll down to the exported file. Open the XML file.
Adding STEPXML
Next, STEPXML is added to the exported file. The process for adding STEPXML to reparent an attribute group is as follows:
- After double-clicking the exported file, it will open in the default XML browser. Locate the AttributeGroup ID="[Your old group]" tag.

- Inside the XML brackets for AttributeGroup ID, add ParentID="[Your new group name]". In the braces, use the ID of the parent attribute group where the old attribute group will use as a parent.

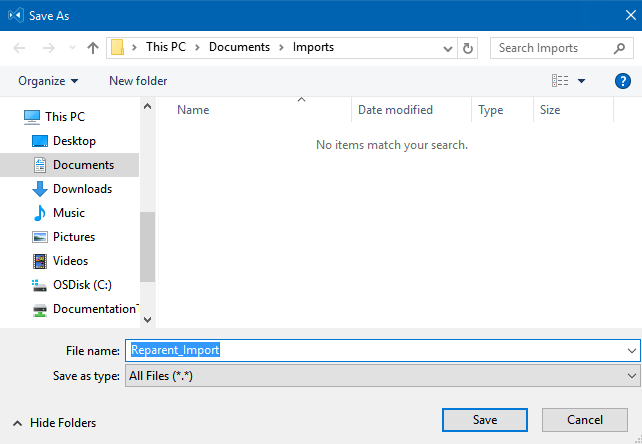
- Select Save, and remember where the file is saved for uploading in the STEP Workbench.
Upload the Modified File
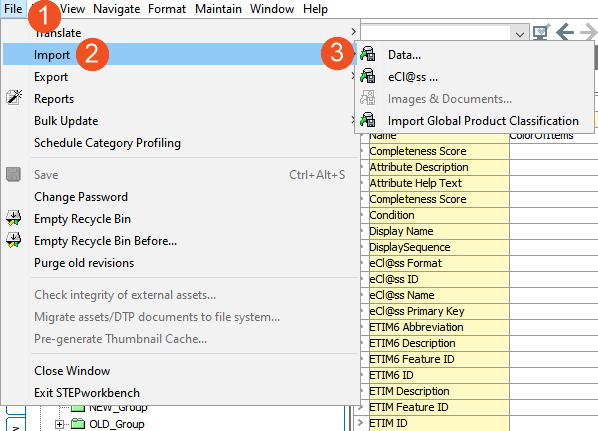
- In the STEP Workbench, select File > Import > Data....
- The Import Manager will load. Select Next.
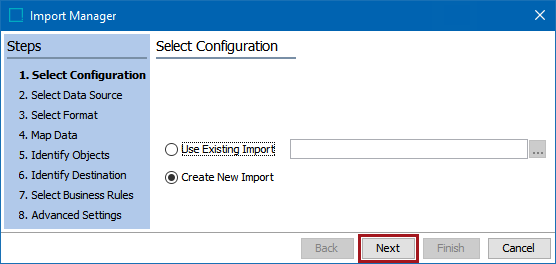
- On Step 2. Select Data Source, select the previously modified STEPXML file from the last step.
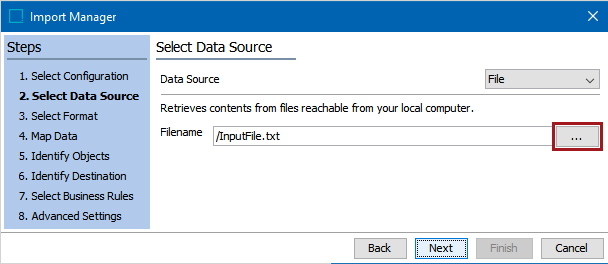
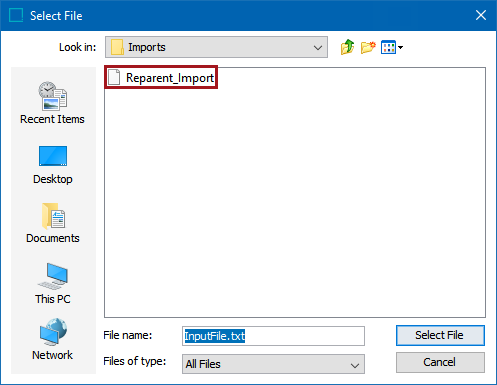
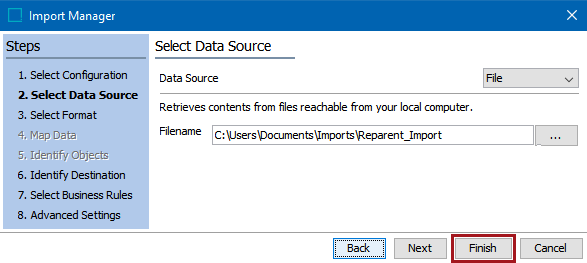
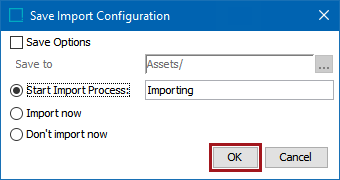
- Select Finish. A Save Import Configuration dialog will pop-up. Select OK to import the STEPXML script.
- Refresh your STEP Workbench. The old attribute group will be a child under the new attribute group.
