This topic covers the third method of translation content in the system, manual translation. This topic covers how a user can translate content in the workbench by adding content directly into the attribute for the target language.
Manual translation is only appropriate when the following criteria have been met:
- translators are given direct access to the system
- the amount of content to be translated is not substantial
If either of these criteria are not met, the structured translation process is likely to be a better option.
As an example of an instance where manual translation might be a good option, Company Z sells t-shirts. All of their product information is translated and up to date. Marketing sends a directive that a word used in the product description for one t-shirt brand needs to be changed for the US and all other global markets. As this work is very limited in scope, manual translation can be a viable and potentially fast method to approach this challenge. In this example, the user would access the product in question, visit each language for that product, and update the relevant description for each.
Executing a Manual Translation
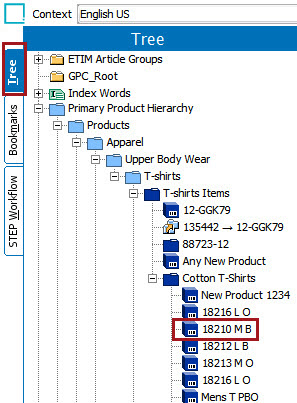
- Find the object in the Tree. In this example, the product to have attribute values translated is 18210 M B.
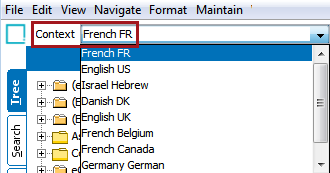
- Select the target language you would like to view from the Context dropdown. If, for instance, the user wants to make a change to the French translation of an attribute, they would select the French FR language from this dropdown.
- Click on Translation Mode. Translation mode displays an object as it exists in two languages, typically the source and the target. Clicking on Translation Mode will display the target language you chose via the Context, and the source language will display, by default, as English.

- When you switch to Translation Mode, you may receive an instruction dialog that reads like this:
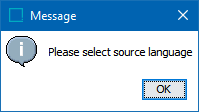
At this message, follow the next step, and select the desired source language. Your system will remember this selection and display it as the source language in Translation Mode until it is changed or the system cache is cleared.
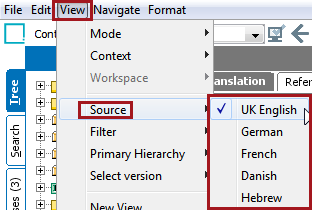
- To select or change the source language, click View in the File menu, and then Source. In the dropdown that displays, all available languages that have been designated on your system as either a source or a target will be listed. Select the relevant source language from these.
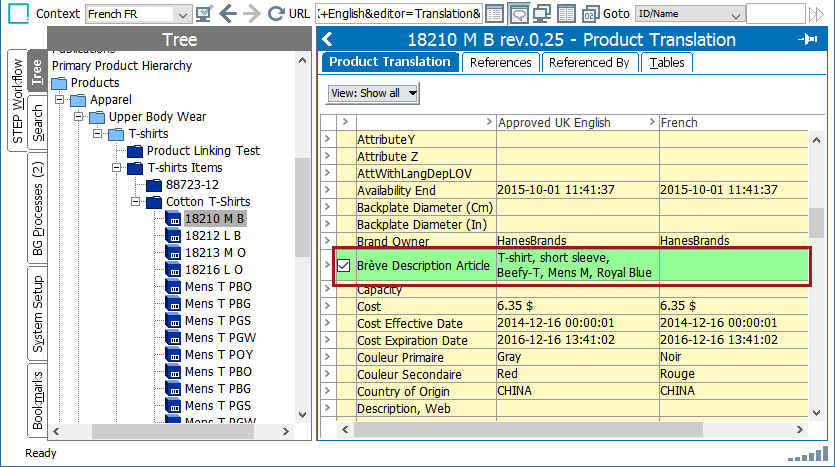
- In this example, we have French displaying as the target language on the Product Translation tab (notice the French FR displaying in the Context field), and Approved UK English as the source language. The 'Approved' in 'Approved UK English' references the fact that content to be translated, whether manually or through a structured export, comes from the approved workspace. Attributes that require translation are shaded green. In this screenshot, the Long Description attribute is shaded green and has a value in the Approved UK English column but none in the French column. The green shading is the user's prompt to add a translated value for that attribute. In this example, the attribute needs a French language value.
- To add a value, the user must click into the value cell for the appropriate attribute under the green-shaded target language column, and then type or paste in the translated value.
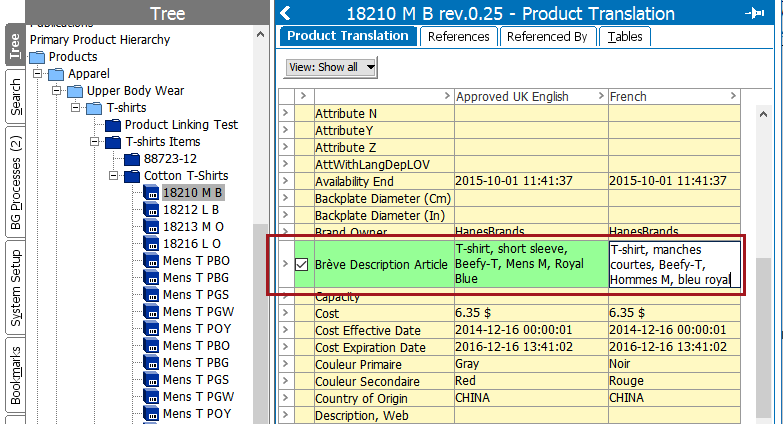
In this way, most translatable data can be added for all language dependent attributes in all languages. However, because each language dependent attribute must be amended for each language manually, manual translation is not recommended for any translation except those with a very limited amount of content to translate.
Note: When using manual translation to translate attributes on the System Setup tab, manual translation using the Translation mode view only allows you to translate the attribute names, not any of an attribute's description attributes. However, using Context view, users may manually translate an attribute's description attributes.
Manually Approving Translations
Considerations
When approving a translation, the shown values from the Source Language are taken from the Approved workspace. This methodology is why the approved checkmark for the source language turns green. However, this concept is not the same as the Context mode for reviewing attribute values and references across contexts. For more information, refer to the Context topic in the System Setup documentation here.
Note: If changes have been made to language dependent attribute values in the source object since the last time the object was approved, the Source Language will not show these changes. Because of this limitation, the translation status shows 'Up to Date' due to the Source Language's Approved status. Only when the source language is approved again will this status change to 'Re-Translation Needed.'
Process
While in Translation Mode, users can manually approve translations by right-clicking an object.
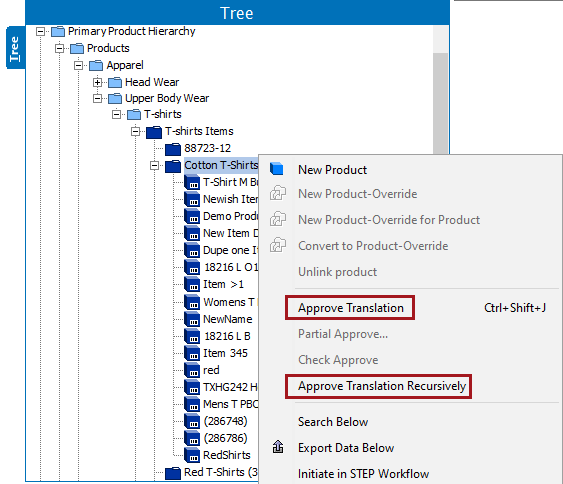
The 'Approve Translation' and 'Approve Translation Recursively' options are available when right-clicking on an object in the Tree when viewed in Translation Mode.
- Approve Translation - When in Translation Mode, the 'Approve Translation' option allows users to approve the target language for a specific object.

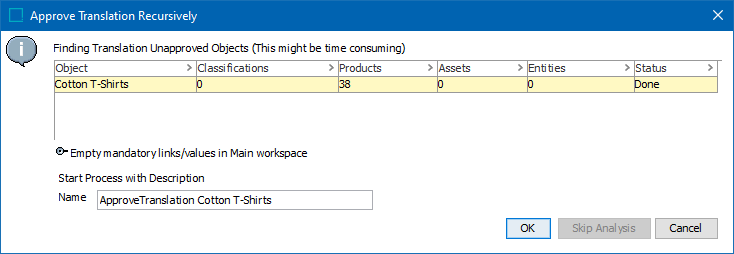
- Approve Translation Recursively - When in Translation Mode, the 'Approve Translation Recursively' option allows users to approve the target language for an entire hierarchy. Approving translations recursively means searching for unapproved translations linked to (or below) a selected hierarchy node and approving these translations (copying them to the Approved workspace).
