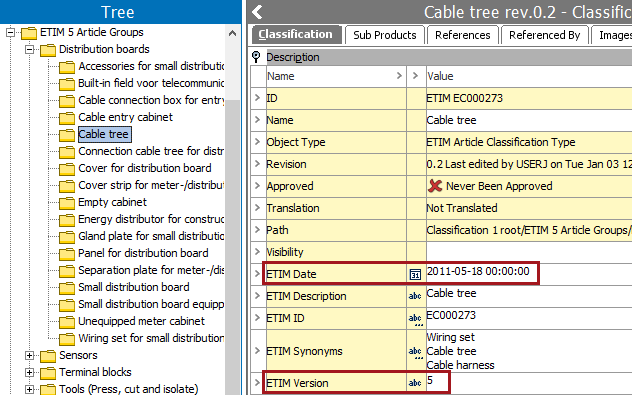
Occasionally, while using Import Manager to import a set of ETIM classifications, ETIM attribute values are not imported because the number of allowed characters / or the validation base type in STEP does not match the values included in the ETIM file. When this happens, use the following steps to manually import the ETIM attributes.
- Start the Import Manager and complete the following steps:
- For the Import Manager Select Format step, select the appropriate ETIM version.
- ETIM version 5 using ETIM and ETIM v2 Format (here)
- ETIM versions 6, 7, and 8 using ETIM IXF Format (here)
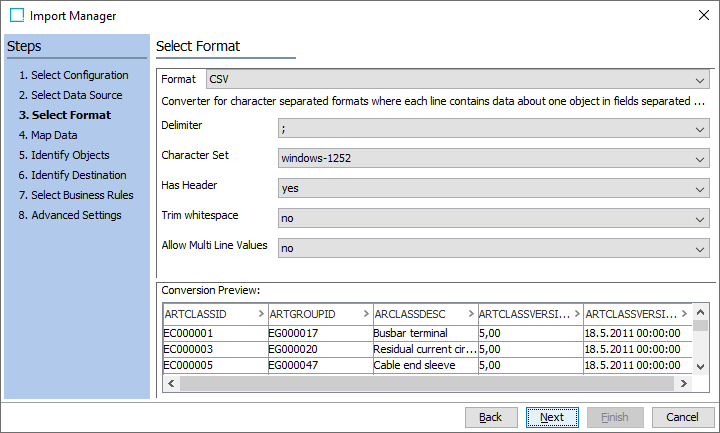
- On Import Manager Select Format, choose CSV and leave the other settings as default. The Conversion Preview is displayed.
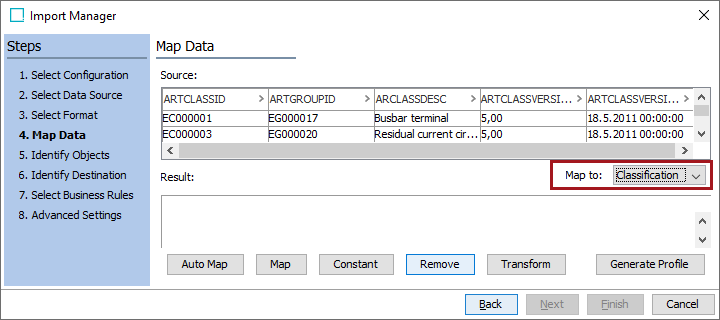
- On Import Manager Map Data, set Map to as Classification.
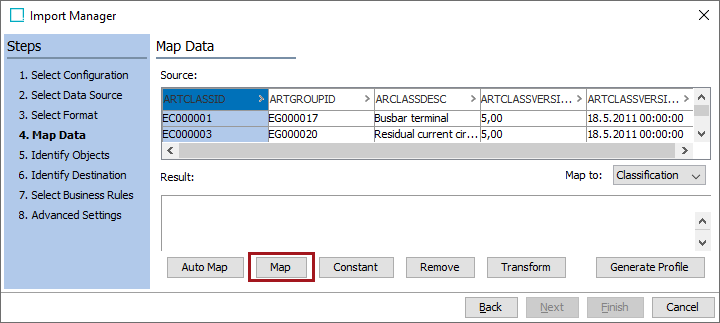
- In the Source table, select the ARTCLASSID column and click the Map button below the Result table.
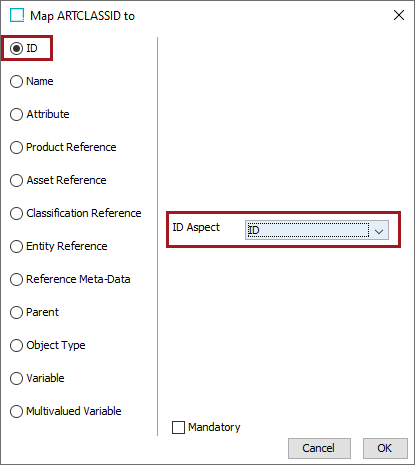
- In the Map To window, select the ID radio button, set the ID Aspect to ID, and click OK.
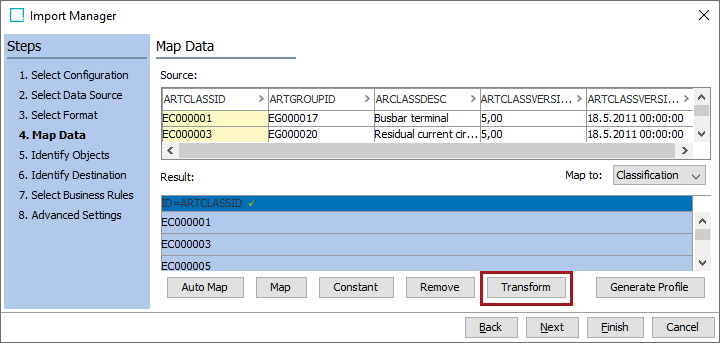
- In the Result table, select the ID=ARTCLASSID column and click the Transform button.
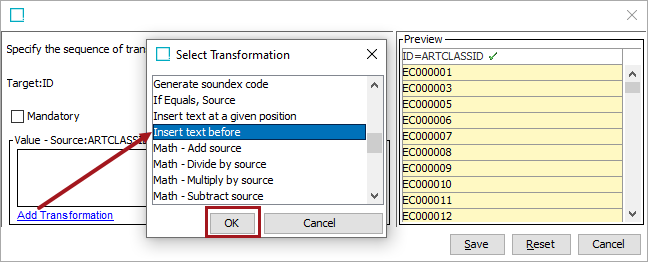
- In the Transformation dialog, click the Add Transformation link, select the Insert text before option, and click OK.
- Enter the ETIM version your want to import (including a trailing space) as the value to insert in order to match the ID in STEP and click the Save button. This text entered is based on the suffix added when the ETIM Article Groups were imported. The results are displayed in the Preview pane.
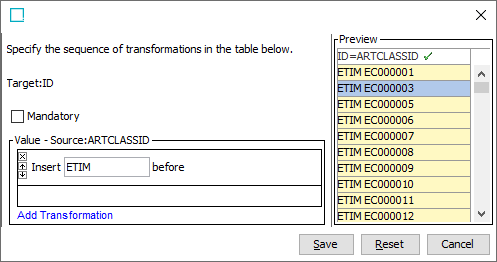
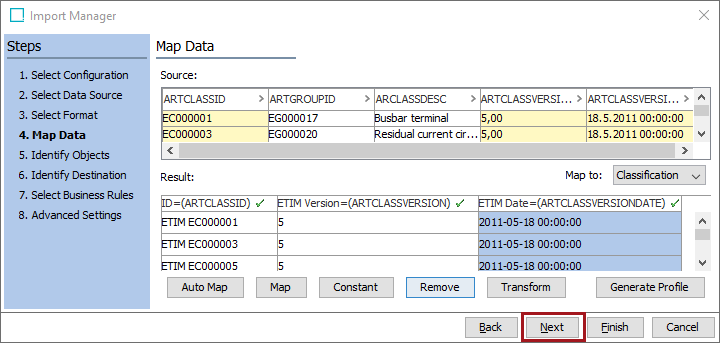
- The Result table ID=ARTCLASSID column now displays the selected text preceding the ID originally displayed in the Source table.
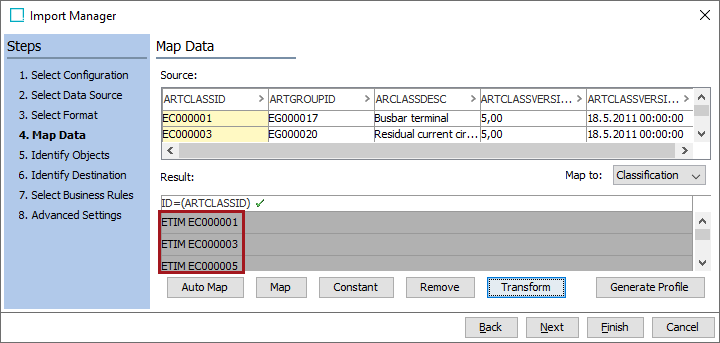
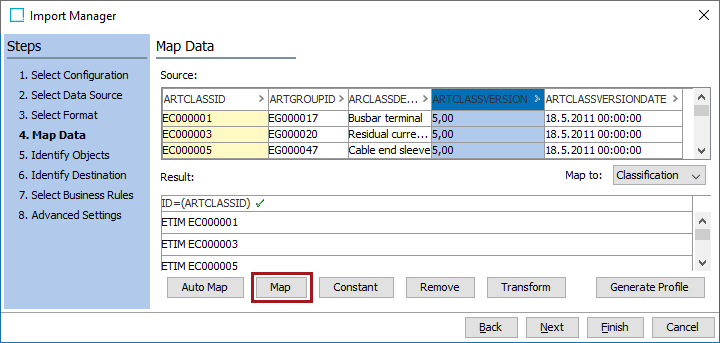
- In the Source table, select the ARTCLASSVERSION column and click the Map button below the Result table.
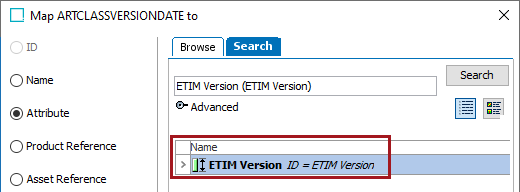
- In the Map To window, select the Attribute radio button, search to find and select the ETIM Version attribute, and click OK.
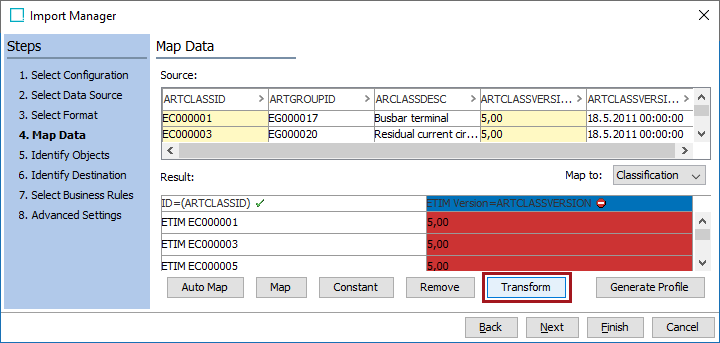
- The ETIM Version attribute has a maximum length of three (3) characters, so it displays as an error in the Result table. Select the ETIM Version=ARTCLASSVERSION column and click the Transform button.
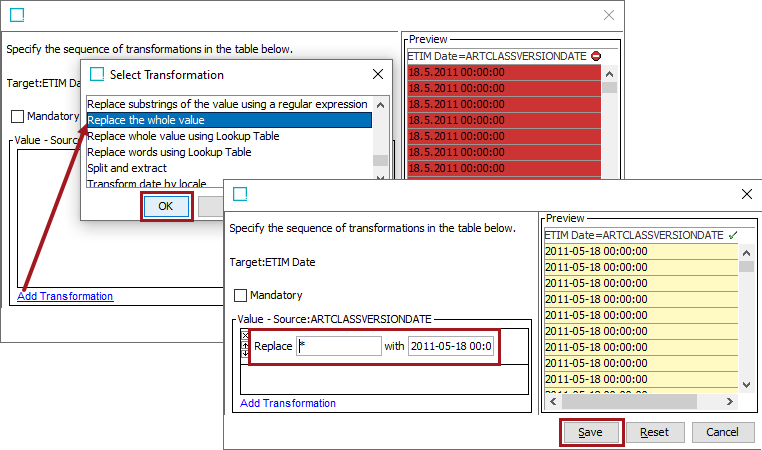
- In the Transformation dialog, click the Add Transformation link, select the Replace the whole value option. For the values, add replace * with and enter a single digit based on the version being imported, and click the Save button.
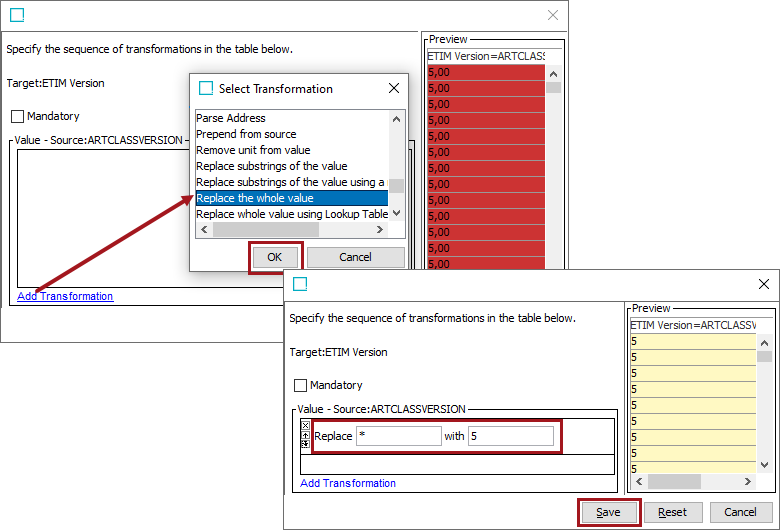
- The Result table ID=ARTCLASSVERSION column now displays the selected single digit for all rows. In the Source table, select the ARTCLASSVERSIONDATE column and click the Map button below the Result table.
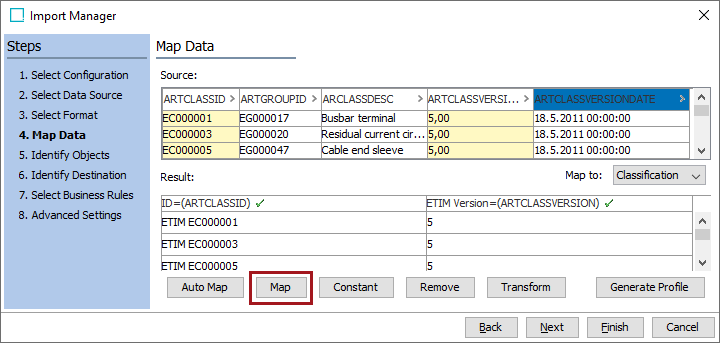
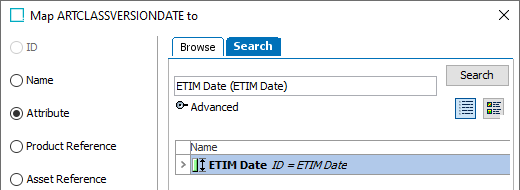
- In the Map To window, select the Attribute radio button, search for and select the ETIM Date attribute, and click OK.
- The ETIM Date attribute has a validation type of 'ISO Date and Time' format, it does not match the format in the ETIM file, so it displays as an error in the Result table. Select the ETIM Date=ARTCLASSVERSIONDATE column and click the Transform button.
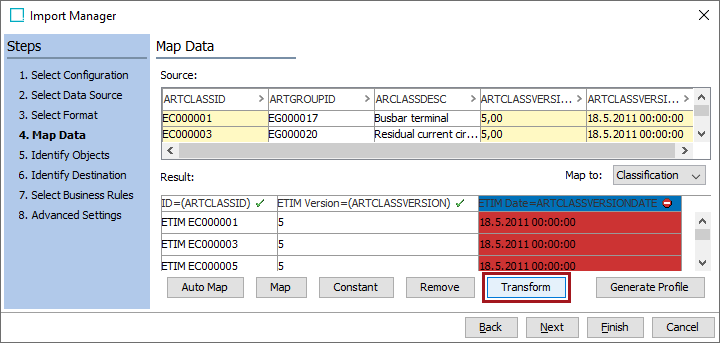
- In the Transformation dialog, click the Add Transformation link, select the Replace the whole value option, replace * with 2011-05-18 00:00:00, and click the Save button. This date is used since the date is the same for all ETIM Classifications.
- All three (3) mapped columns now show valid values in the Result table. Click Next (selecting defaults) until the Import Manager Identify Destination step displays.
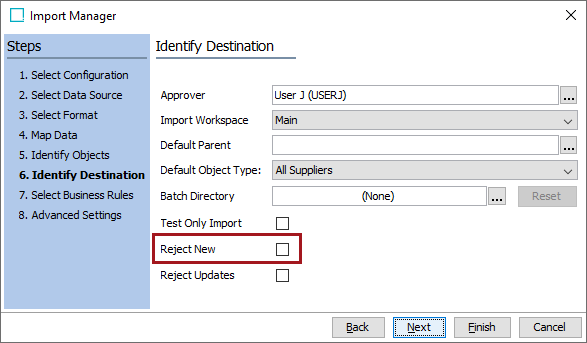
- Determine how to set the Reject New checkbox and click the Finish button:
- Check the checkbox if you imported only some ETIM classifications. This prevents the import of classifications which do not already exist in STEP. The execution report shows all objects rejected as a result of this option
- Uncheck the checkbox if you imported all ETIM classifications.
- Follow the steps to start the import as described in Running a Data Import here.
- When the import completes successfully, the transformed values are displayed for all ETIM Article Classification object types for the attributes ETIM Date and ETIM Version.
