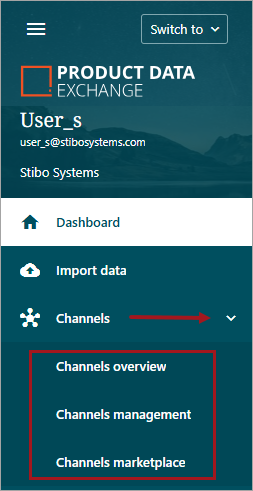
The Channels menu item, located in the left sidebar, contains a dropdown of three channel topics: Channels overview, Channels management, and Channels marketplace.
The Channels overview menu item opens to display the list of channels that the owner has installed or configured and are ready for use. Clicking on a channel name will open the individual channel. For more information on navigating within a channel, refer to the Channel Navigation topic.
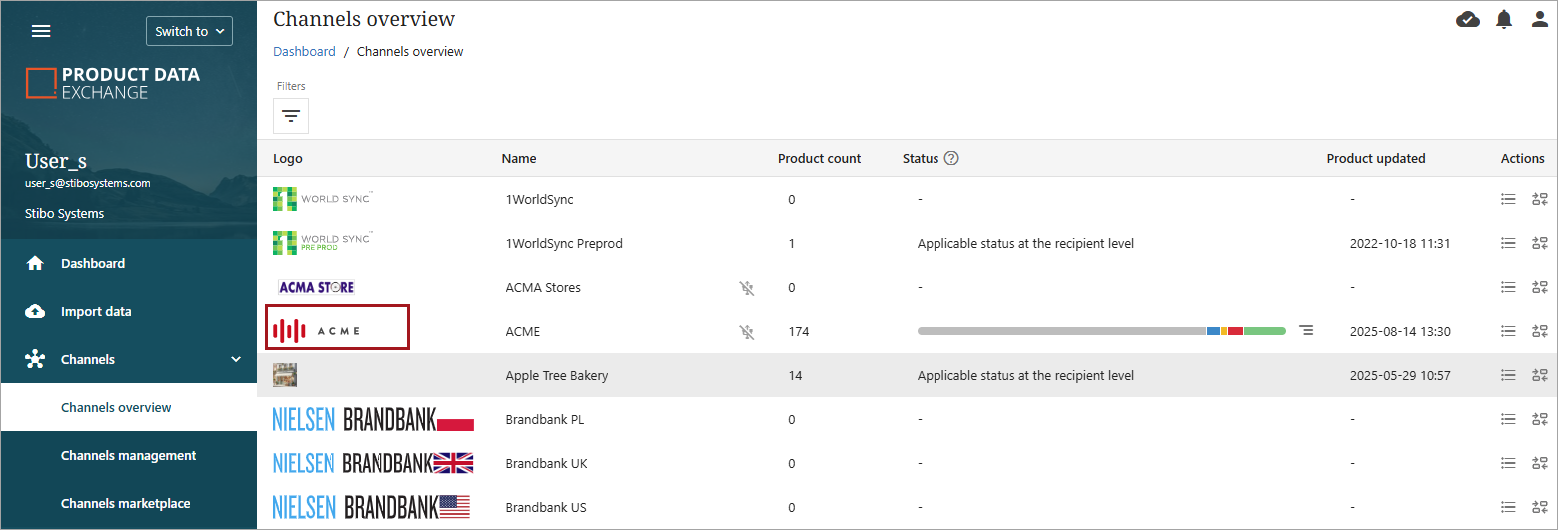
The overview contains the following columns:
-
Logo – Channel logo
-
Name – Name of the channel
-
Product count – Number of products currently in the channel
-
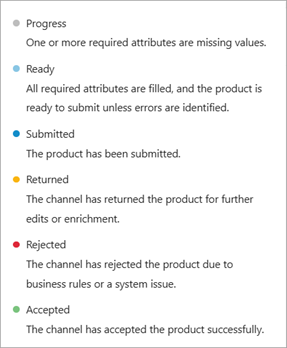
Status – The status of products in the channel. Clicking the info button (
 ) opens a popup displaying the status key.
-
Progress: One or more required attributes are missing values (light gray).
-
Ready: All required attributes are filled, and the product is ready to submit unless errors are identified (light blue).
-
Submitted: The product has been submitted (dark blue).
-
Returned: The channel has returned the product for further edits or enrichment (yellow).
-
Rejected: The channel has rejected the product due to business rules or a system issue (red).
-
Accepted: The channel has accepted the product successfully (green).
-
Note: 'Applicable status at the recipient level' means that the Channel is a channel group, and one product can have several statuses: one pr market or receivers. In that case, users must enter the channel to see a status overview.
-
Product updated – Date of most recent product upload to the channel.
-
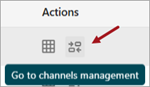
Actions – Provides two clickable icons for the user.
-
Go to grid or list view
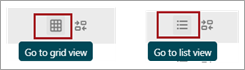
Note: The 'Go to grid view' icon will be available if a user's profile is set to show grid view as default. If grid view is not set as default, the 'Go to list view' icon will be available. For more information on setting a default view, refer to the Profile and Account Settings topic.
-
Go to channels management
Actions – Provides two clickable icons for the user.
-
Go to grid or list view
Note: The 'Go to grid view' icon will be available if a user's profile is set to show grid view as default. If grid view is not set as default, the 'Go to list view' icon will be available. For more information on setting a default view, refer to the Profile and Account Settings topic.
-
Go to channels management
Users also have access to search filters to narrow results.

Channels Management
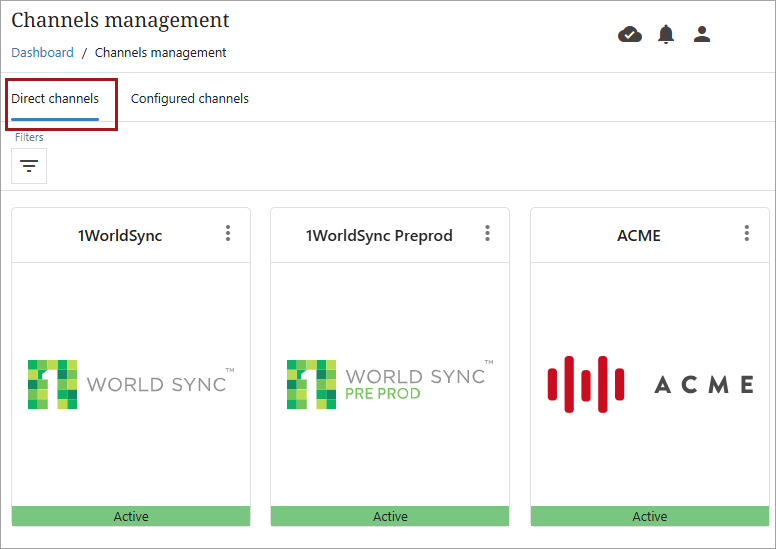
The Channels management menu item opens to display all channels that are added to the PDX client. These are the same channels that appear in the Channel overview. Channels are clickable for users to manage channel settings. The screen will open the Direct channels tab by default, and users can navigate to configured channels by clicking the Configured channels tab.
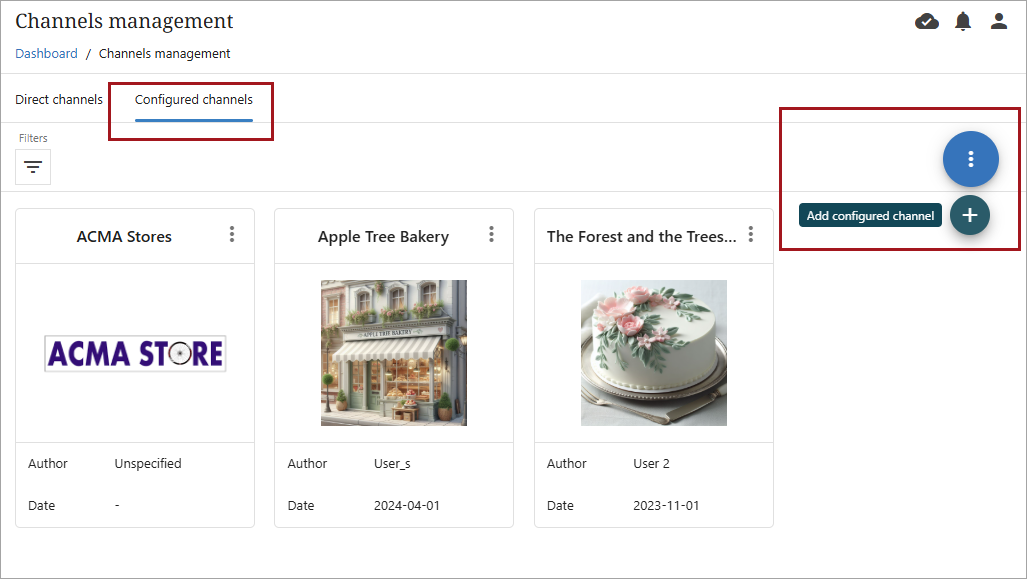
The Configured channels screen also provides the option to create a new configured channel. For additional information on creating a configured channel, refer to the Configured Channels documentation section.
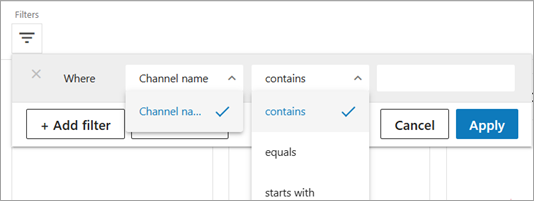
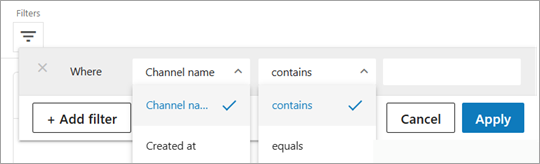
Both Direct and Configured channels tabs contain filters to limit search results.
Below is an example of a Direct channel filter.
Below is an example of a Configured channel filter.
Direct Channel Settings
Clicking on a channel will open the configuration screen for the channel. The number of tabs and the exact content of each tab may depend on the channel. Here the user can modify the channel's settings.
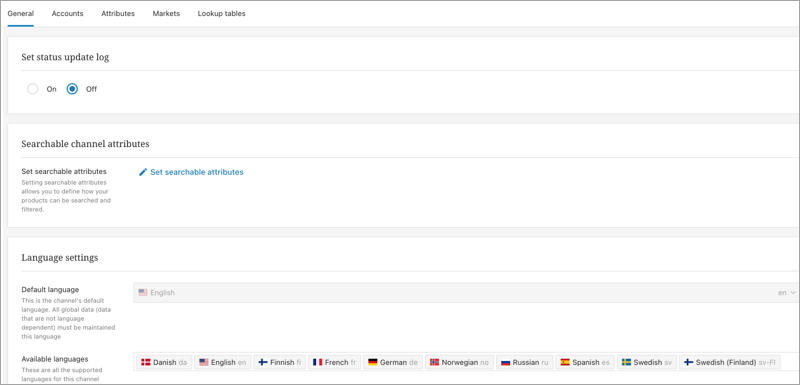
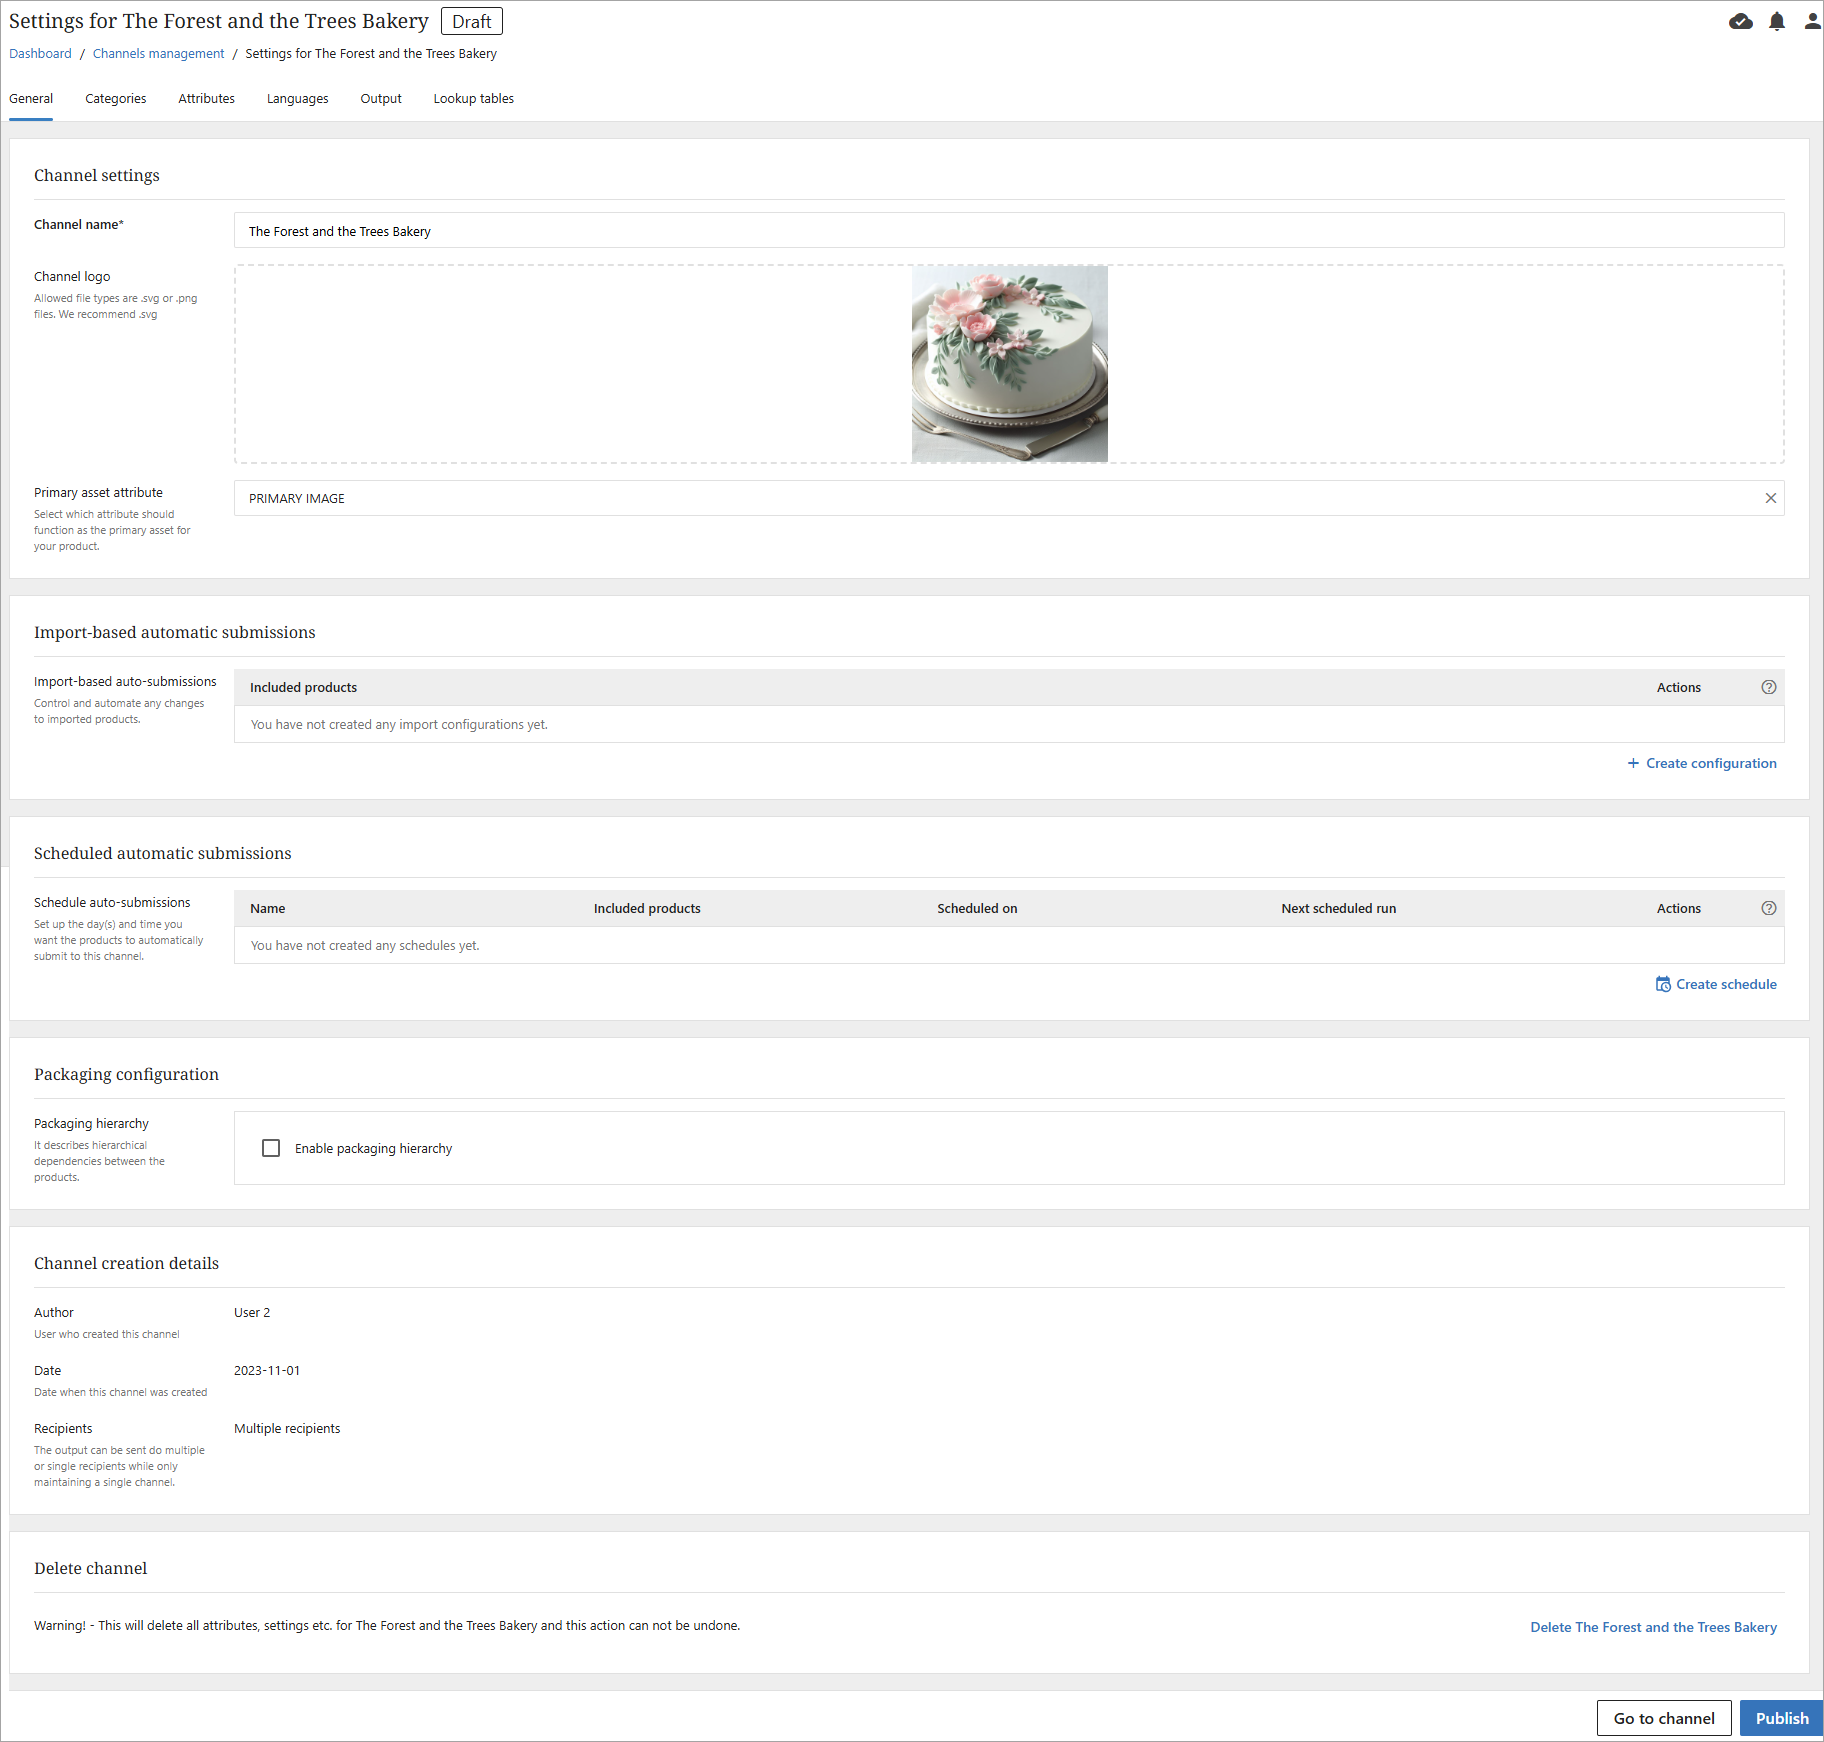
General Tab
The General tab typically contains the settings in the below screenshot. Some channels, such as Amazon or 1WorldSync, could have additional setting tabs related directly to the channel.
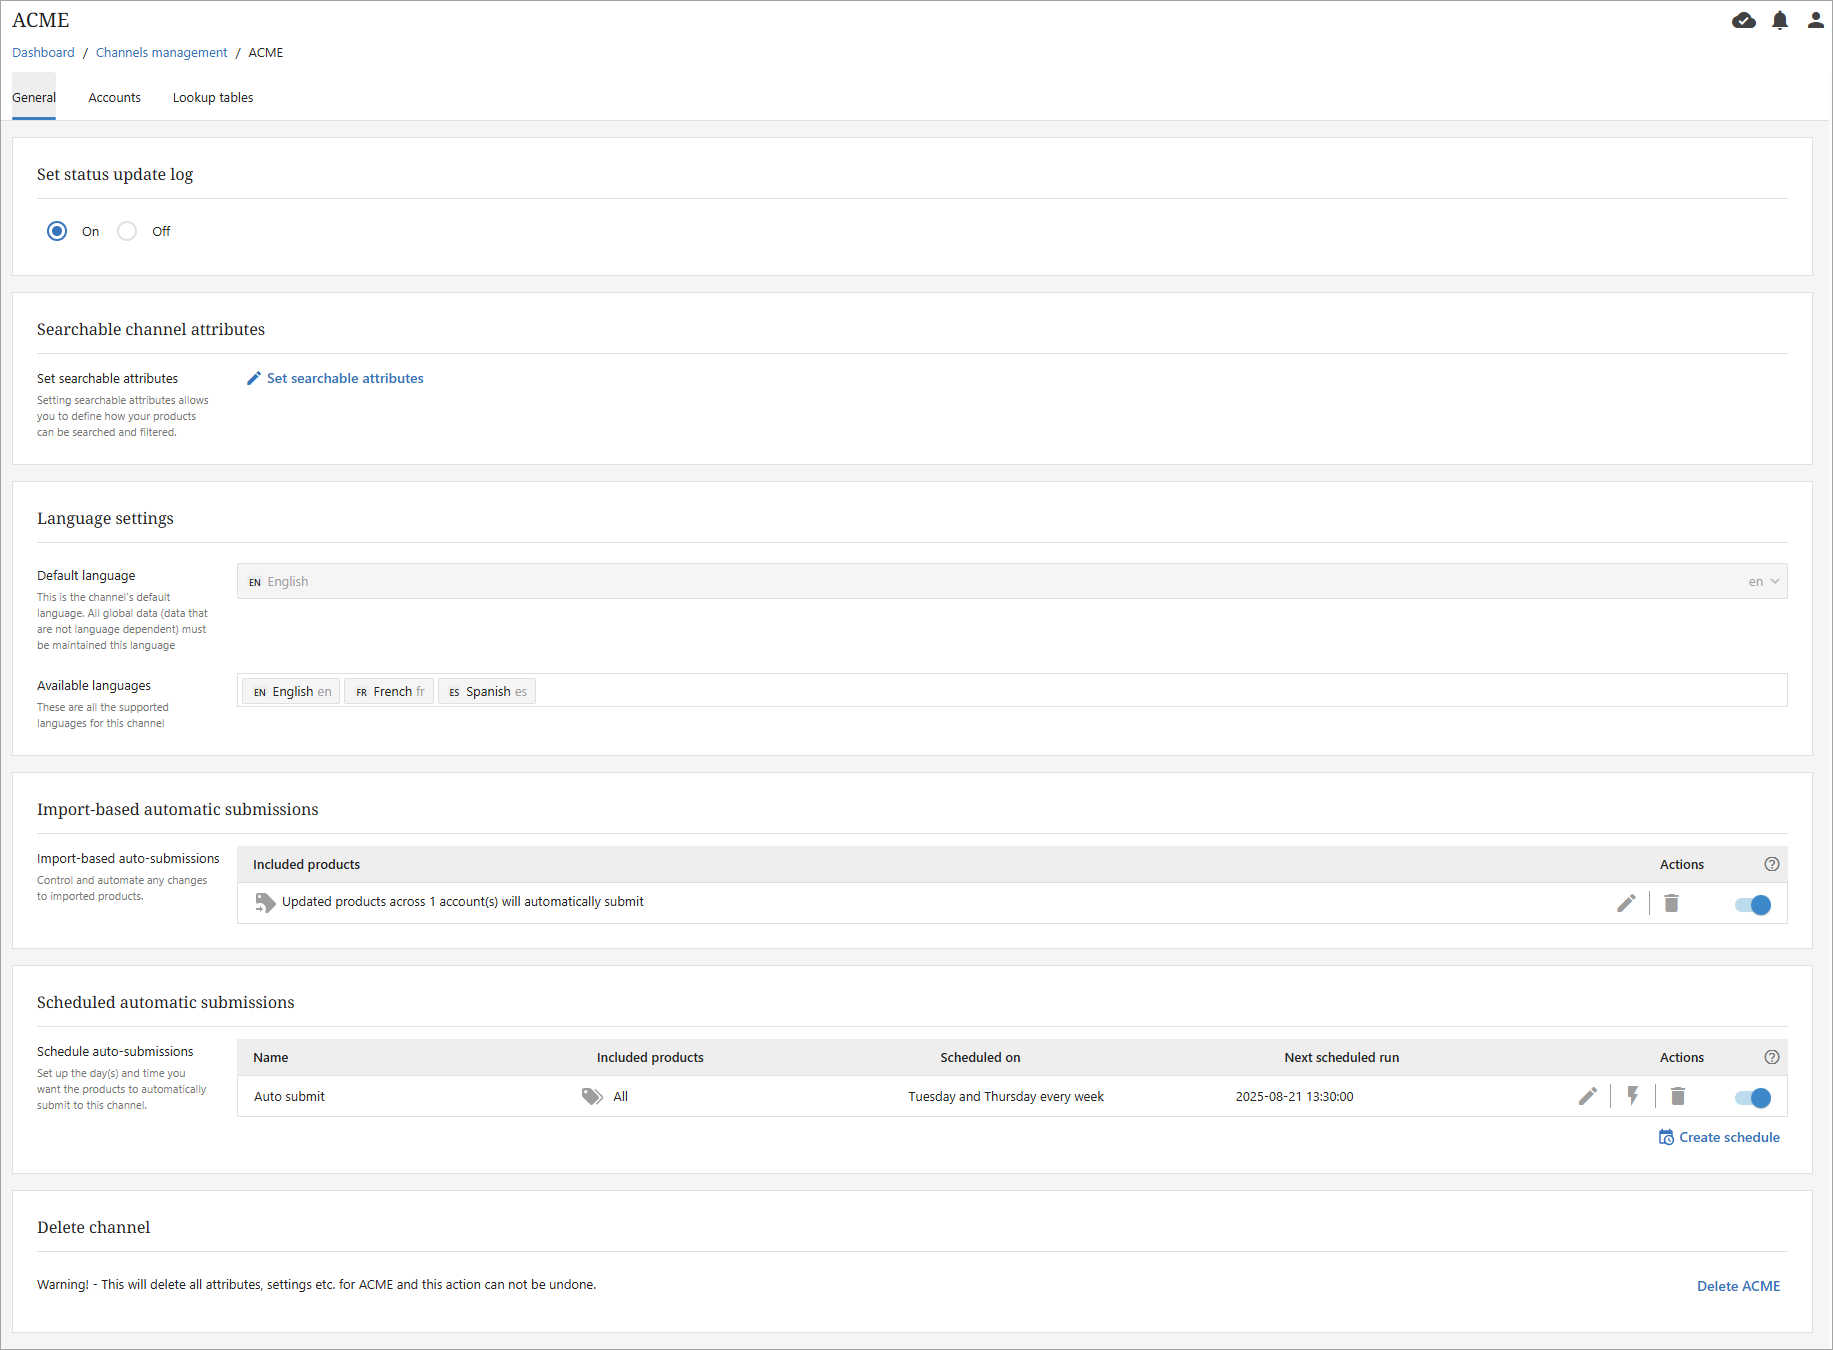
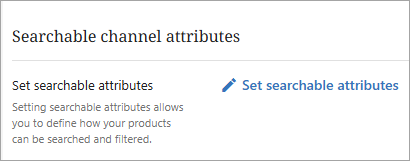
Searchable channel attributes
Users with access to ‘Direct Channels’ in Channel Management can set up searchable attributes in a direct channel.
On the General tab and in the section ‘Searchable channel attributes,’ the user can define which channel attributes should be displayed in the channel search filters where attributes are used.
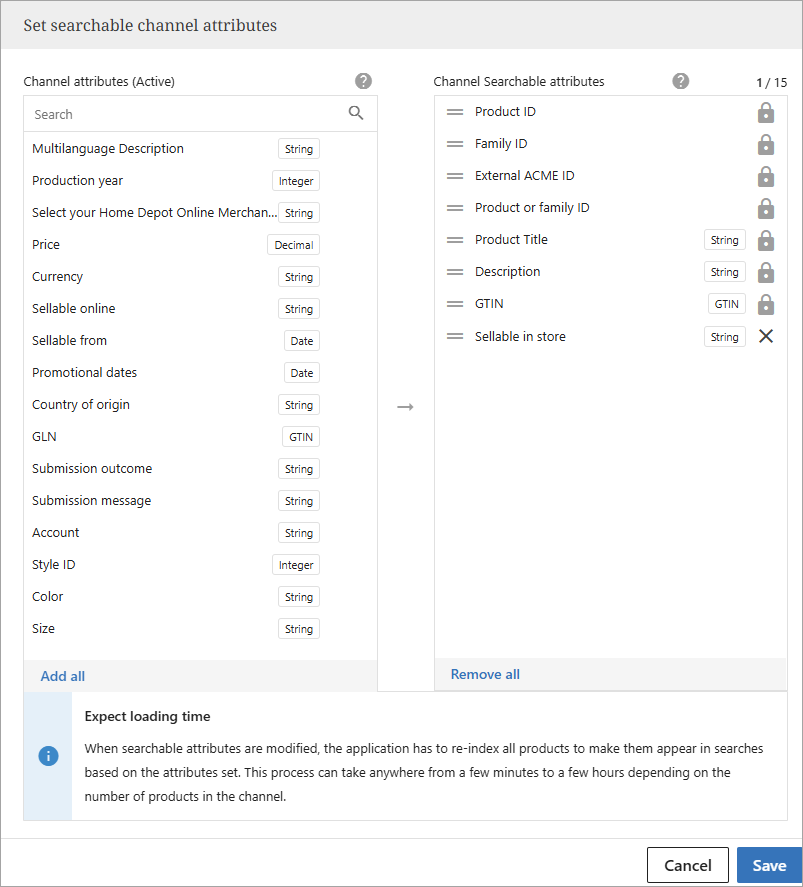
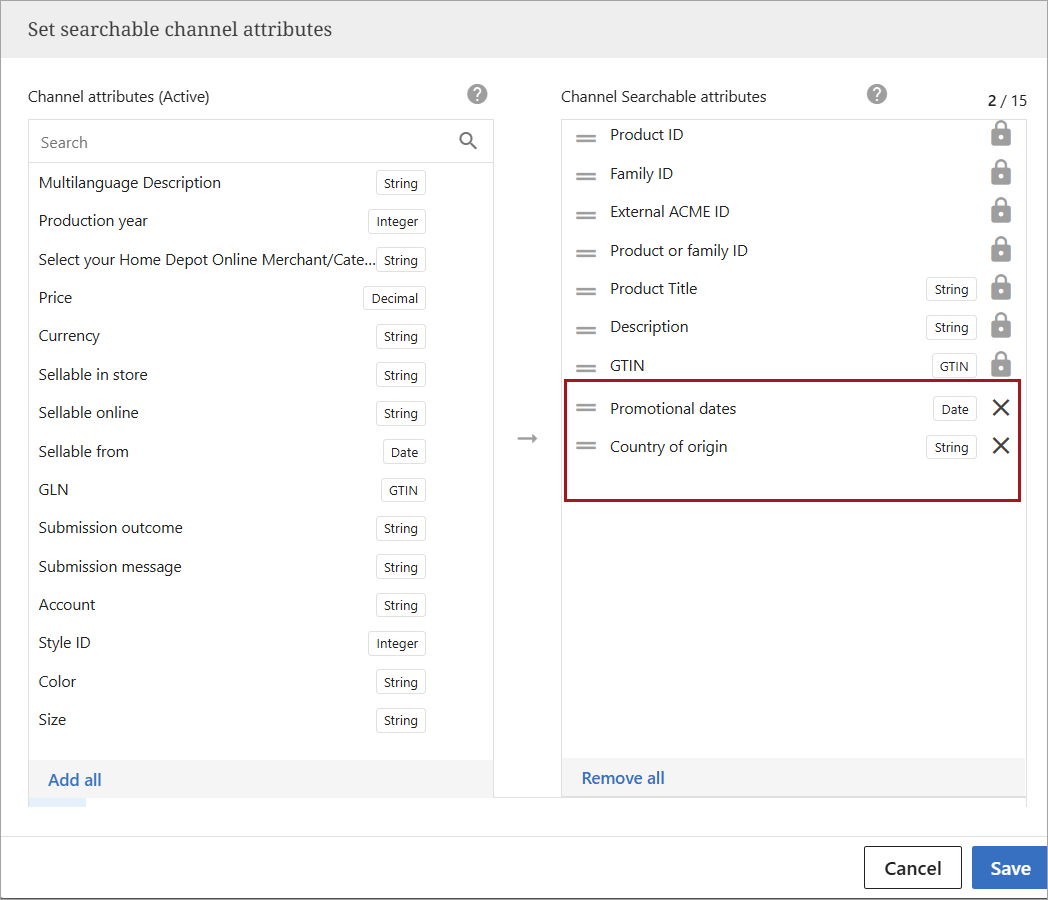
The below window will open when a user clicks 'Set searchable attributes.' Attributes can be activated when clicked in the left-side window. Attributes displayed on the right side are activated. Order of attributes can also be defined by clicking on the two lines and moving the attribute up or down. Attributes with a keylock are part of a channel's creator data standard definition of which attribute should be searchable, and they cannot be removed.
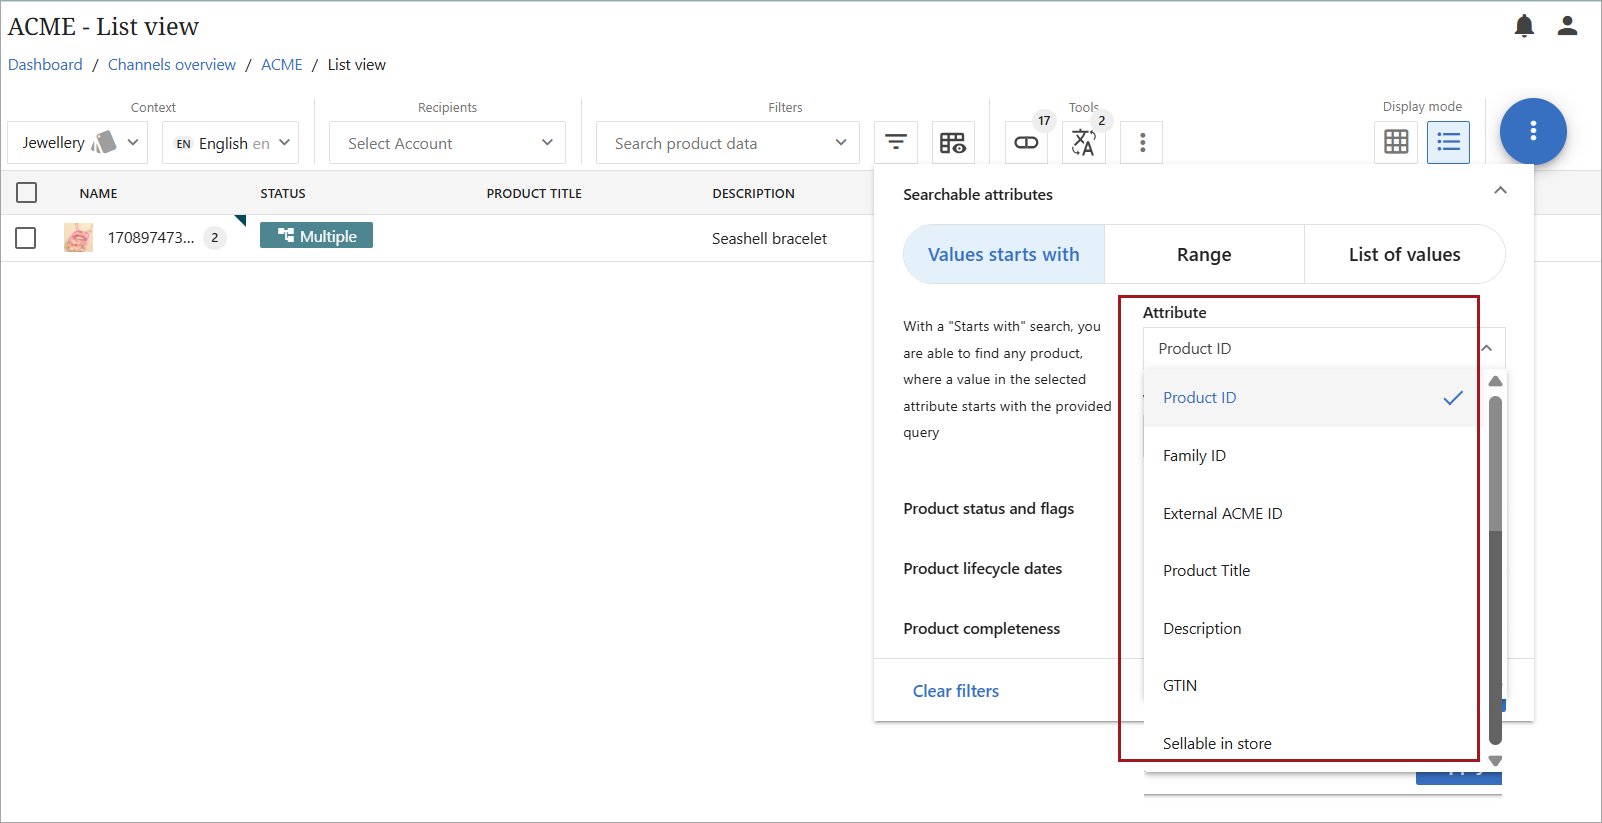
Below is a screenshot of how the search can be used when populated with the Channel Searchable attributes in the above screenshot. The dropdown of attributes matches the list of Channel Searchable attributes above.
Although most of the attributes that appear in the searchable channel attributes section are locked and cannot be removed, other attributes can be added, and 'Sellable in store' can be removed as it is not a locked attribute. Below is a screenshot of an updated Channel Searchable attributes set.
Below is a screenshot of the updated search window.

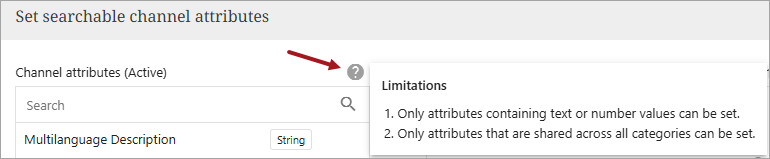
There are some limitations for setting searchable channel attributes.
Channel attributes (Active)
Only attributes containing text or number values can be set.
Only attributes that are shared across all categories can be set.
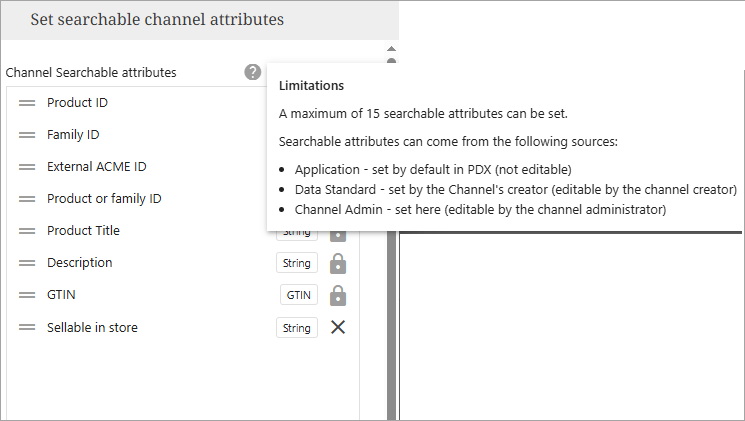
Channel Searchable attributes
Below are the limitations for Channel Searchable Attributes.
- Language settings
These settings show the default language and available languages for a channel.
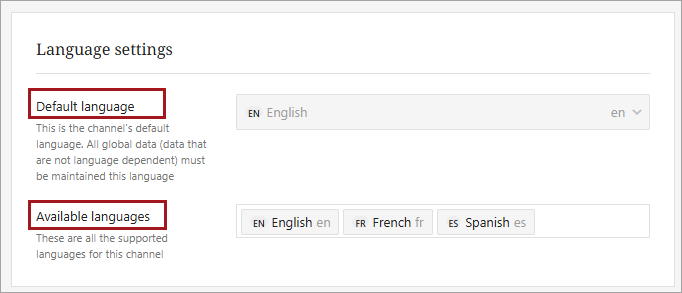
In some instances, the settings can be changed. All valid languages in a channel are now viewable. The language information is available on the General tab of the individual channels under Channel Management.
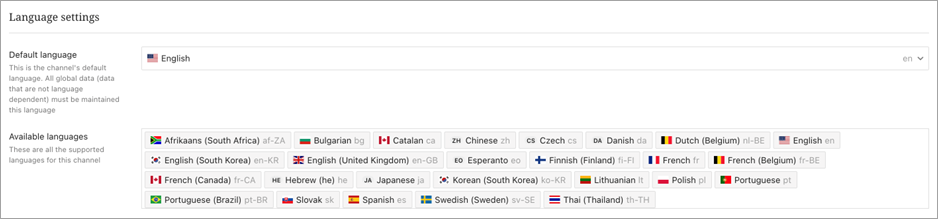
The information is available under two sections under Language settings:
Default language
Available languages (not including default)
For most channels, this setting is read-only. However, for some channels, namely multi-language Onboarding channels, the user can control and modify which of the available languages is the default one.
All global and non-language specific attributes in a channel are maintained in the default language. A benefit of this new functionality means that if suppliers now prefer to maintain these data (e.g., an LOV-based color value) in another specific language, configuration is possible.
This configuration is fundamental to the channel and should not change regularly as it will affect data in the channel. It is recommended to remove all products from the channel before performing this task. Existing manual edits done on global data in the channel can be lost during a change of the default language and will have to be re-entered.
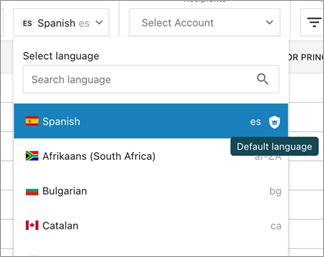
In the Channel UI, the default language will always be at the top in the language dropdown and will be indicated by an icon.
- Import-based automatic submissions
More information on automatic submissions is available in the Auto-Submission of Products topic.
Scheduled automatic submissions
Refer to Auto-Submission of Products topic.
Delete channel
Deleting a channel will delete all attributes, products, mappings, and settings included in the channel.
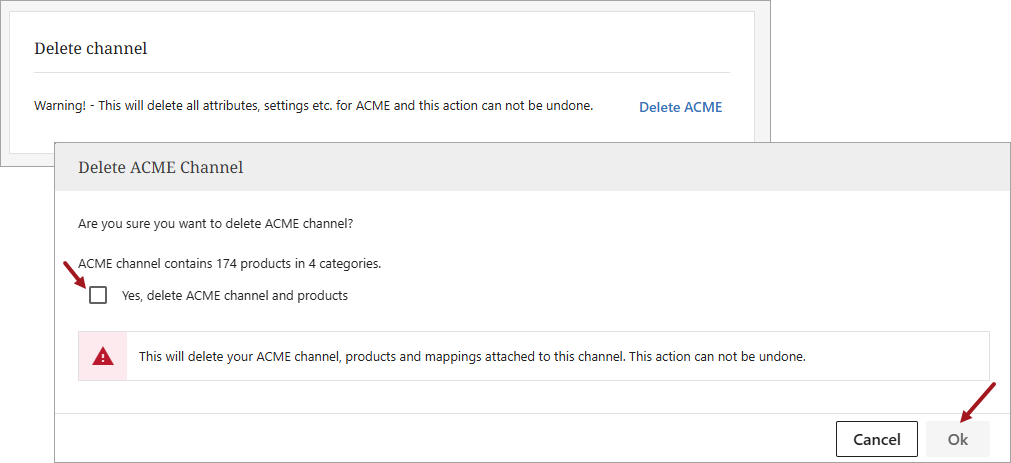
Important: Deleting a channel cannot be reversed. All information related to the channel will be permanently deleted.
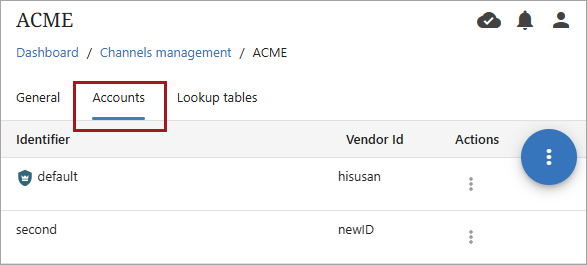
Accounts Tab
The Accounts tab shows the different accounts that a particular PDX Client has with the target channel. An account could represent different things, depending on the channel.
An account could be a GLN representing a legal entity or company that delivers data to the target channel
An account could represent a supplier and brand / sub-brand delivering to the target channel
Typically, an account will carry one or more elements related to authentication, such as username and passwords, secrets, or tokens, that are used by PDX to authenticate and identify the PDX Client with the target channel.
In some case the account data is the same as username and password that would be used when logging into the target channel platform.
For most channel adding and having one or more account setup correctly is required.
The Accounts tab contains the settings in the below screenshot:
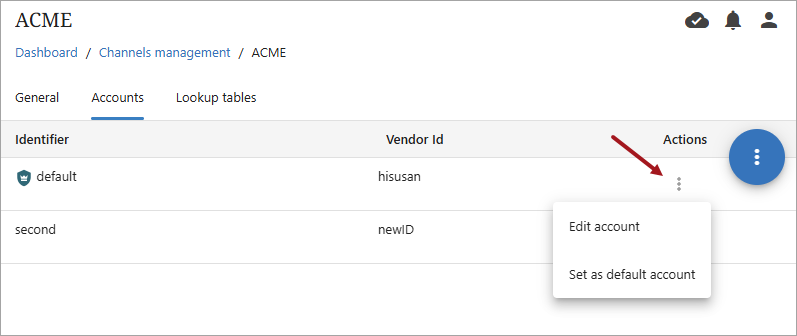
Clicking on the kebab menu under actions will open settings for that account.
Clicking on the kebab menu in the blue circle ( ) will open the 'Add account' function.
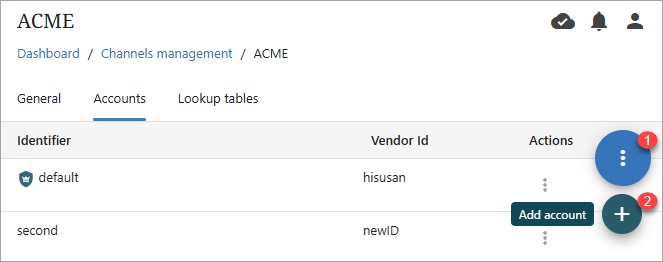
Note: The 'Add account' function is not available for all channels.
The information required to complete the 'Add account' process can vary greatly by channel.
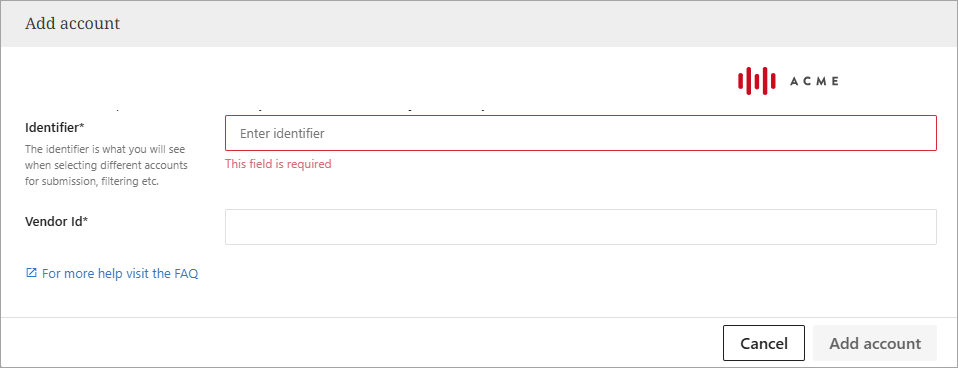
Adding an account also typically includes validating the entered data online with the target channel system at the time the account information is saved.
There are also instances (such as with the Amazon channels) where the process may also require that a user is redirected to a target channel login page and logs in there.
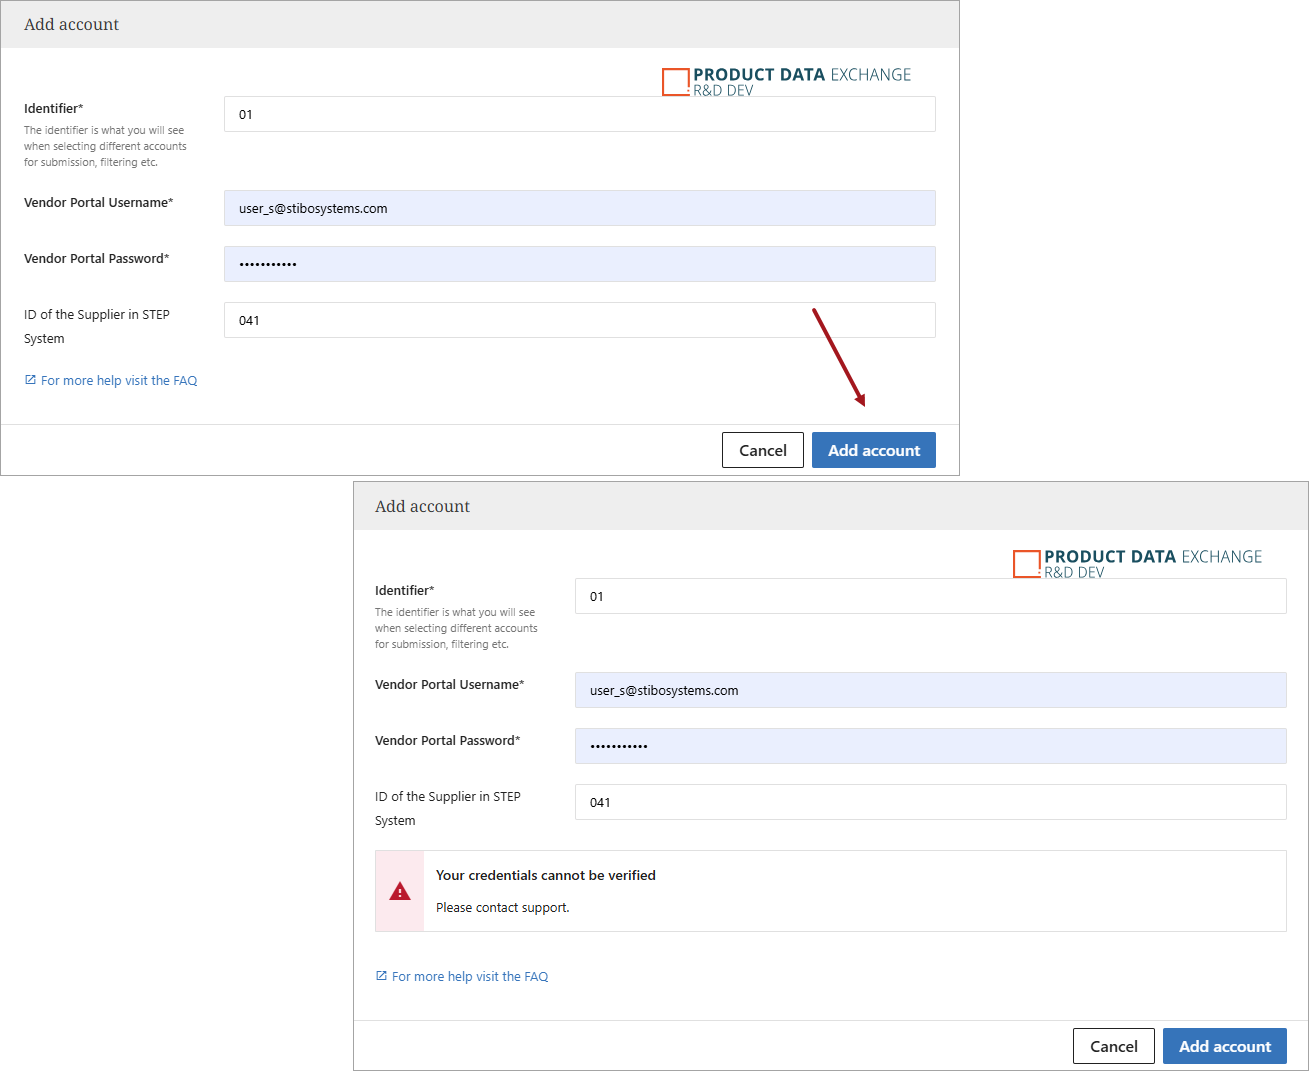
If this process fails, users should reach out to the Channel Owners and verify the entered credentials are correct.
Lookup Tables Tab
The Lookup tables tab contains the settings in the screenshot below. Complete information on creating and using lookup tables can be found in the Lookup Tables Tab Page topic.
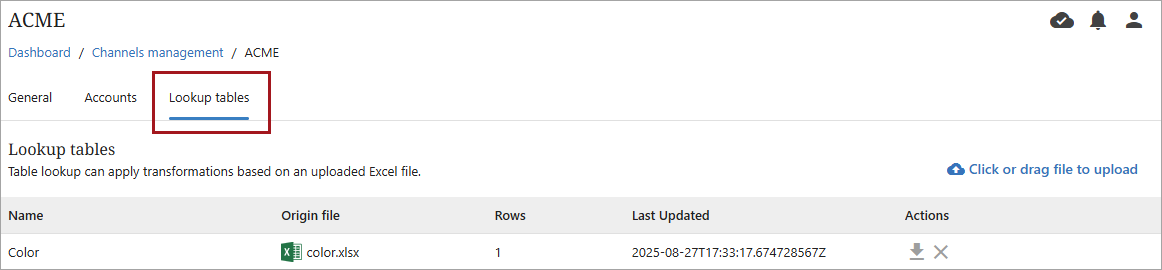
Note: Instructions for lookup tables are the same for direct and configured channels.
Configured Channel Settings
Below is the opening (General) tab for a configured channel. Complete instructions for creating and using configured channels can be found in the Configured Channels topic. Expanding this topic will provide clickable menu items for all configured channel topics.
Channels Marketplace
The Channel Marketplace contains all public direct channels in PDX. From here, users can find and add new channels.
Some channels will be grouped together under a single card under within the Channel marketplace view.
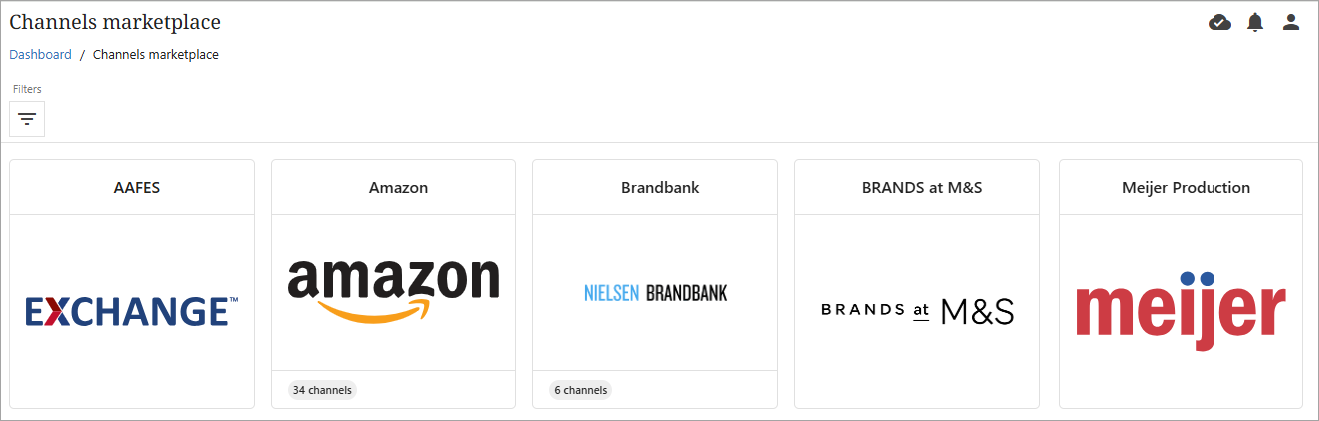
The Channels marketplace also provides a filter for users to narrow search results.

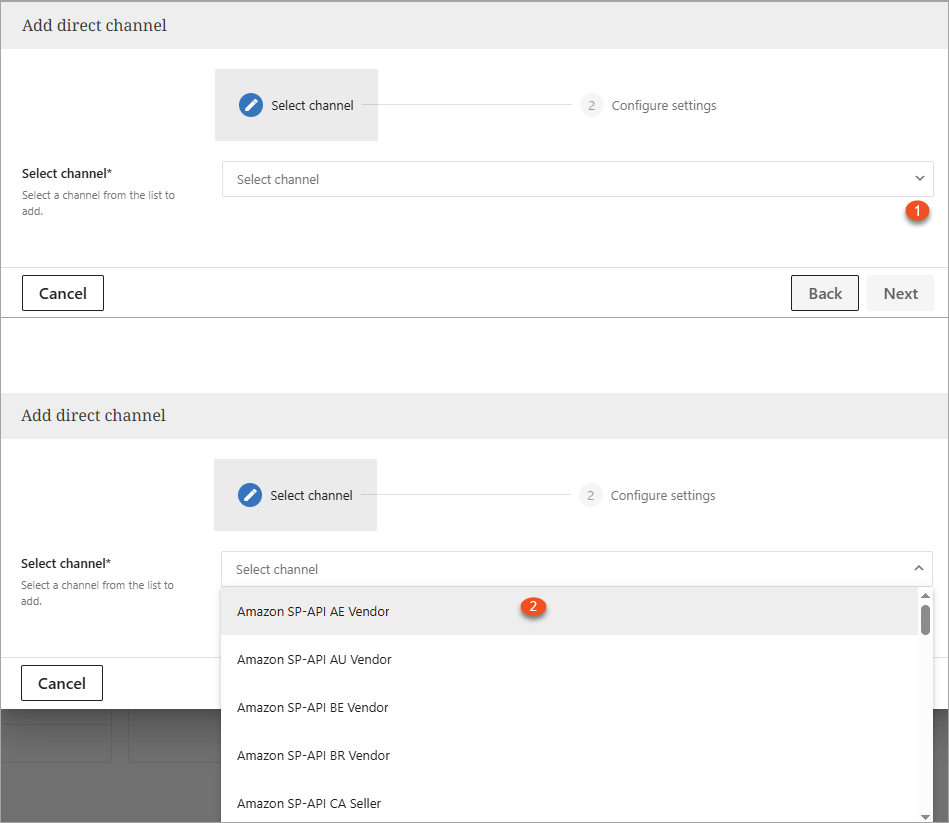
And, users can add channels from the Channel marketplace. Below is an example using Amazon. Clicking the Amazon card allows a user to select from the available Amazon channels.
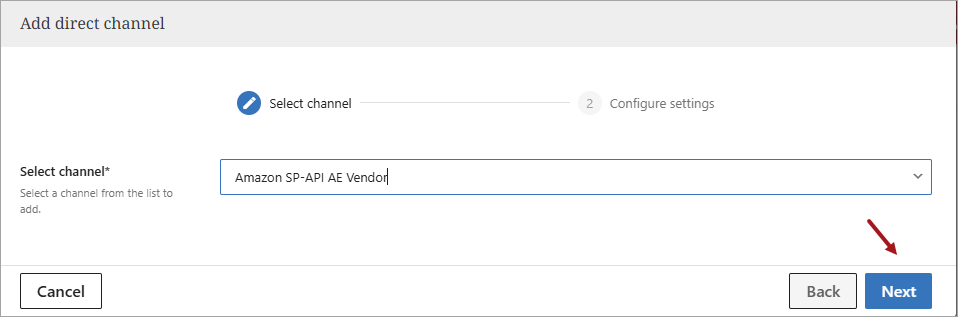
Select the desired channel and click  to add the channel.
A popup will appear for a user to enter where a user can enter authorization information. Required information to authenticate will be provided by the channel and will vary by channel. For questions, contact the channel owner / representative.
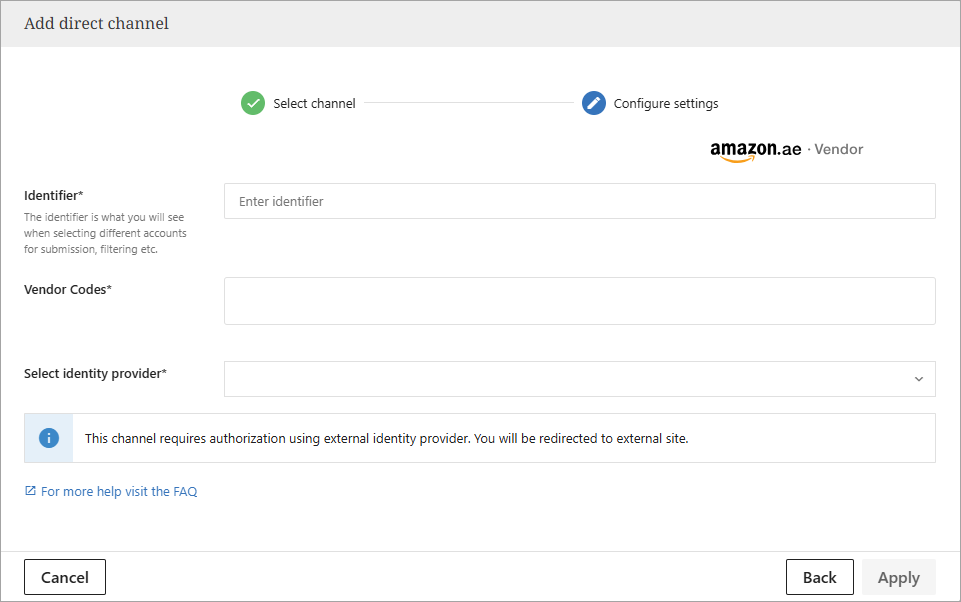
In case of the Amazon channel, users will be redirected to the Amazon Seller to Vendor Central in the browser.

After a successful login, user will be redirected back to the PDX UI. The channel will be added to the Channels Overview and ready to use.