The profile and account settings views are available for users under the user icon on the main screen. Client admin users will have a Profile and account settings view option, and regular users will have a Profile settings view option.
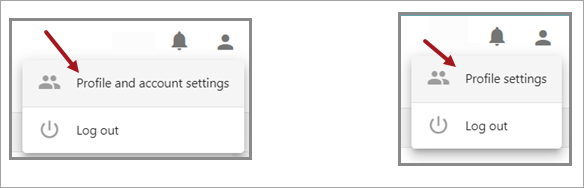
If a user clicks on the applicable settings view, a new sidebar will appear in the tool. Both user levels will have the 'Your profile' and 'Notifications' options.
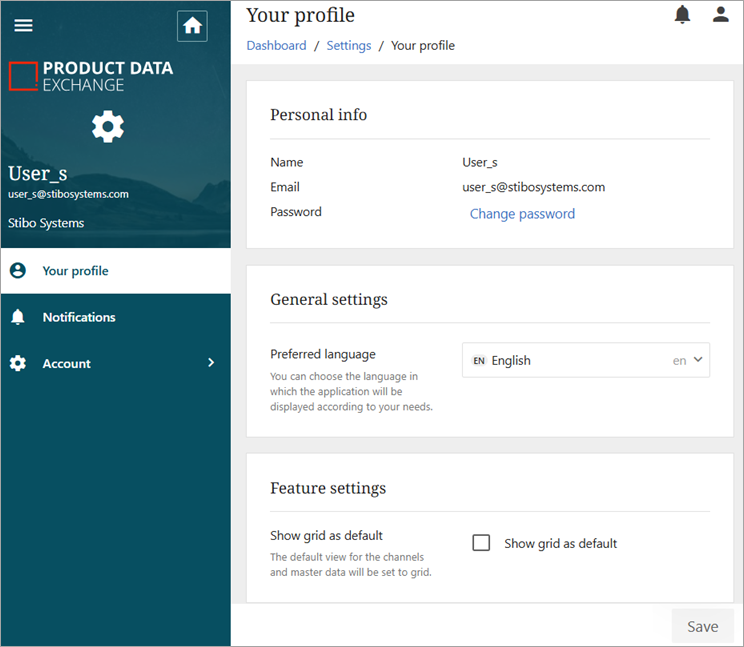
Your profile provides settings such as resetting the password, preferred language, and user level feature settings. The 'Show grid as default view' setting allows a user to set the grid view as the default view for channels and master data in order to immediately start working in the preferred mode.,
client admin users will also have an expandable 'Account' option. If selected, the Notifications settings can send email updates to the user for new products added to Master data and/or returns and rejected products in channels.
Your Profile User Settings
-
Personal info: shows user name, email, and an option to change the existing password.
-
General settings: provides option to select the preferred language for the account.
-
Feature settings: provides the following options for selection:
-
Show category dashboard—the category dashboard helps track channel category progress and navigate to specific levels.
-
Show grid as default—the default view for the channels and master data will be set to grid.
-
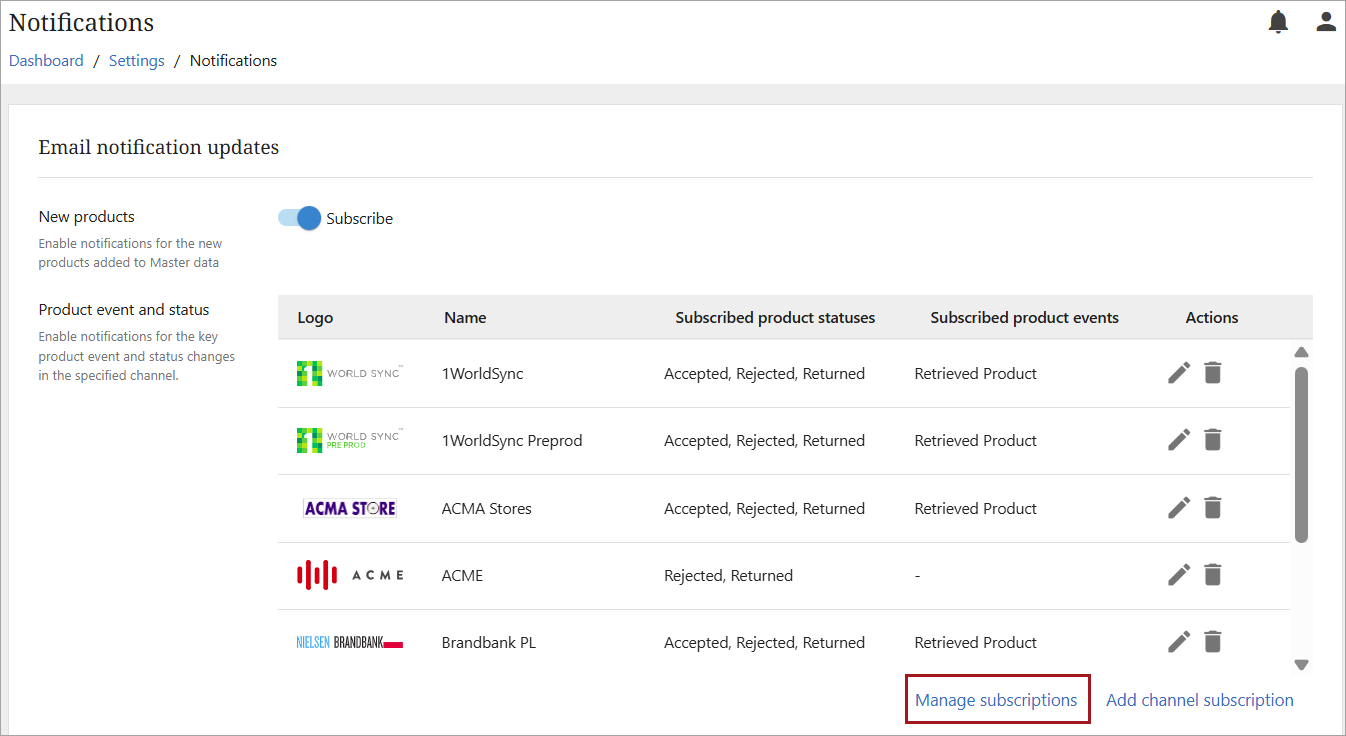
Notifications Settings
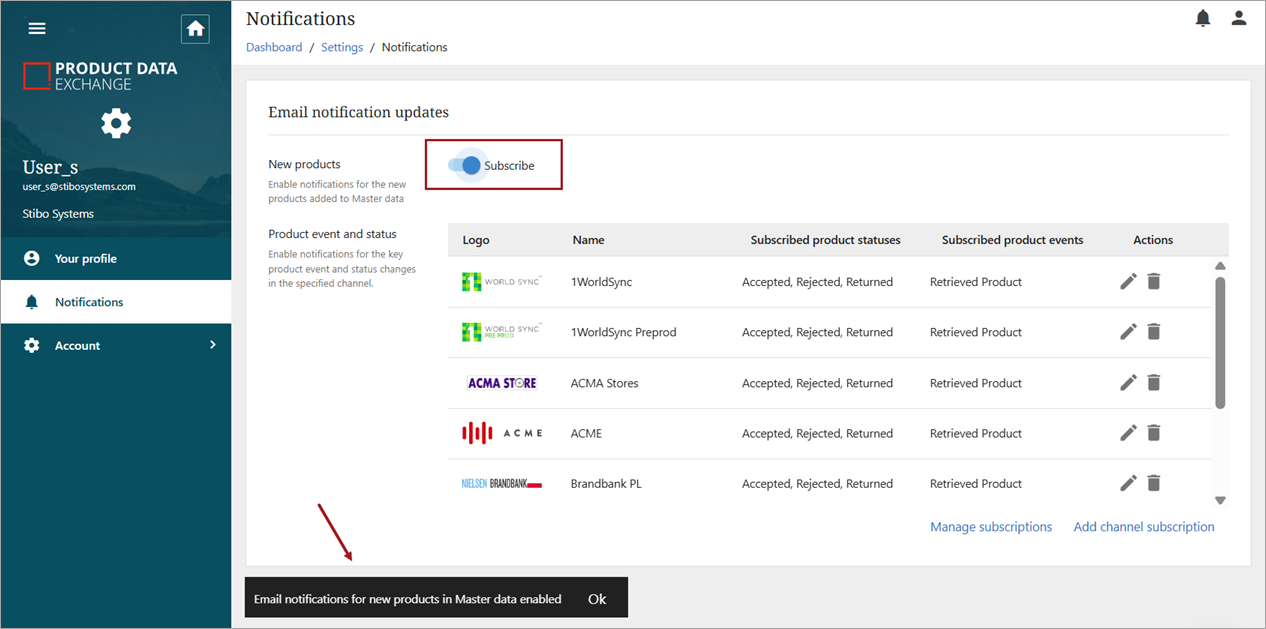
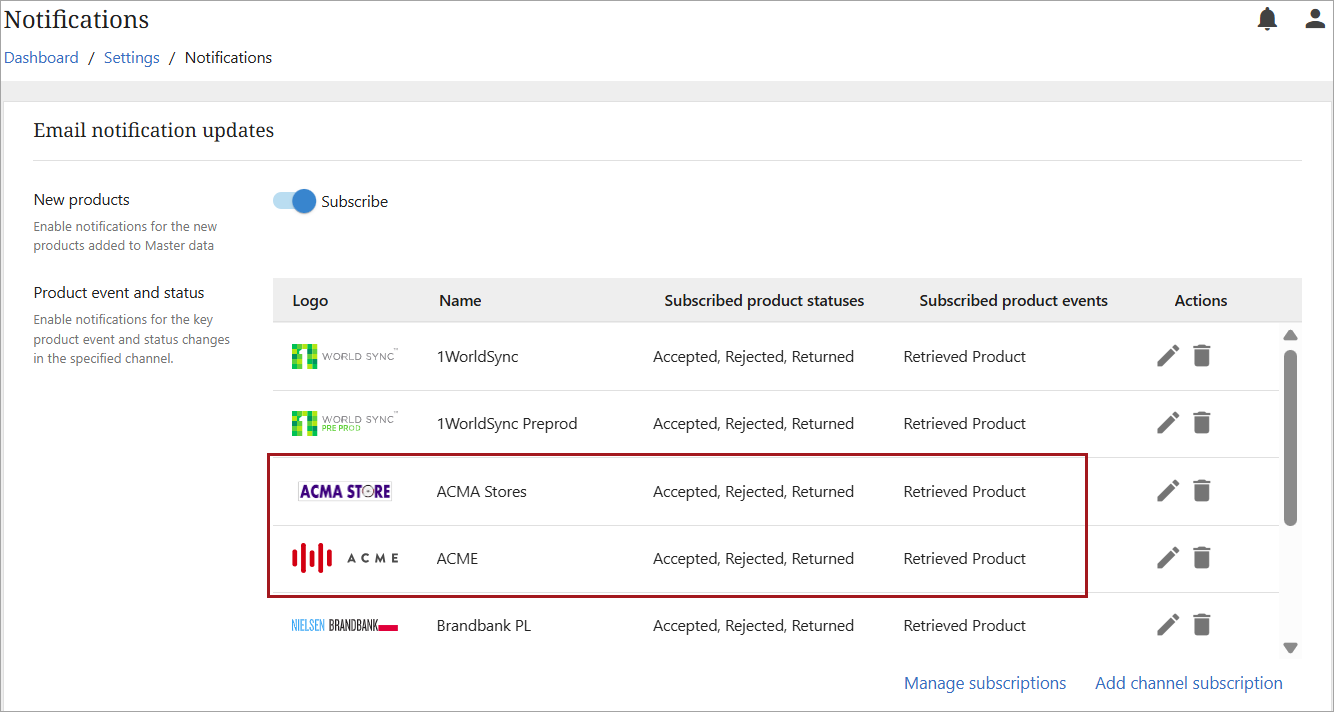
The 'Notifications' settings can send email updates to the user for new products added to Master data and/or accepted, returned, rejected and/or retrieved products in channels.
Email notifications for new Accepted, Rejected, Returned, and Retrieved products are enabled by default for all PDX users, reducing time to market. Users will be able to opt out of such email notifications in their PDX account settings if they do not wish to receive those notifications. Notifications for new products added to Master data are not enabled by default but can be enabled by toggling 'Subscribe' as shown below.
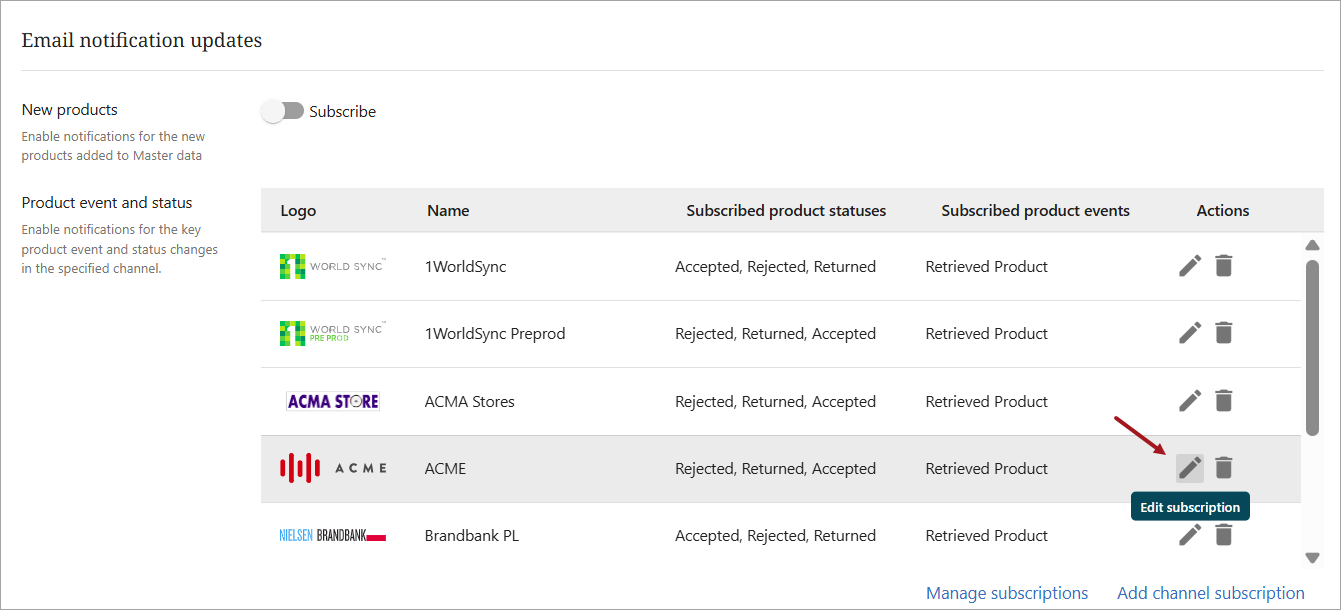
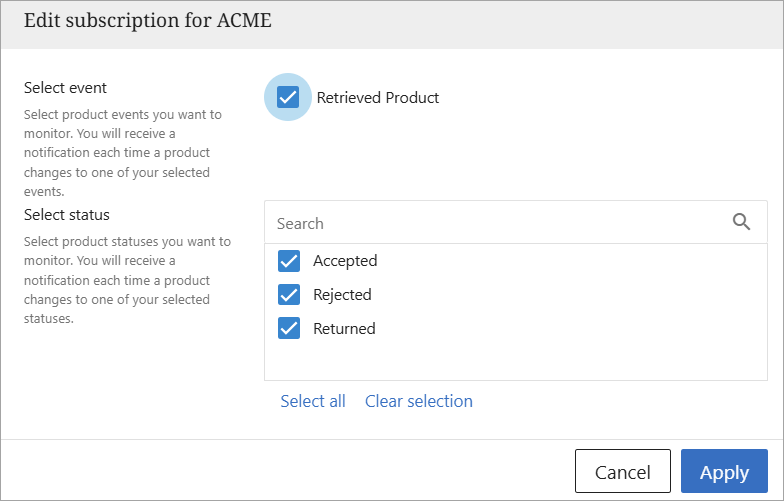
Editing Notifications
-
To edit the Accepted, Rejected, Returned, and/or Retrieved notifications, click the pencil icon (
 ) in the channel row.
-
A popup will open that allows the user to uncheck any or all of the set notifications. Once selection(s) have been made, click
 to implement the settings.
-
Notifications that have been deactivated can be reactivated by repeating the steps above, checking the desired notification(s), and clicking
.
Managing Channel Subscriptions
-
To manage existing subscriptions, click the 'Manage subscriptions' link.
-
A popup will open with a list of channels that have active subscriptions. Select the desired channel(s) to modify and click
 .
.
-
A new popup will open to select the notification status(es) to apply. Select the desired status(es) and click
.
-
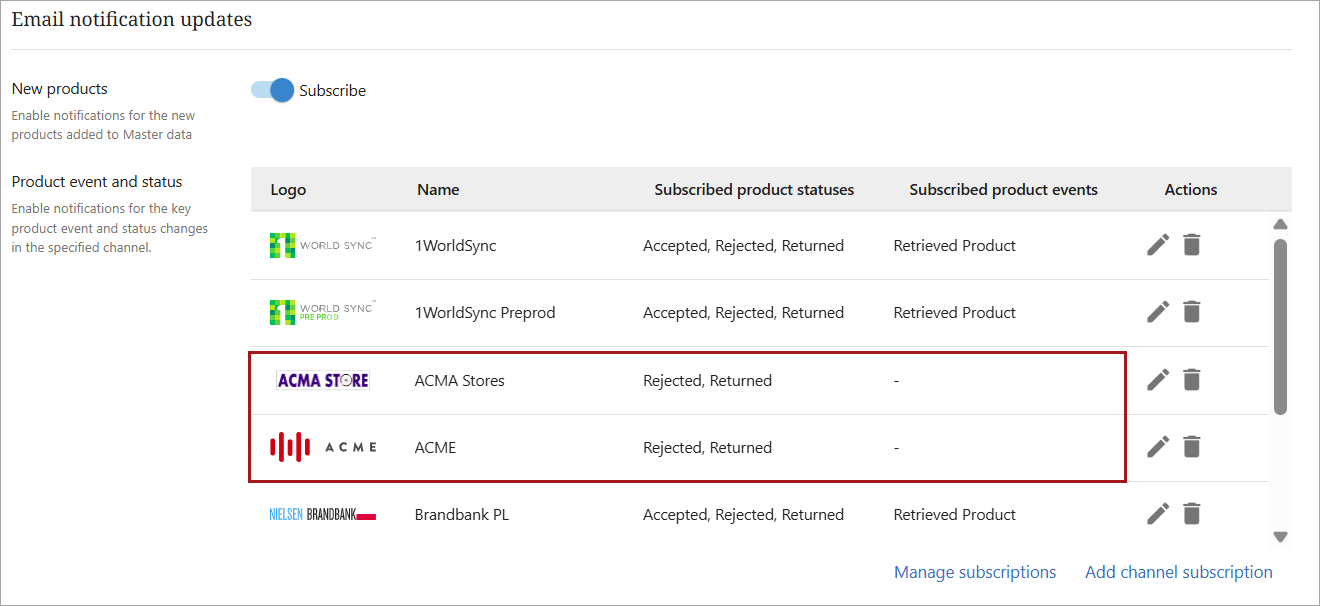
The channel list will now show the event and/or status(es) selected for notifications.
Note: If multiple channels are selected in step 2 above, all channels checked will receive the status(es) selected in step 3 above. In order to have custom status sets applied to individual channels, a user should use the Managing Channel Subscriptions function for each channel separately or use the Editing Notifications process to modify afterwards.
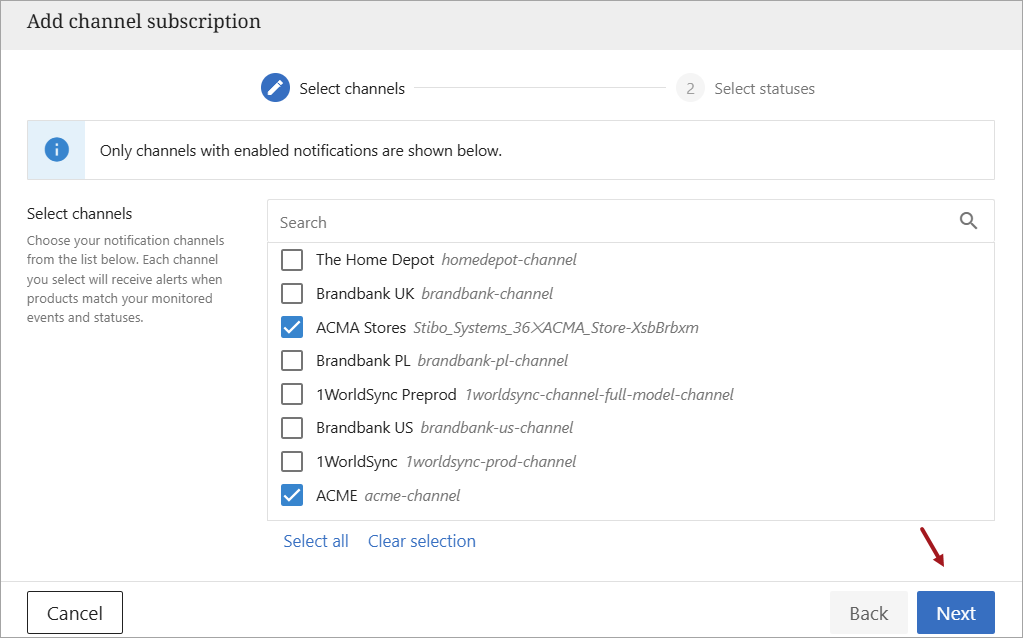
Adding Channel Subscriptions
Additional channel subscriptions can be added. When a new subscription is added, the user will also have the ability to select which notifications should be applied.
-
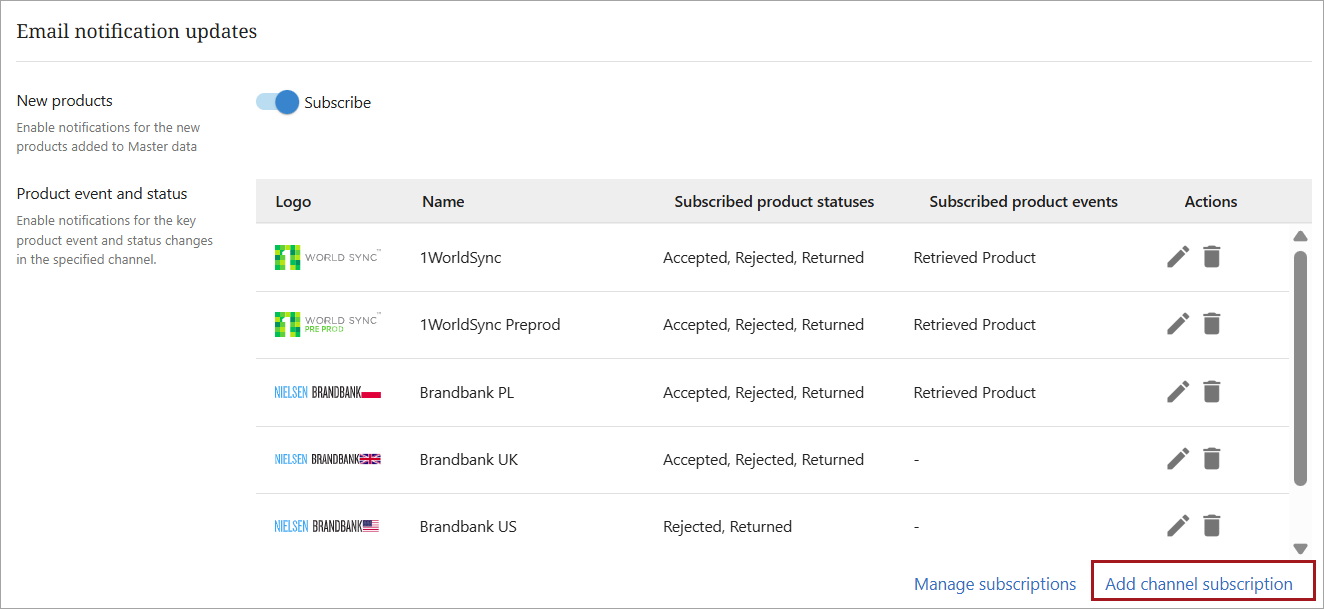
To add a new subscription, click the 'Add channel subscription' button.
-
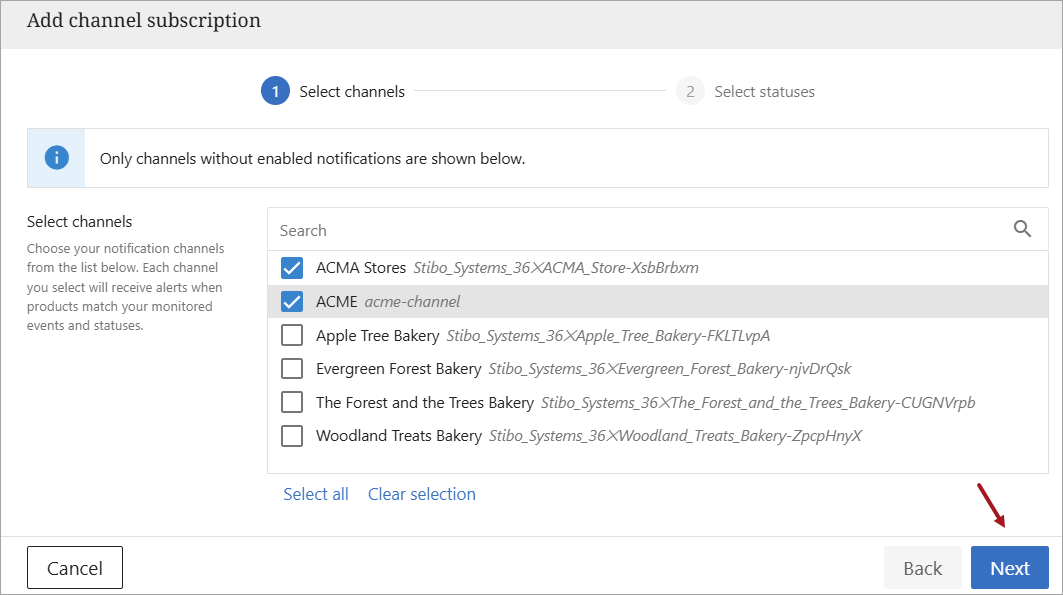
A popup listing channels available to add will open. Select the channel(s) to add and click
.
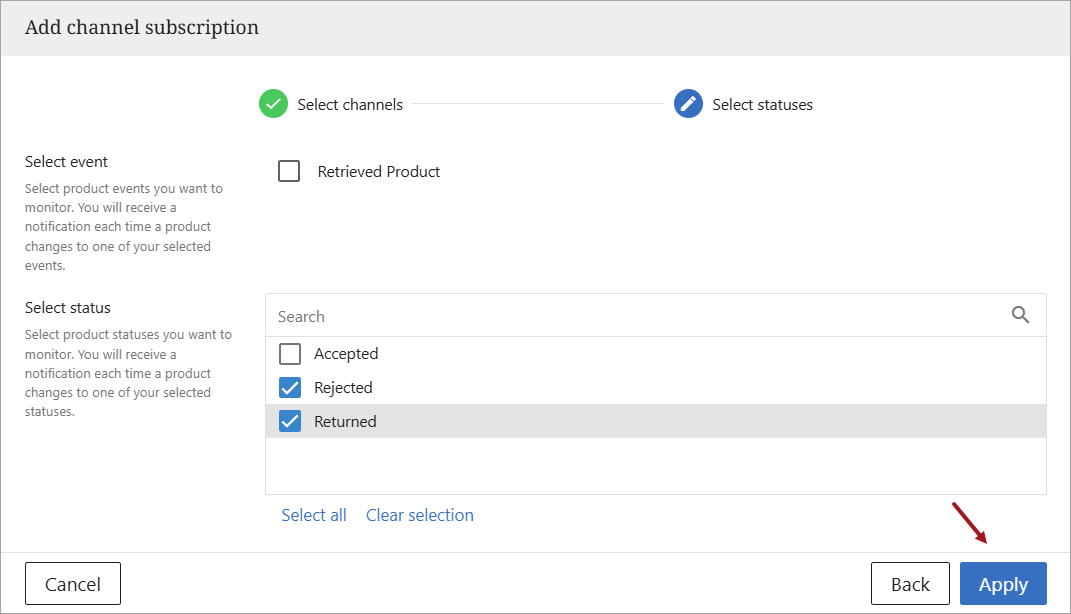
-
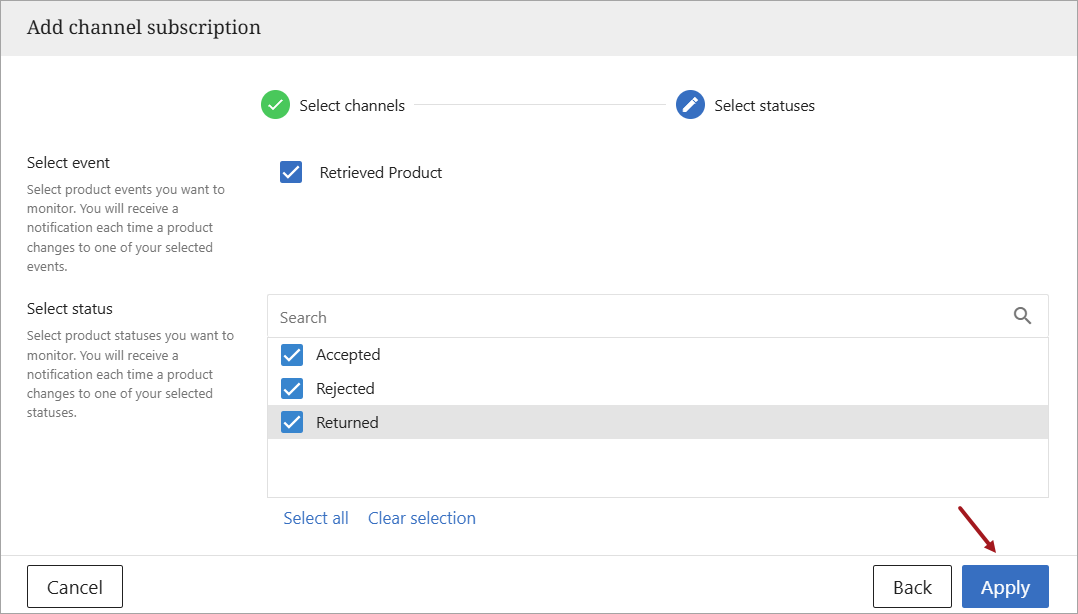
A new popup will open to select the notification status(es) to apply. Select the desired status(es) and click
.
-
The channel subscription list will now include the channels added and the statuses selected for notifications.
Note: If multiple channels are selected in step 2 above, all channels checked will receive the status(es) selected in step 3 above. In order to have custom status sets applied to individual channels, a user should use the 'Manage subscriptions' function for each channel separately or use the Editing Notifications process to modify once a subscription has been added.
Deleting Subscriptions
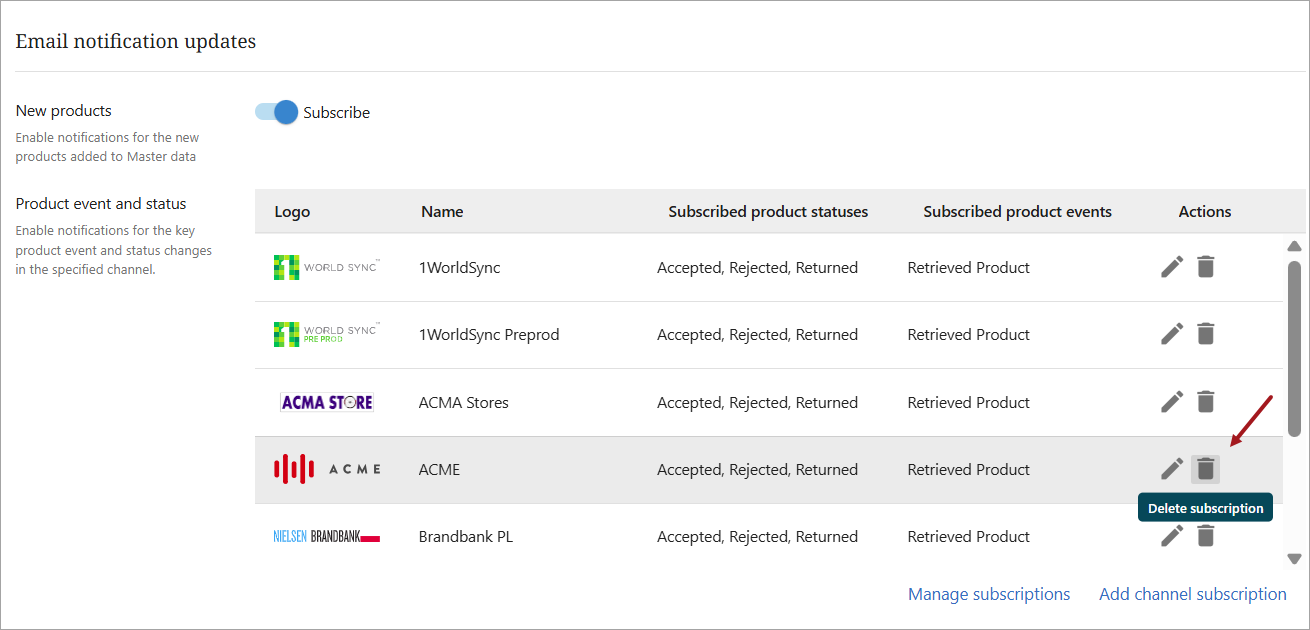
Deleting subscriptions for a channel will remove all notifications for a channel, and the channel will no longer be listed in the Email notifications update channel list.
To delete all notifications / subscriptions for a channel, click the trash can icon ( ) in the channel row.
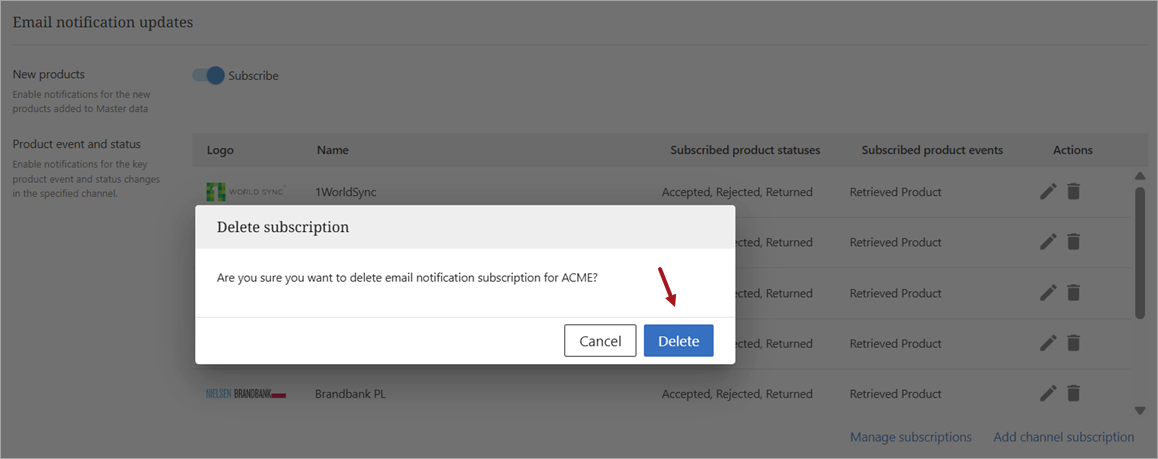
A pop will open asking for confirmation. Click  to confirm removal of the channel and its notifications / subscriptions.
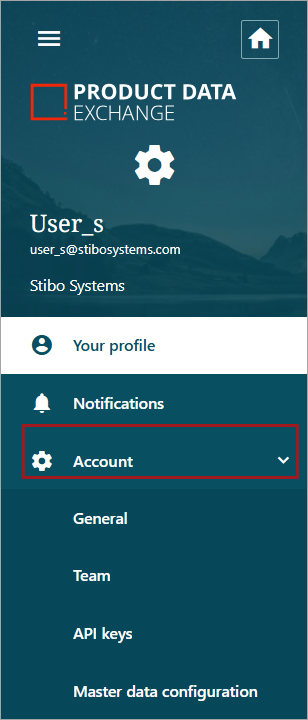
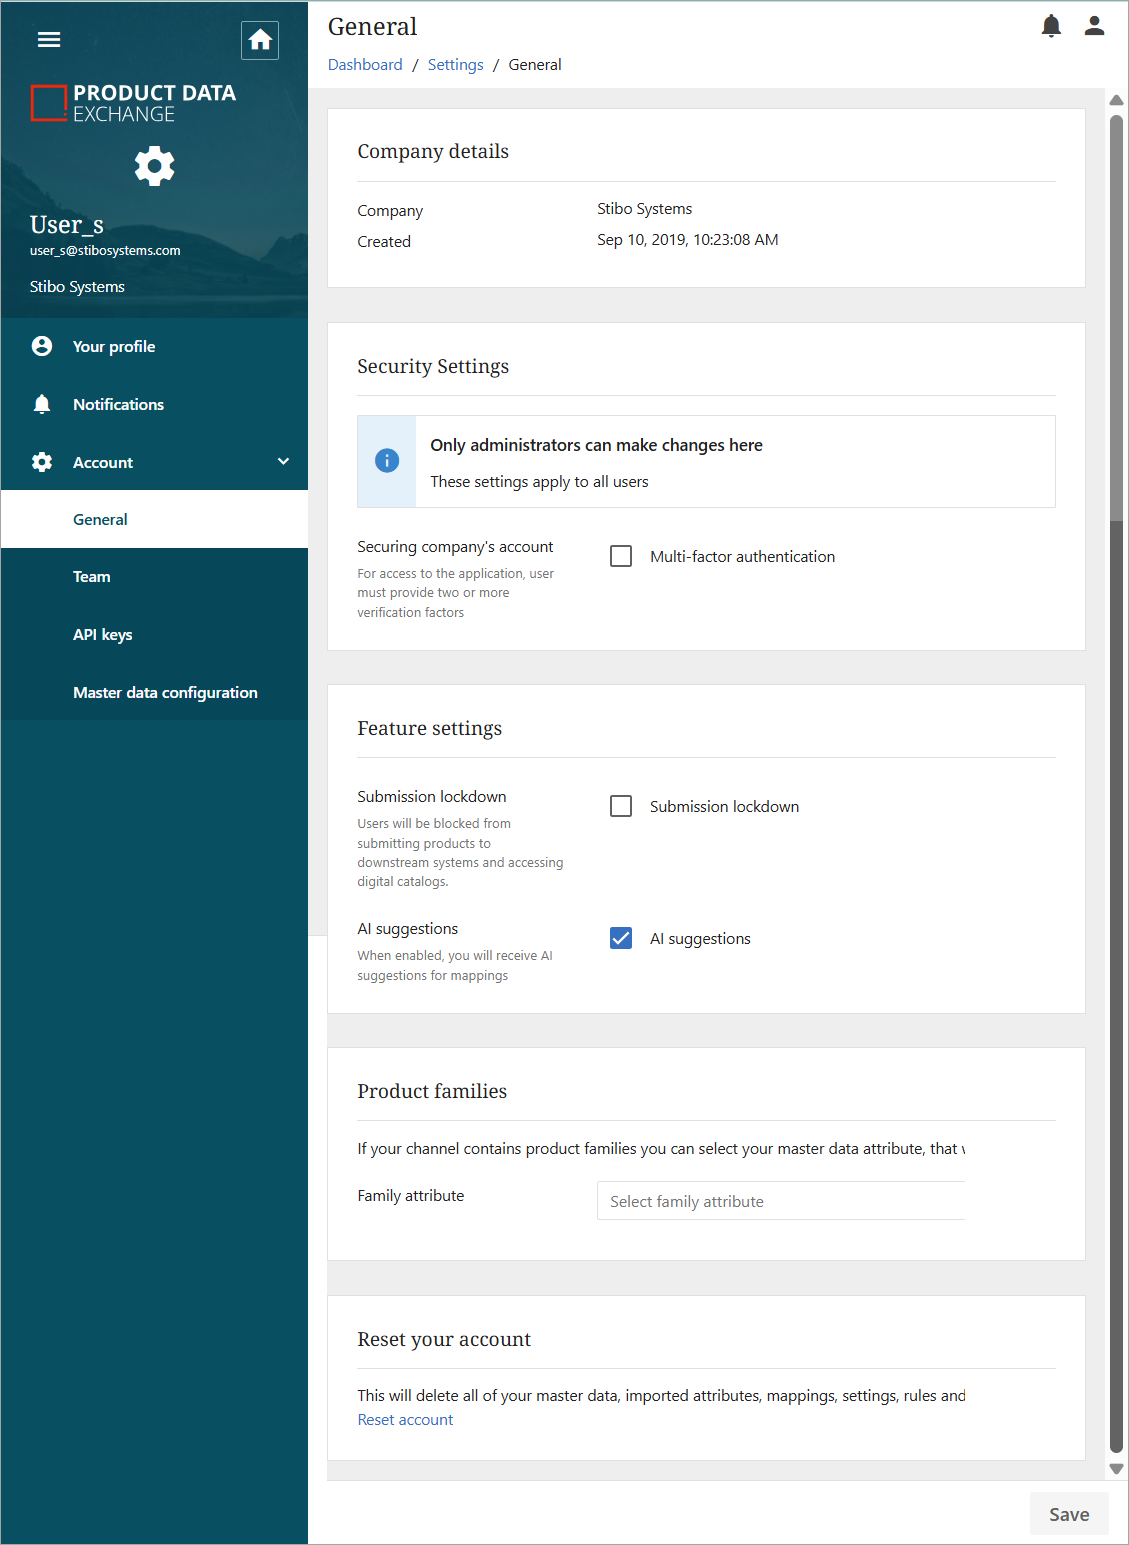
Account Settings
Client admin users will also see an expandable menu for Account options.
-
General: provides general information about the account and settings available only to admin users.
-
Team: more information on adding users and managing teams is available in the User Management topic.
-
API keys: provides option to add and delete API keys. More information on creating and using API keys is available in the API Key Creation topic.
-
Master data configuration: previously available under Configuration -> Master settings. More information on Master data configuration is available in the Master Settings topic.