The Configuration tab in the design is were Web UI screens are created and maintained for end user use.
Important: The following characters: '/', '\n', '\r', '\t', '\0', '\f', '`', '?', '*', '\\', '<', '>', '|', '\"', ':', '\u2192' are not allowed in a Web UI:
-
Screen ID
-
Context ID
-
Workspace ID
If these characters do exist in an older version of STEP and you update to a newer version, they will be replaced with the underscore (_) character.
Creating a New Screen
Select a component from a list and give it an identifying screen ID. The screen ID will show in the dropdown once saved.
- Click the New... button in the Designer.
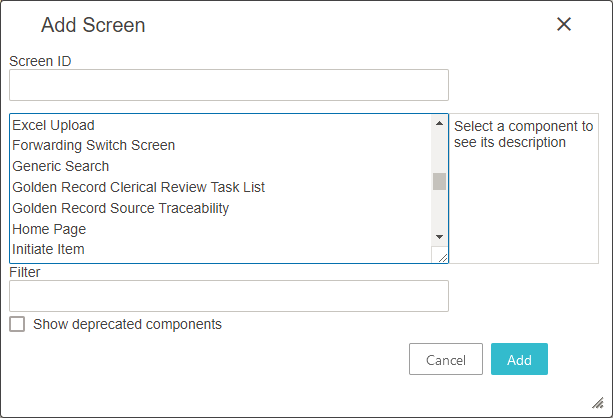
- In the 'Add screen' dialog, enter an ID for the new screen in the Screen ID field. Make it descriptive so that it can be easily identifiable when a user looks through Screen IDs to make a selection.
- In the screen type list, select the screen type you want to create by clicking on the displayed screen ID. Click the ID to view explanations on the different types. Use the Filter field to quickly display only the components matching the text entered in the filter box.
- Click the Add button.
The new screen is created and displayed in the Web UI. You can now configure any applicable parameters and child components within the properties dialog.
Note: When the 'Show deprecated components' checkbox is checked, the withdrawn or deleted components will be listed within the screen type list. Using any of these deprecated components will prompt the Web UI user with an error.
Deleting a Screen
Delete an existing screen ID, and the ID will be removed from the screen dropdown list.
- Select the screen you want to delete from the dropdown screen list.
- Click the Delete button in the clickable icon row of the Designer window.

- A 'Delete screen?' dialog appears. Click OK to proceed.
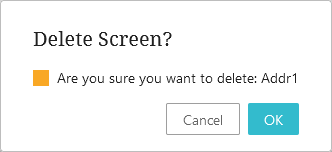
The screen is now deleted.
Note: If a screen is referenced by other parts of the configuration a warning will appear telling where the screen is referenced. The screen cannot be deleted until the references are deleted. The delete button is inactive when you are on the ---[LOGIN]---, ---[MAIN]---, or ---[HOMEPAGE]--- screen IDs.
Renaming a Screen
Rename an existing screen ID to a new screen ID, and the existing screen ID will be replaced by the new one.
- Select the screen you want to rename from the screen list.
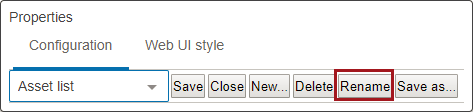
- Click the Rename button in the Designer.
- A 'Rename screen' dialog appears. Enter the new name for the screen ID.
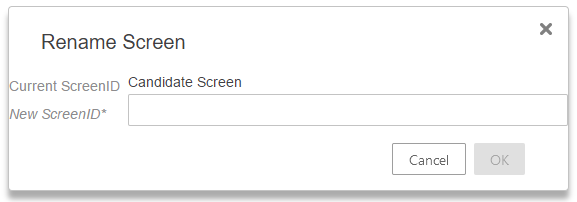
- Click OK.
The screen is now renamed. If the renamed screen is referenced somewhere else in the Web UI configuration, the old name (screen ID) will automatically be replaced by the new name.
Note: The that the 'Rename' button is inactive when you are on the ---[LOGIN]---, ---[MAIN]---, or ---[HOMEPAGE]--- screen.
Saving Changes to a Configuration
There are two options for saving screens in the designer.
Save: After making configuration edits, click the Save button. The screen is saved with the current screen ID.
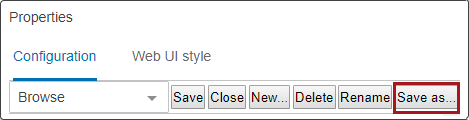
Save as: Saving a screen configuration under a new screen ID:
- Click the Save as button in the Designer.
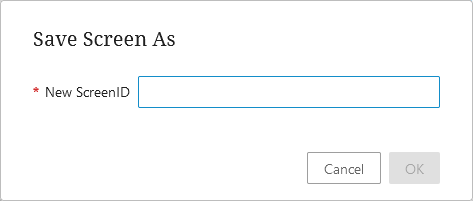
- When the 'Save screen as' dialog appears, enter an ID for the new screen. Make it descriptive so that it can be easily identifiable when a user looks through Screen IDs to make a selection.
- Click on OK when finished.
Both the new screen ID and the original screen ID show in the screen dropdown list.
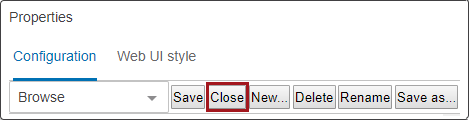
Exiting Design Mode
Exit design mode by clicking the Close button.
If you have unsaved configuration changes, you will receive an 'Unsaved changes' warning.

- Click OK to close the designer without saving changes.
- Or, click Cancel to be sent back to the properties screen so that you can Save the current screen or Save as a new screen ID.
After closing / exiting the designer, the Web UI is now in normal mode.