The Workflow States component allows users to view which workflow states an object currently resides in, even if the object resides in multiple states in different workflows. If, for example, an object is moving through a single workflow and enters a parallel state that puts the object in both the Photo Enrichment state and Text Enrichment state simultaneously, this component can list the object in both states. This component is enabled by pre-selecting all valid states that can display should the object reside in any of those states. This allows users to fine-tune display of this component to exclude display of cluster or parallel states, for example, that may give the user irrelevant information.
Configuring the Workflow States Component
The Workflow States component can be added to a screen with a Node Editor. It can be added to a screen that is configured with other components or on a tab by itself.
- Enter the Web UI designer and navigate to the Node Details screen to be configured. Select Node Editor from the 'Main' dropdown under 'Child Components'.
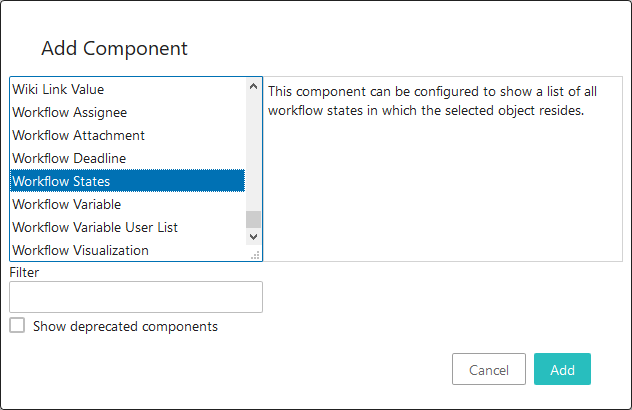
- On the Node Editor, navigate to Node Editor Properties > Child Components > Rows. Click 'Add' and select Workflow States from the 'Add component' dialog.
- Double-click on the component name where it appears in the 'Rows' field to open the Workflow States Properties.
-
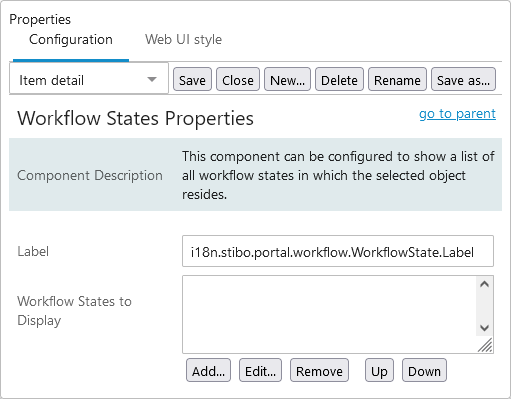
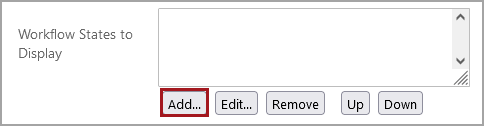
In the Workflow State Properties screen in the designer, two parameters are available: 'Label' and 'Workflow States to Display'. If a custom label for this parameter must display in the Web UI, add the custom text to the 'Label' field. If no text is added, the label defaults to 'Workflow States'. In the 'Workflow States to Display' field, add the eligible workflow states that will display if and when the object resides in it. To do this, click the 'Add' button beneath the field.
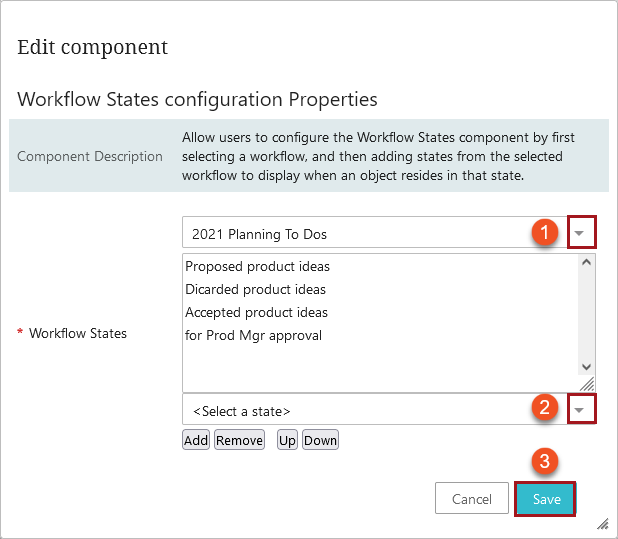
- In the 'Workflow States configuration Properties' window that displays, users can do the work of workflow state selection. First, select the workflow of which the desired state is a part by clicking the dropdown arrow at the far right of the first field. Once clicked, a list of all workflows configured in the system will display. Second, select the workflow state to add to the Workflow States component. Only those states that are configured for the selected workflow will display. Third, click the 'Add' button to complete the process. Repeat steps two and three for all desired workflow states from the selected workflow. Each entry added to the 'Workflow States to Display' field contains workflow states from a single workflow. To add a workflow state or states from a different workflow, a new entry must be added in the 'Workflow States to Display' field.
-
No additional configuration is required. To edit an existing workflow state element in the 'Workflow States to Display' field, select the element in question and click 'Edit'. To change the ordering of how workflow states will display when an object is simultaneously in two or more workflow states that are added to the Workflow States component, select the element in question and position as desired using the 'Up' and 'Down' buttons.
Below is a screenshot of a Workflow States component as it displays on a tab page.
