A Flatplanner workflow is built and configured like any other workflow in STEP, though it has a few features that are unique to it, such as:
- The ability to send planned pages through a workflow
- The ability to stop and start workflows from the Publication Planner
- The ability to color-code workflow states in the Publication Planner
- The ability to set milestone / 'traffic light' colors in the Publication Planner, to give users a visual indicator of how far along a planned page is in a particular state. Refer to the Publication Milestones topic
- The ability for desktop publishing (DTP) users to pick up workflow tasks in InDesign when changes need to be made on actual pages
- Automated generation of InDesign pages using a background process, enabling DTP users to pick up mounted InDesign pages in InDesign as part of the Flatplanner workflow process without having to manually mount the pages themselves
The available options for a Flatplanner workflow will vary depending on how the workflow has been configured and will vary from user to user.
General workflow topics such as configuring workflow states, transitions, views, etc., are not covered in this topic, as they are not unique to the Flatplanner workflow.
Note: If you are using a Flatplanner workflow for the first time on a STEP system that is version 8.0 or higher, the following property must be added to the sharedconfig.properties file on your application server: Workflow.FlatPlanner.SelfContained=true. For users who have upgraded to STEP 8.0 but need to continue using an existing (pre-STEP 8.0) Flatplanner workflow, this property should either be omitted from the sharedconfig.properties file altogether or set to false. Contact Stibo Systems if you need assistance with this configuration.
Creating the Workflow
A Flatplanner workflow is created by the same method as any other workflow in STEP. For instructions, refer to the Getting Started with STEP Workflows section of the STEP Workflows documentation
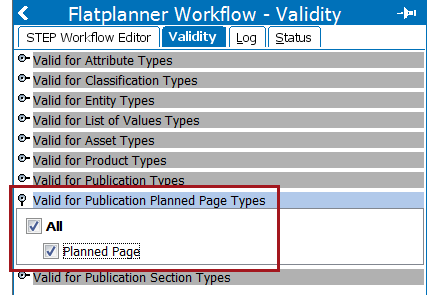
Flatplanner workflows must be made valid for the Planned Page object type.
Note: Only one object type is available in STEP for Planned Pages. Additional Planned Page object types cannot be created.
In addition, at least one state must be configured for use by DTP users in InDesign. Refer to the Configuring DTP Task Views for InDesign topic
Configuring Status / Workflow State Colors
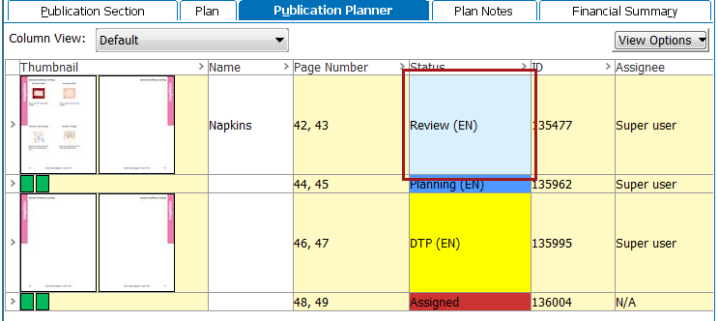
In Flatplanner workflows, workflow states can be configured with color coding that displays in the Publication Planner, on planned pages, and on actual pages. This color coding gives the workbench users a quick way to obtain an overview of which states each planned page is currently in.
The following screenshot shows how these state colors display in the Publication Planner.
Note: If the Status column is not visible in your Publication Planner view, it must be added. Refer to the Configuring the Publication Planner Column View topic
Each status may be assigned a custom color. These status colors are configured by adding an RGB value to an On Entry business action for each state that should receive a color code. This is achieved by setting the value of a workflow variable called STATE_COLOR in the following business rule:
node.getWorkflowInstance(workflow).setSimpleVariable("STATE_COLOR", "217,241,253");
In this example, 217,241,253 is the RGB value of the light blue Review state shown in the previous screenshot.
Note: The Assigned status cannot be assigned a color by this method, since it is not a workflow state. If you require a different color for the Assigned status, contact Stibo Systems.
Configuring State Color Business Actions
To configure the business rules that set status colors, follow these steps:
- Locate the Flatplanner workflow in System Setup that you would like to edit, then right-click and select Edit STEP Workflow. The STEP Workflow Designer displays.
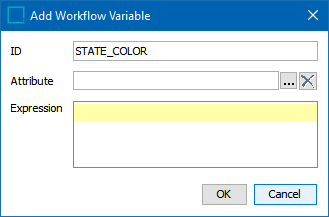
- In the Workflow Variables/Attachments area, click the Add icon and select Add Workflow Variable.
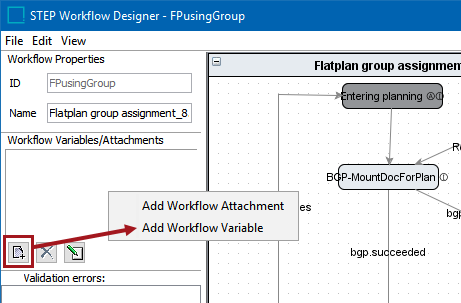
- In the 'Add Workflow Variable' dialog, enter the ID STATE_COLOR, then click OK. The variable is created.
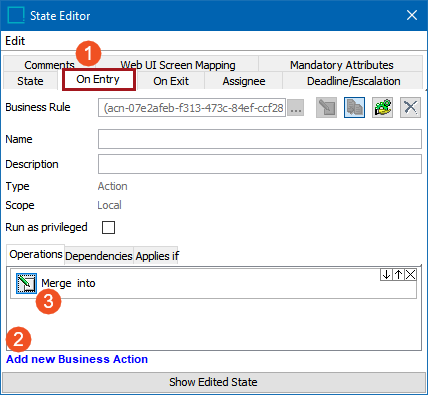
- Next, in the STEP Workflow Designer, double click on the workflow state for which you would like to specify a state color. The State Editor dialog displays.
- In the State Editor, navigate to the On Entry tab and click Add new Business Action, then click on the Edit Operation icon on the Operations tab.
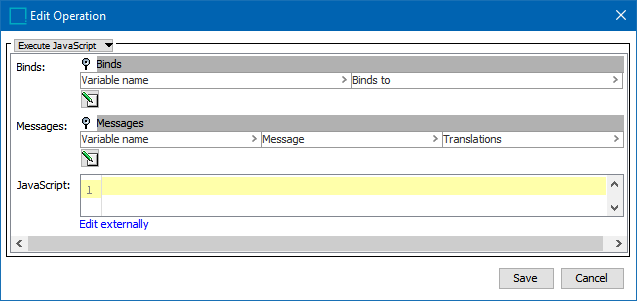
- In the Edit Operation dialog that displays, click the dropdown list in the upper left-hand corner and select Execute JavaScript. The Execute JavaScript options now display in the Edit Operation dialog.
- Click the edit button (
 ) under the Binds flipper. The Edit Binds dialog displays.
 - Click the green plus sign Add Bind button (
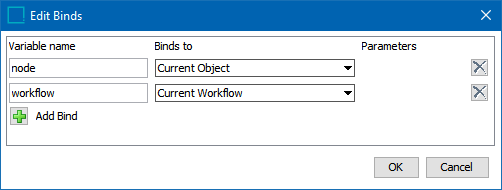
 ). Type node in the Variable name field, then select Current Object from the Binds to dropdown list.
- Click the green plus sign Add Bind button () again. Type workflow in the Variable name field, then select Workflow > Current Workflow from the Binds to dropdown list.
- Your Edit Binds dialog should now look like the following screenshot. When finished, click OK to close the dialog.
- In the JavaScript field, copy and paste the following code:
node.getWorkflowInstance(workflow).setSimpleVariable("STATE_COLOR", "217,241,253");
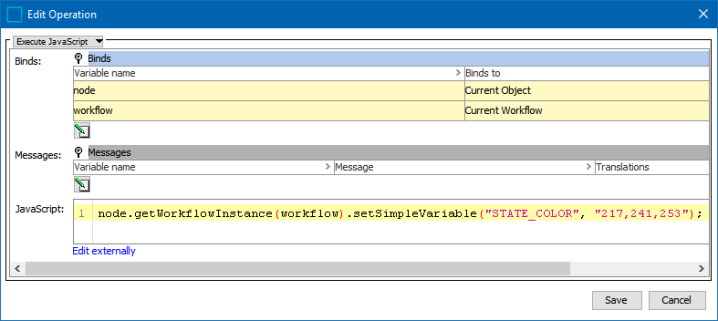
- To customize the RGB value, replace the three numeric values with the RGB values of the preferred color.
- Click Save to close the Edit Operation dialog. The business action is configured.
Note: Though RGB values must be entered manually in the JavaScript string to configure state / status colors, an AddColor dialog exists in STEP that can be used as a guide when deciding on a color. This guide displays the numeric values for RGB colors, which can be copied and pasted into the relevant area of the JavaScript string. For information on how to access the Add Color dialog, refer to the Defining Table Colors in STEP section of the Tables documentation

Viewing State Colors in Locations Other Than the Publication Planner
State colors for Flatplanner workflows also appear in the workbench in the following locations:
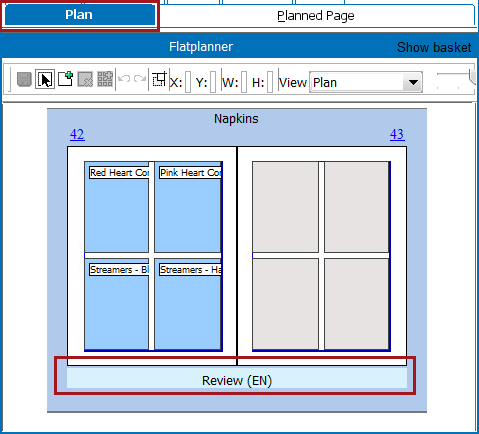
- Below Planned Pages on the Plan tab:
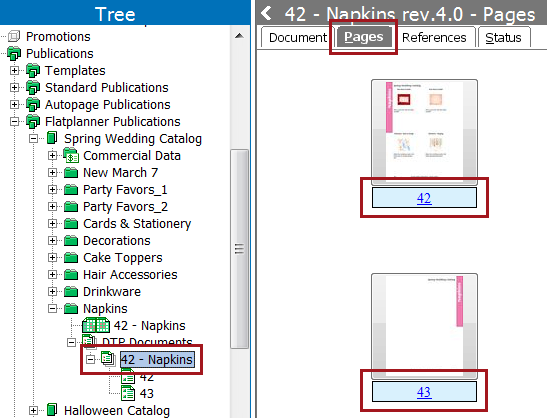
- Below actual pages on the Pages tab:
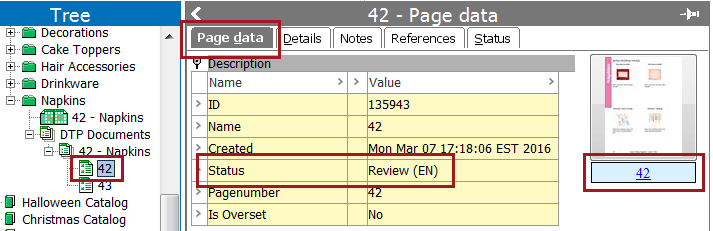
- Below actual pages on the Page data tab:
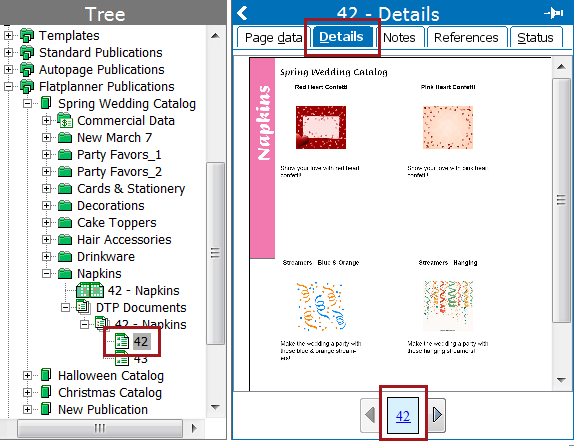
- Below actual pages on the Details tab: