Page templates are created in the STEP Workbench by using the Create Page Template wizard. This topic explains each step of the wizard, which allows you to easily configure the template with the dimensions and measurements you prefer. To create a page template in InDesign (which is less common, but required for Galley formats), refer to the Creating Page Templates in InDesign section of this guide here.
Prerequisites
This topic assumes the following:
- You have already created a publication group in the publication hierarchy
- You have already created a publication template and saved it back to STEP
Creating the Page Template
Follow these steps to create a page template.
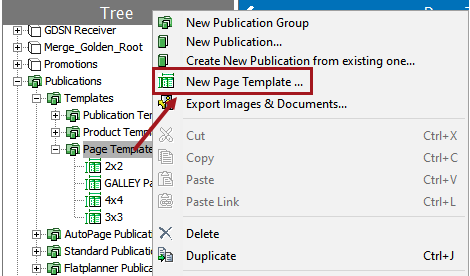
- Select the publication group in the Tree in which you want to store your page template.
- Right-click on the publication group and select New Page Template. The Create Page Template wizard displays.
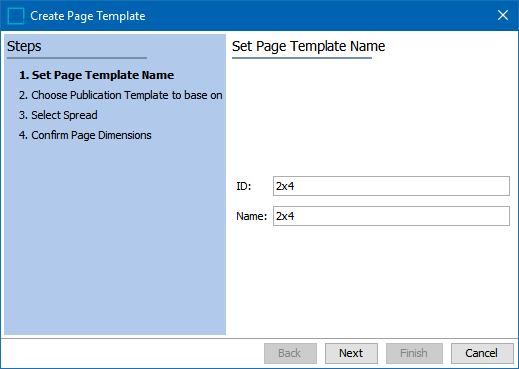
- In the Set Page Template Name step, type an ID and Name for the template, then click Next.
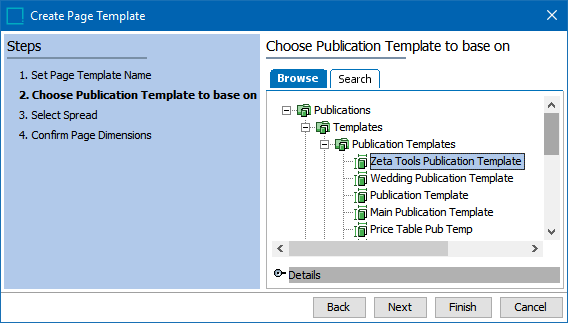
- In the Choose Publication Template to base on step, browse to or search for the publication template that the template should be based on. Select the publication template, then click Next. Click Finish to save the template as-is and edit it later.
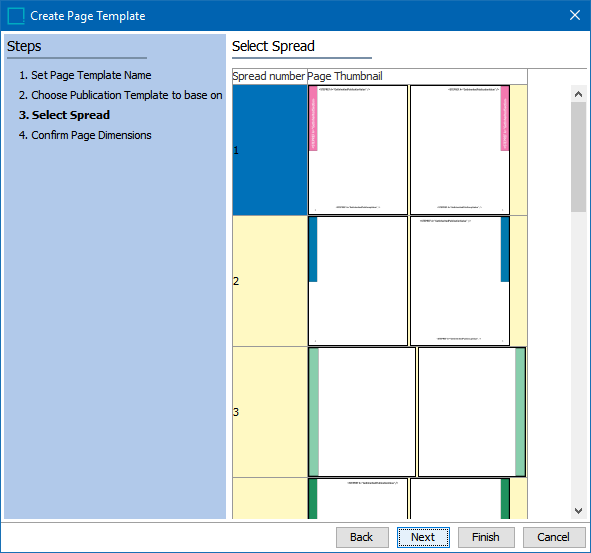
- In the Select Spread step, choose the spread in the publication template from which you want to inherit the page size and margins. A thumbnail of each available spreads is displayed. Click Next after making your selection.
One reason to select a specific publication page spread would be if pages of different sizes are used within the publication. For example, a retail mail order catalog may include an order form in the middle of the catalog, which is smaller than the normal pages of the catalog. Since only one publication template can be used per publication—but numerous page templates are typically required—the ability to choose from different spreads within the same publication template provides greater flexibility in publication building.
The following screenshot shows how the publication spreads look in the wizard. Note that spread 3 is a different size than the other spreads.
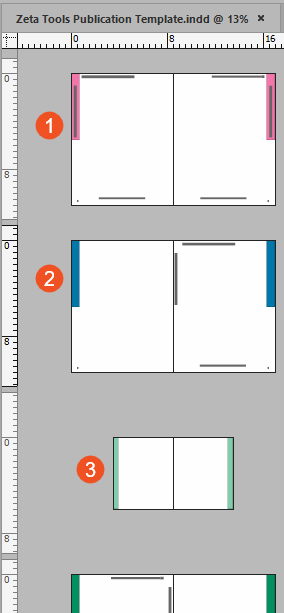
The below screenshot shows how the same publication template appears in InDesign, with the third spread being a different page size than the others. Using the example use case provided, this spread could be used to build an order form that would be stapled into the center fold of a mail order catalog.
Note: Even though this spread appears larger than the other spreads in the wizard, the page template will correspond to the actual size of the InDesign master page. The wizard display only indicates that the spread is of a different size than the others.
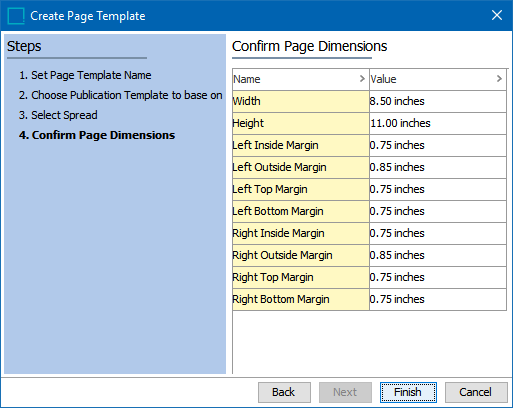
- In the final step, Confirm Page Dimensions, the wizard provides an overview of the page size and margins of the new page template. If you need to alter any of the measurements, which will override the page size and margins provided by the publication template, they can be edited in the Value column. Click Finish to create the template.
Note: You can change the margins of the page template later, but you cannot change its page size once it has been created.
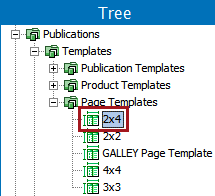
- The new page template is placed inside of the publication group you initially selected.