Notes and free text can be added directly to planned pages (spreads) from the Plan tab. Notes and free text are useful, for example, if there is a need to communicate with an art director or designer about the pages. Users who perform all of their tasks in the workbench, such as merchandisers, can leave notes on planned pages that will be identified by DTP operators when they mount the pages in InDesign.
Notes can be added to planned page spreads in the Plan view and Preview view. They cannot be added in the Sticker Book view.
Notes can also be added to actual pages in the workbench, from the Mounted Pages view of the Flatplanner and the Notes and Details tabs when viewing an actual page selected in the Tree. Refer to the last subsection of this topic, 'Adding Notes and Free Text to Actual Pages, for more information.
Add a Note to a Planned Page
- In the Tree, expand the Publication hierarchy, and then click the relevant spread.
- Click the Plan tab.
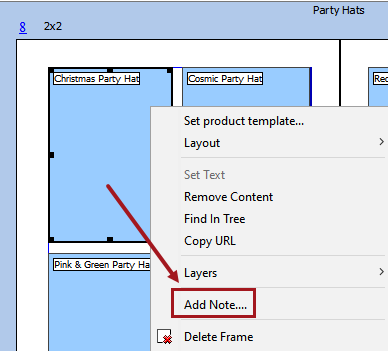
- Right-click a frame or the white area of the spread, and then click Add Note.
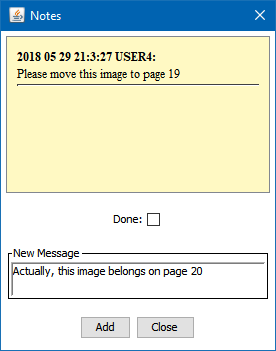
- In the 'Notes' dialog, enter text in the New Message field.
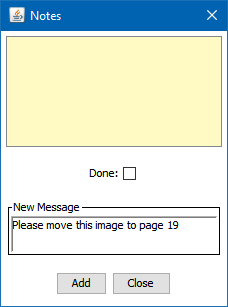
- Click Add to add the text to the note, then click Close.
- The note is now visible in the Plan view as a small yellow square that resembles a physical sticky note.
Edit and Delete Notes
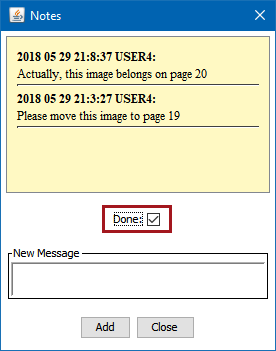
- To edit a note, double-click on the relevant note and add text in the New Message field.
Note: Existing text in notes cannot be edited; only new information can be added.
- Click Add to add the new text to the note, then click Close.
- To delete a note, right-click the relevant note, and then click Delete Note.
Note: Notes cannot be deleted in the Preview view.
- Instead of deleting a note, you may also mark it as Done. This allows you to keep the note while letting other users know that no further action needs to be taken.
Viewing Notes
Notes can be viewed in numerous places within the workbench, from generated PDFs, and from within InDesign. The following list describes some ways in which notes can be viewed. To get a view of all notes in one place, refer to the Plan Notes tab, detailed in the next subsection ('Using the Plan Notes Tab').
- In the Preview view, both the notes 'icon' and the note text is visible, though the note icon obscures some of the note text. Double-click the note icon to view the entire text of the note in the 'Notes' dialog.
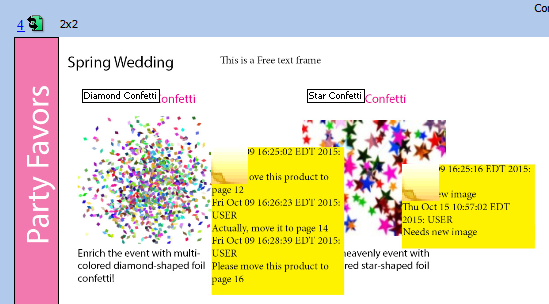
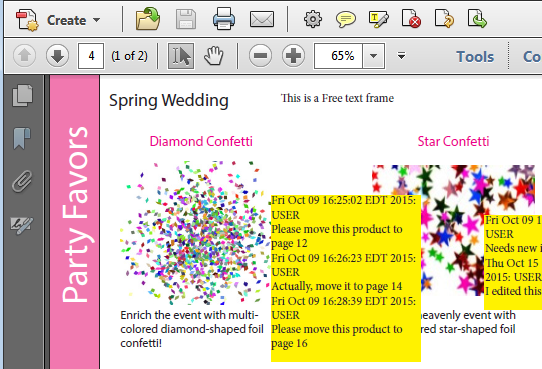
- PDFs generated from planned pages will display notes unobscured by a note icon.
- In InDesign, notes are mounted onto pages in a special layer that is named 'Notes' by default.
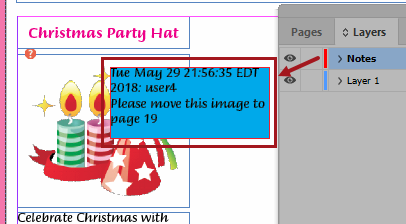
The name of the Notes layer and the appearance of mounted notes is controlled by three settings in the Print Publisher Preferences menu. The text of the note will use the paragraph style set as Basic Paragraph in the publication template or mounting page. For more information on this menu, refer to Configuring the STEP Preferences Menu topic in the Publisher (Adobe InDesign Integration) documentation here.

- Note Layer: By default, the layer is named Notes, but it can be given any name.
- Note Colour: Specifies the background shading color for mounted notes.
- Don't mount Done Notes: Check this box to prevent any Flatplanner Notes marked 'Done' from mounting on the InDesign page.
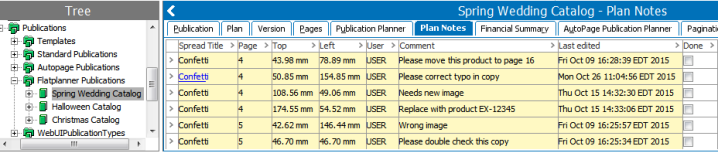
Using the Plan Notes Tab
The Plan Notes tab enables the viewing, editing, and deletion of all planned page notes in one location. This tab is accessible from the publication, section, and planned page level of publications. You can access all notes in a publication from the publication level; all notes in a section from the section level; and all notes in a spread from the planned page level.
Edits made to notes from the Plan Notes tab will be reflected in the notes attached to the Flatplan. Likewise, edits made to notes on the Flatplan will be reflected on the Plan Notes tab.
Editing notes on this tab is similar to editing notes on Flatplan frames—new text can be added, but existing text cannot be edited. The Plan Notes tab will always display the most recent notes text.
Note: Notes cannot be added to planned pages from the Plan Notes tab, as there is no way to position them on the page. Notes can only be added via a right-click action on page spreads.
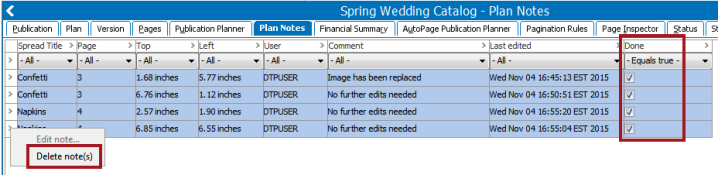
Edit or Delete Notes From the Plan Notes Tab
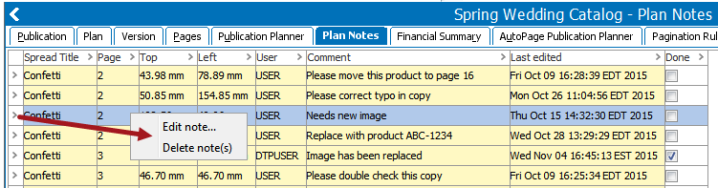
- Select the note that you would like to edit or delete by left- or right-clicking on the small gray arrow at the beginning of the row.
- In the popup menu, choose 'Edit note...' or 'Delete note(s)'. Multiple notes may deleted at once if multiselected.
Sorting and Filtering Notes
Notes can also be sorted and filtered on the Plan Notes tab. Example use cases include:
- The placement of notes throughout a publication can be determined by filtering on Spread Title, then further pinpointed by sorting on 'Left' and 'Top' (X / Y) coordinates.
- All notes that are marked as 'Done' can be identified by filtering the Done column on 'true'. The notes can then be multiselected and deleted.
Navigation to Spreads
Spread titles are hyperlinked in the 'Spread Title' column. Click on a hyperlink to navigate directly to the Planned Page.

Add Notes to Actual Pages
Notes can be added to actual pages in the workbench, from the Mounted Pages view of the Flatplanner and from the Details and Notes tabs when viewing an actual page selected in the Tree.
Note: Notes added to actual pages are not visible on planned pages in the Plan, Preview, or Sticker Book views, nor are they visible on the Plan Notes tab. However, these notes will display on mounted InDesign pages. As such, they are primarily intended for viewing by DTP operators who do all of their work from within InDesign.
Add Notes to an Actual Page in the Mounted Pages View
To add a note to an actual page in the Mounted Pages view, follow the same steps that you would to add a note to a regular planned page, outlined in the 'Add a Note to a Planned Page' subsection above.
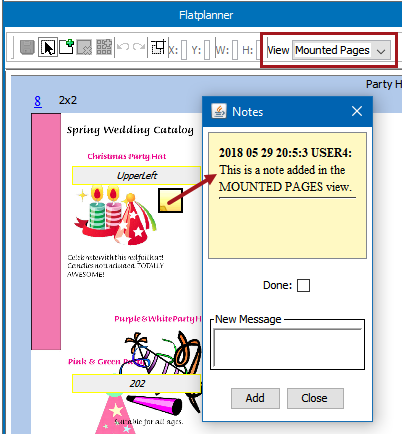
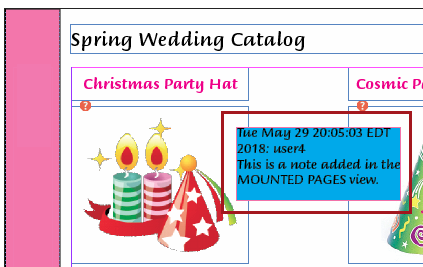
The note is visible on the mounted InDesign page.
Add Notes to an Actual Page Selected in the Tree
When viewing an actual page (InDesign page) in the workbench, notes can be added to the page from the Details and Notes tabs. Just like when adding a note to an actual page in the Mounted Pages view, the notes will be visible on mounted InDesign pages but not in the Plan view, Sticker Book view, or on the Plan Notes tab.
Details tab
To add a note from the Details tab of an actual page:
- Navigate to the desired actual page in the Tree, then click on the Details tab.
- Right-click on the page and select Add Note.
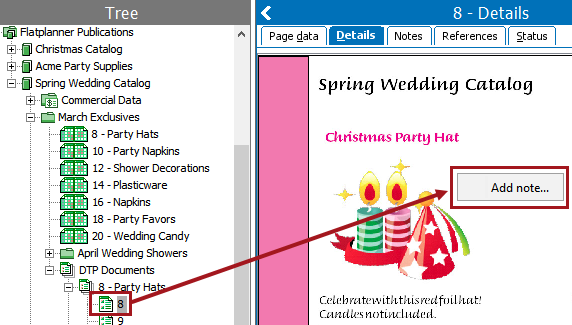
- Type a message for the note, then click Add to add the text. Click Close to finish adding the note.
Notes tab
To add a note from the Notes tab of an actual page:
- Navigate to the desired actual page in the Tree, then click on the Notes tab.
- Click Add Note.
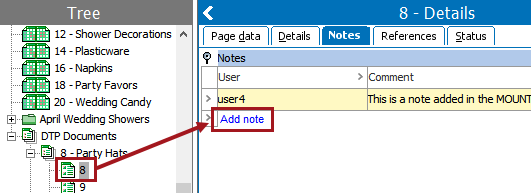
- Type a message for the note, then click Add to add the text. Click Close to finish adding the note.
- The note will be visible in the upper left corner of the page when viewed from the Details tab.

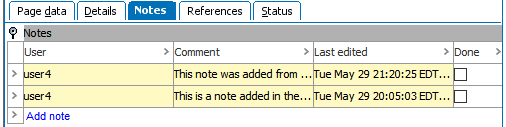
- An overview of all notes attached to the actual page can also be viewed from the Notes tab. Notes can be added, deleted, and marked as Done from this tab, but they cannot be edited.
Add Free Text to a Frame on a Planned Page
Free text can be added to empty frames on a planned page. However, once free text is added a frame, products cannot be linked to these frames that contain free text.
Note: Though notes can be added to planned pages in both the Plan view and the Preview view, free text can be added in the Plan view only.
- In the Tree, expand the Publication hierarchy, and then click the relevant spread.
- Click the Plan tab.
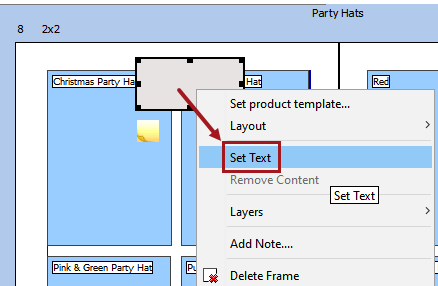
- Right-click the frame that should have free text added and select Set Text. If the frame does not already exist, then add it using the 'Add Frame' tool
 .
.
- Enter text in the 'Add Text' dialog, then click Add.
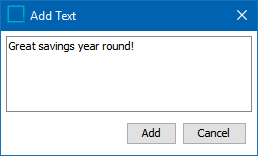
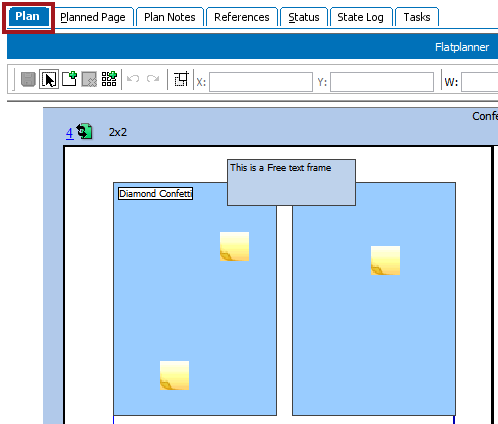
- The text appears in the frame.
- In InDesign, the free text frame will mount in a text frame using the Basic Paragraph style specified in the publication template. Additional styling can be added manually to this frame by the DTP operator.

Edit and Delete Free Text
- To edit free text, follow the same steps as you would to add free text.
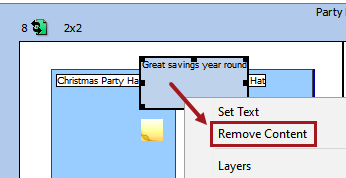
- To delete free text, right-click the free text frame and select Remove Content.