STEP Workflow is STEP's native functionality for structuring and to some extent automating processes around objects in STEP. Typical examples are product onboarding processes and change / governance processes.
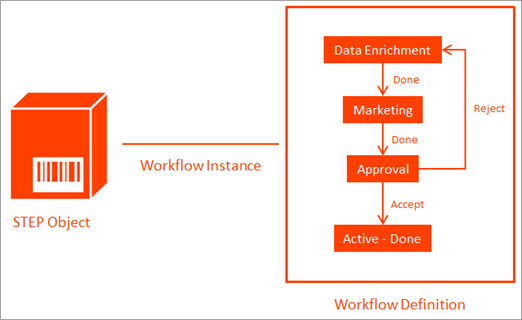
The concept of STEP Workflows differs from the general concept of a workflow, in that STEP Workflows are data-centric, meaning that each instance of a given workflow will always be tied to an object in STEP. As illustrated below, technically, a workflow instance is a relation between a STEP object and a workflow definition, which also exists as an object in STEP.
For information on how to configure workflows, refer to the Creating a Workflow topic in the Workflows documentation.
The STEP Workflow tab has the Tasks and Profile sub tabs.
Tasks
The Tasks sub tab is the primary interface for working with workflows in STEP Workbench.
Note: As indicated by the information icon ( ), the list of actual tasks can be filtered by privileges.
-
Open a workflow section to display details.
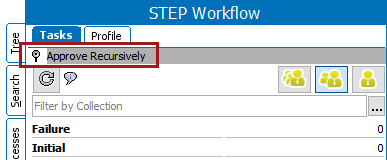
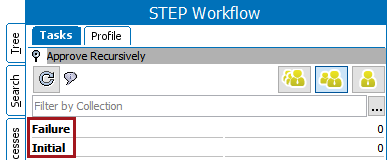
Workflow states are displayed for each workflow as configured by an administrator. The number of tasks for each state is displayed.
-
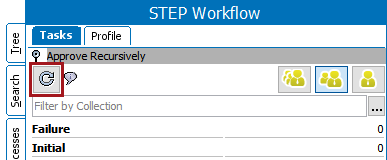
Click the Refresh button to update the number of tasks in the workflow states.
-
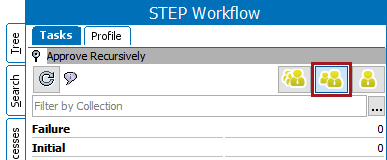
Click the Show All Items button to display all tasks in all displayed states, regardless of the assignee. Only users with the STEP Workflow Administrator privilege have access to this button.
-
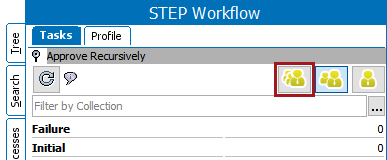
Click the Show All Items assigned to me or any group I am a member of button to display tasks directly assigned to the current user or to any group that the user is a member of.
-
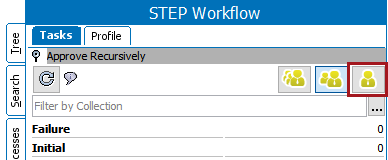
Click the Show All Items assigned to me button to display only tasks that are directly assigned to the current user.
-
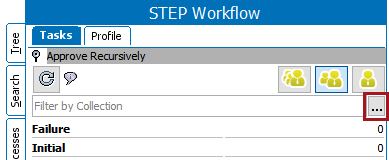
Click the filter button to select a collection and filter the list of displayed tasks.
For example, to view objects in the workflow where the 'Color Attribute = Blue', perform an 'Object Type = Attribute' search on the Advanced Search tab, then save the result as a collection. Select that collection to filter the objects and display only those where the color is 'Blue'.
Profile
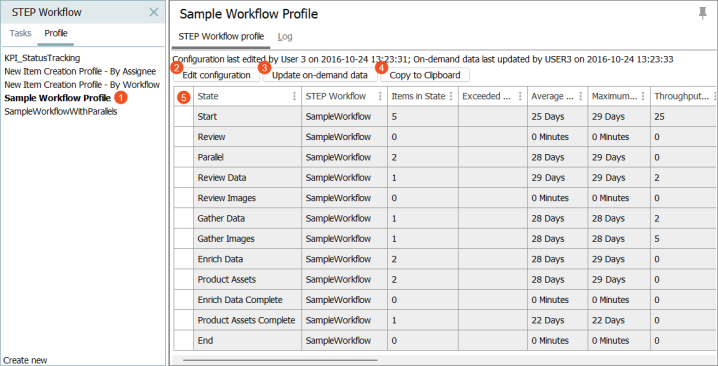
To work with a profile:
-
Click a Profile link to display details of the configuration.
-
Click the Edit Configuration button to modify the data being profiled.
-
Click the Update on-demand data button to run the profile and update the data displayed.
-
Click the Copy to Clipboard button to save the displayed data to your computer's clipboard
-
Once saved to the clipboard, the profile data can be pasted into Excel for further analysis.