Important: Image Analytics Package / Image Deduplication: This functionality has been deprecated and is no longer supported and/or available for new installations. This documentation is retained as a reference only for customers already using the functionality and for whom it remains available in the current state. The functionality will be removed in the future so customers using this should make plans to transition away from their implementation of it.
Image deduplication can be performed using auto-handling and/or the clerical review workflow methods. Essentially, when comparing the pHash of the master image to the other images in the group results in all images matching pixel-to-pixel, the system automatically identifies that the matches are duplicates. When more than one image does not result in a pixel-to-pixel match with the master, then all images are displayed as potential duplicates and must be addressed manually via the workflow. Regardless of the process used to identify the duplicates, the handling of duplicates is the same. For details, refer to the Handling Duplicate Images topic.
Images and Data
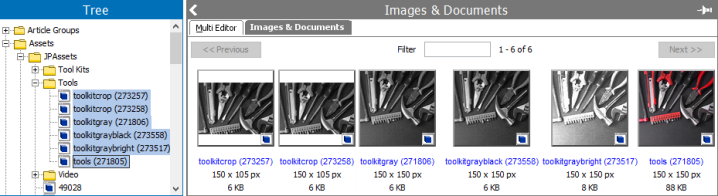
The examples below illustrate how the following group of JPG images are evaluated first by the system via auto-handling, and then manually via the workflow. The following image names include the file name followed by the ID in parentheses for easy identification:
- Two identical JPGs with 'toolkitcrop' in the name.
- One JPG with 'toolkitgray' in the name.
- One JPG with 'toolkitgrayblack' in the name.
- One JPG with 'toolkitgraybright' in the name.
- One TIF with 'tools' in the name.
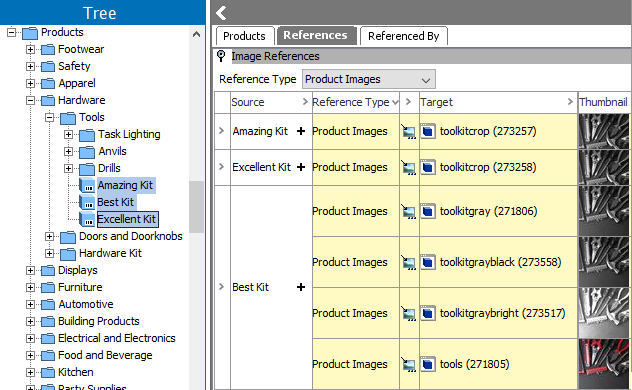
The images are referenced by the following products. Notice that one product has multiple image references.
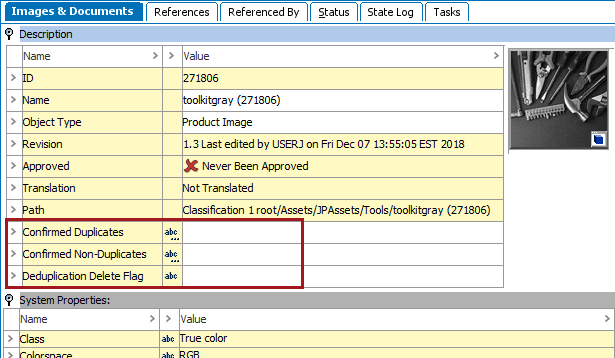
Before handling, the Image Deduplication attributes contain no value.
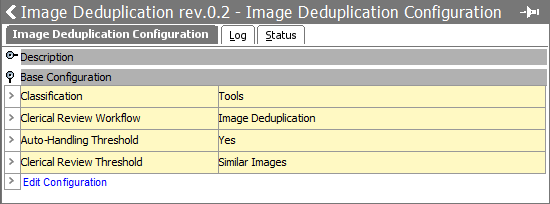
The configuration named 'Image Deduplication' (shown below) has auto-handling and clerical review enabled. Similar Images will be sent to the clerical review workflow.
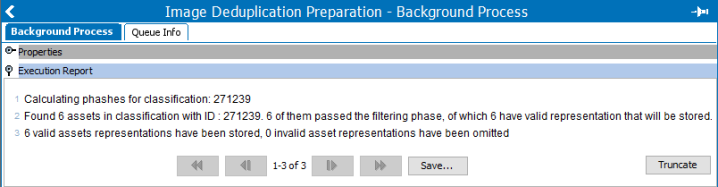
First, the images in the 'Tools (ID 271239)' classification are prepared using the 'Prepare images for deduplication' right-click option on the configuration. The 'Image Deduplication Preparation' background process displays the following report which shows the classification ID and the number of images that were assigned a pHash.
Next, the 'Run image deduplication' right-click option preforms the image evaluations and selects the master image. The 'Image Deduplication Run' background process displays the following report, which shows that two groups were handled: one by auto-handling and one is sent to clerical review. The master images and the group members are identified.

In Web UI, the Status Selector Homepage Widget shows that one group is in the clerical review workflow.

Clicking the 'Clerical Review' count displays the 'Image Deduplication - Clerical Review - Available' page with the image group that requires manual identification of duplicates.
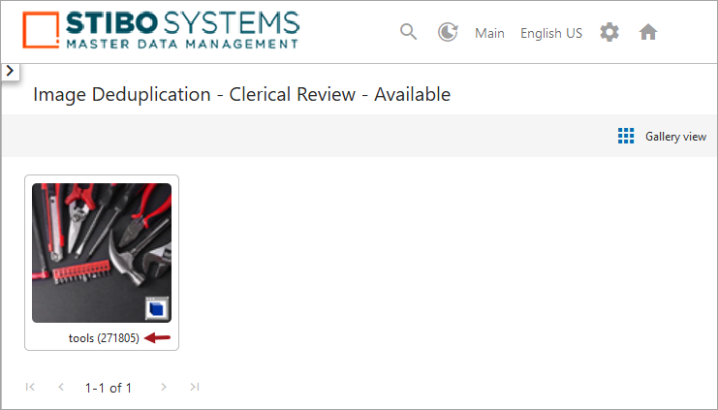
Clicking the name of the selected master image displays the task list page with image cards for objects in the group. Visually comparing the image cards, the first two with gray tools, are decided to be close enough that they will be marked duplicates by clicking the metadata attributes on each. The last card, with the red tools, will not be selected as a duplicate.
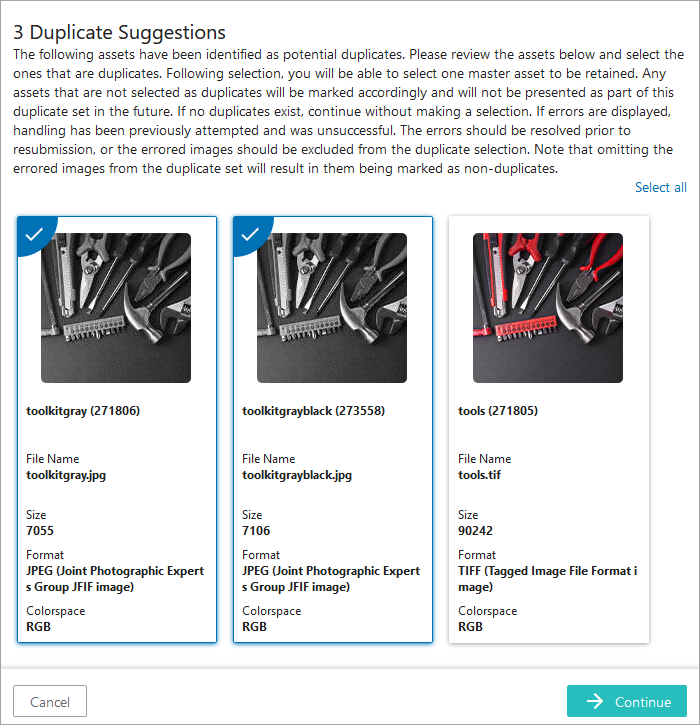
Clicking the Continue button advances to the 'Select Master' page where the selected duplicates are displayed. When the system-selected master (in this example, the TIF image with the name 'tools (271805)') is also marked as a duplicate, that image is automatically marked as the default master on the 'Select Master' page. However, since the system-selected master was not manually selected as a duplicate, no master is automatically indicated on the 'Select Master' page. In this scenario, the user will select a master from the available cards (or use the Back button to return to the previous page and select no images as duplicates).
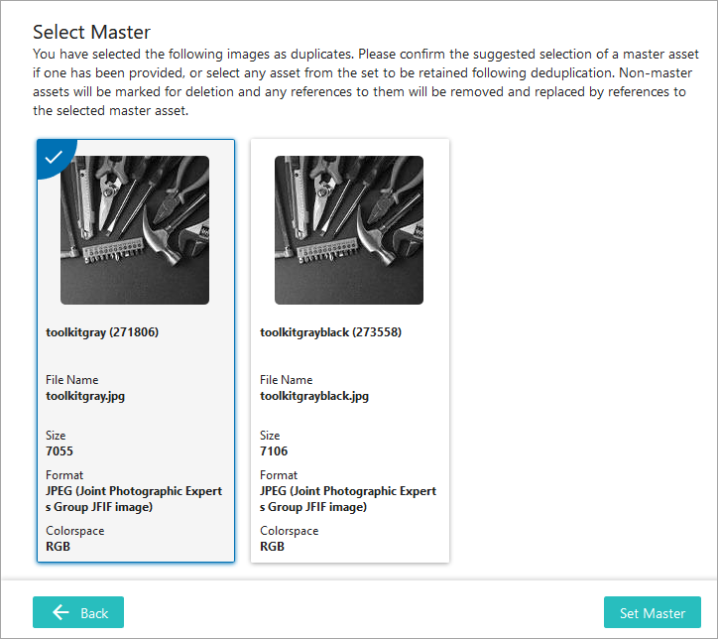
Clicking the Set Master button displays a confirmation message that identifies the image that will be kept and will receive references on the duplicates. All other images displayed will be marked as duplicates and also marked for deletion.
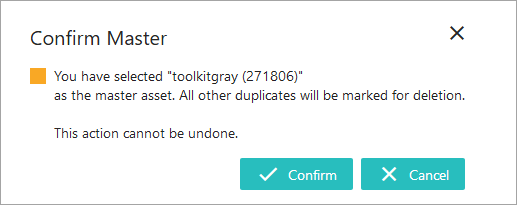
Click the Confirm button to update the metadata attributes and references on the evaluated images. The 'Deduplication completed successfully' message is displayed.

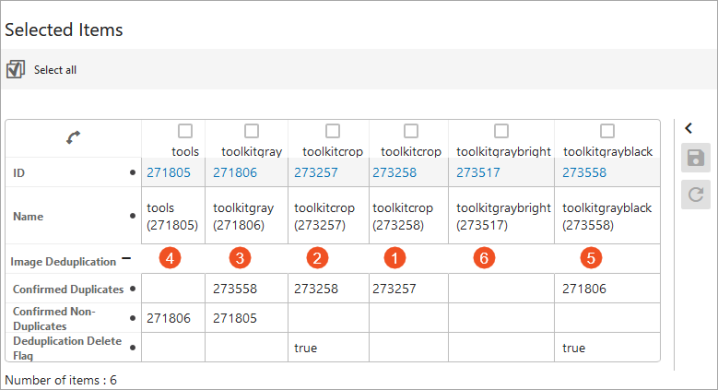
The numbers in the lists below correspond to the numbers in the image to explain how the evaluated images were updated:
From the auto-handling process:
- Image 'toolkitcrop (273258)' was selected as the master, so it shows 'toolkitcrop (273257)' as a confirmed duplicate.
- Image 'toolkitcrop (273257)' was marked as a duplicate, so it shows the master ID as a confirmed duplicate and the Deduplication Delete Flag is set to 'true.'
From the clerical review workflow task:
- Image 'toolkitgray (271806)' was manually selected as the master, so it shows 'toolkitgrayblack (273558)' as a confirmed duplicate, and 'tools (271805)' as a confirmed non-duplicate.
- Image 'tools (271805)' was marked as a non-duplicate to the master, so it shows the master ID as a confirmed non-duplicate.
- Image 'toolkitgrayblack (273558)' was marked as a duplicate, so it shows the master ID as a confirmed duplicate and the Deduplication Delete Flag is set to 'true.'
The final image:
- Image 'toolkitgraybright (273517)' was not included in either group, so it is not updated.
Finally, products that previously targeted duplicate images ('toolkitcrop (273257)' and 'toolkitgrayblack (273558)') via a 'product-to-asset' image reference have been updated to target the master images ('toolkitcrop (273258)' and 'toolkitgray (271806)'). The duplicate images have no remaining references, which allows them to be deleted.
