Collections are often used as filters on status selectors, though to refresh a collection in the Web UI you must go to the collection directly to refresh it in Web UI without going to the collection directly. This can be accomplished by going to the collection content screen directly or via a scheduled bulk update. Using a scheduled bulk update you can control the amount and frequency of the collection refresh processes.
For more information on status selectors, refer to the Status Selector Homepage Widget topic in the Web User Interfaces documentation.
Important: Consider the time zone of the application server compared to that of the workbench (the client) where the schedule is created or viewed. When scheduling a job, the local time zone is displayed in the workbench, but the time zone of the server is used to run the background process. Although displayed, the time zone of the client is not included in the instructions to the server to run the job. This can cause confusion about when the job will run since the scheduled time is not automatically converted to accommodate potential differences in time zones.
To schedule a collection refresh, follow the directions below:
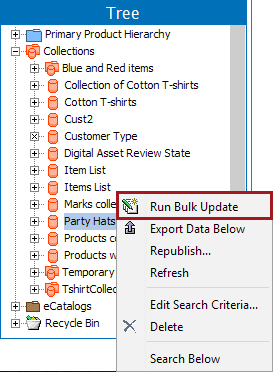
- Create a new bulk update configuration. In the example below, a collection is created by right-clicking on the desired collection in the workbench and selecting Run Bulk Update.
- In the Bulk Update dialog, select Create New Configuration, and click Next.

- In the Operations step, close the default operation template to remove all operations. This will enable the action buttons so that you can proceed with no operation selected.
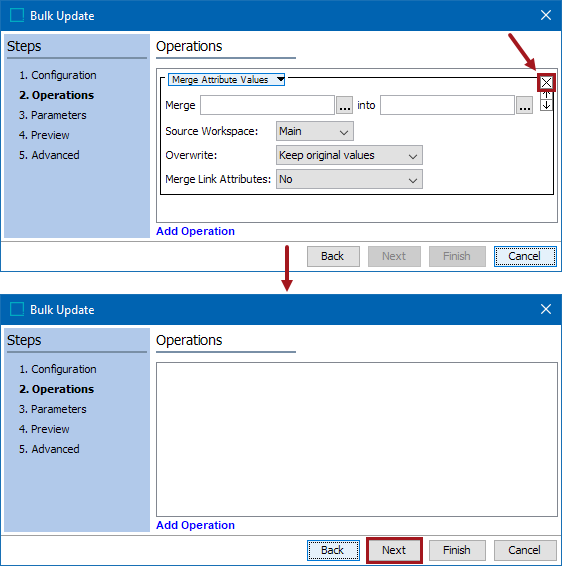
- Continue to click Next to get to the final step, and be sure to select Save Configuration before finishing.

Once complete, this will trigger the update, but it does not actually execute any changes. You may view the background process, or close the dialog prompt.
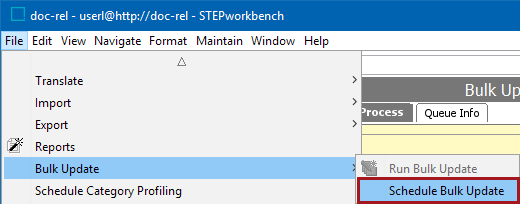
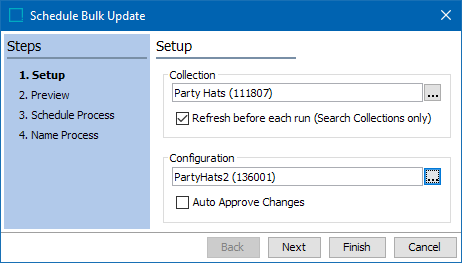
- Next, navigate to File > Bulk Update > Schedule Bulk Update.
- Select the relevant collection, check the refresh option, and select the bulk update configuration that you just created in the previous steps.
- Continue to click Next to get to the Schedule Process step. Select the Later and repeat option, and specify the interval at which it should be run.
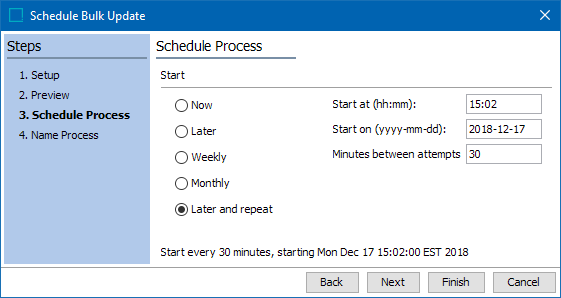
- Click Next / Finish to complete the 'Schedule Bulk Update' process.
- Repeat steps 5-8 as needed to schedule auto-refreshes for additional collections.
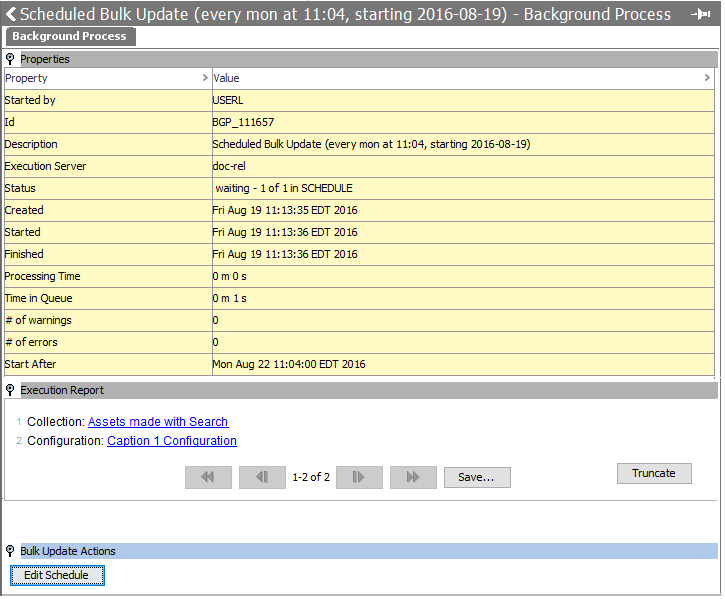
If the schedule for the Bulk Update must be amended, users can click on the scheduled bulk update on the BGProcesses tab, and then click the 'Edit Schedule' button (shown at the bottom of the screenshot below). This will reopen the 'Schedule Bulk Update' wizard on the 'Schedule Process' step from which users can then amend the schedule as needed. The changes will be applied to the scheduled bulk update.